rdBPtools Tutorial 1 – Creating a Simple Prefab Blueprint
Last Updated: 30th March 2024
Tutorial was created using rdBPtools version 1.20
Creating Prefab Blueprints is very easy. rdBPtools has been designed to make it as quick as possible to create, edit and replace them.
Step 1. Select Actors and Right-Click
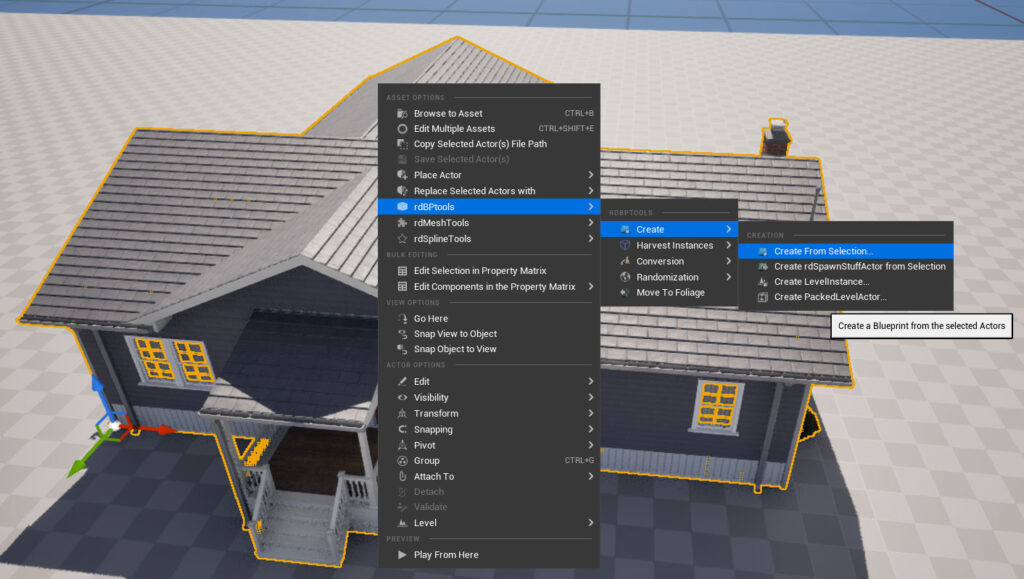
Select the actors in your level (or with the world outliner) that you wish to include in the prefab. If they are contained in a folder in the outliner, you can just right-click on that – if there are some types in there that you’re not wanting – don’t worry, you get the option to filter out certain types.
Then right-click and you will see an option there to “Create Blueprint from Selected Actors (or Folder)” in the rdBPtools Menu.
Click on that, and a window will open.
Step 2. Click “Create”
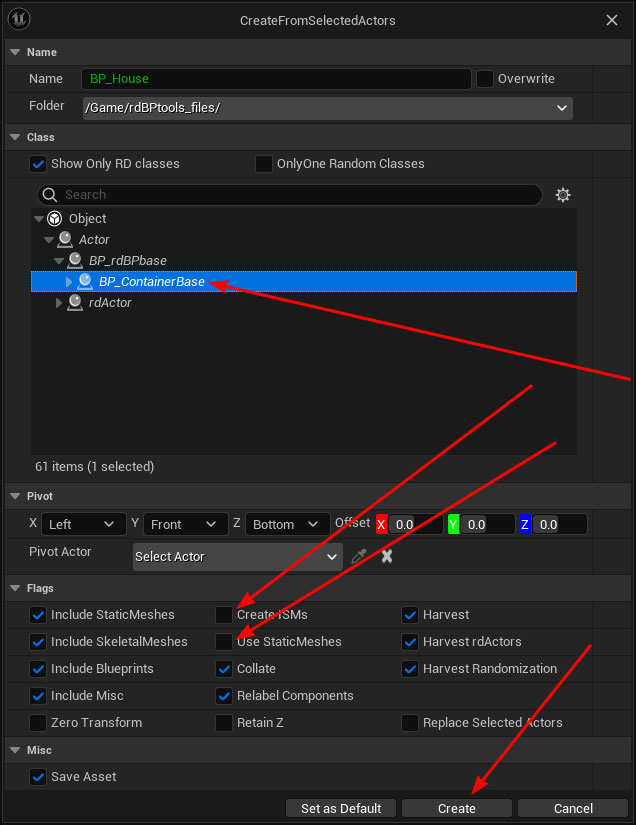
You can simply set a few settings to customize the prefab. Select the “CP_ContainerBase” class as the parent, and untick “Use ISMs” and “Use StaticMeshes”.
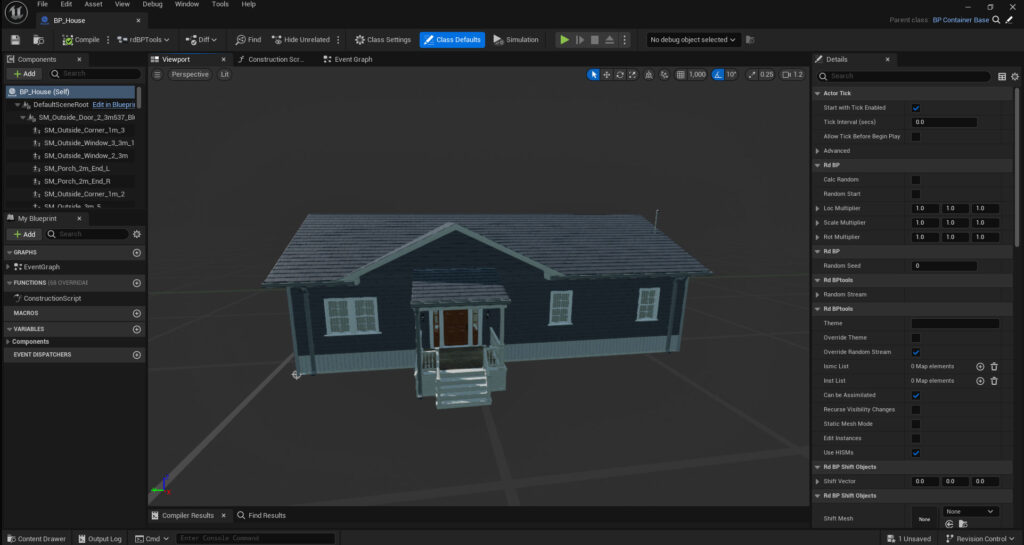
Now you just need to click “Create” at the bottom (the default values and class are fine) and rdBPtools will create a prefab Blueprint derived from our Blueprint based base class – BP_ContainBase, containing your selected Actors as ChildActorComponents.
You may notice this is similar to the window built into the Unreal Engine – in fact the routines used in rdBPtools to create the Blueprints are the same ones that UE uses (they are built into the Engine).
There are many extra layers of functionality built into the rdBPtools ones – Collation, Randomization and Optimization (Instanced Static Meshes) – and menu options from the most popular spots, and hotkeys have been added to optimize the whole experience.
Step 3. Done