rdBuildBuddy Tutorial 3 – Using rdInst Instances
Last Updated: 2nd January 2023
Tutorial created using rdBuildBuddy version 1.00
To get the best performance for your Builds, it’s best to use Instanced Static Meshes – not only are they fast to render in game and while editing – but they are a lot quicker to spawn as well.
rdBuildBuddy allows you to use any custom system you have for creating Instances – but rdInst has been built from the ground up to work seamlessly and optimally with rdBuildBuddy. It also provides powerful randomization built-in (can be used in real-time).
For this tutorial, we are just going to convert the Hotel Row we made in Tutorial 2 to use rdInst Instances.
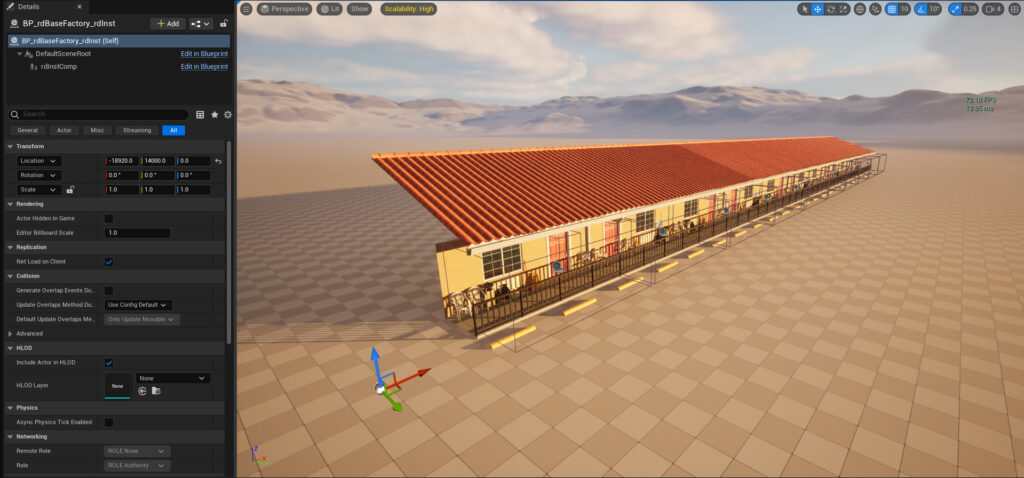
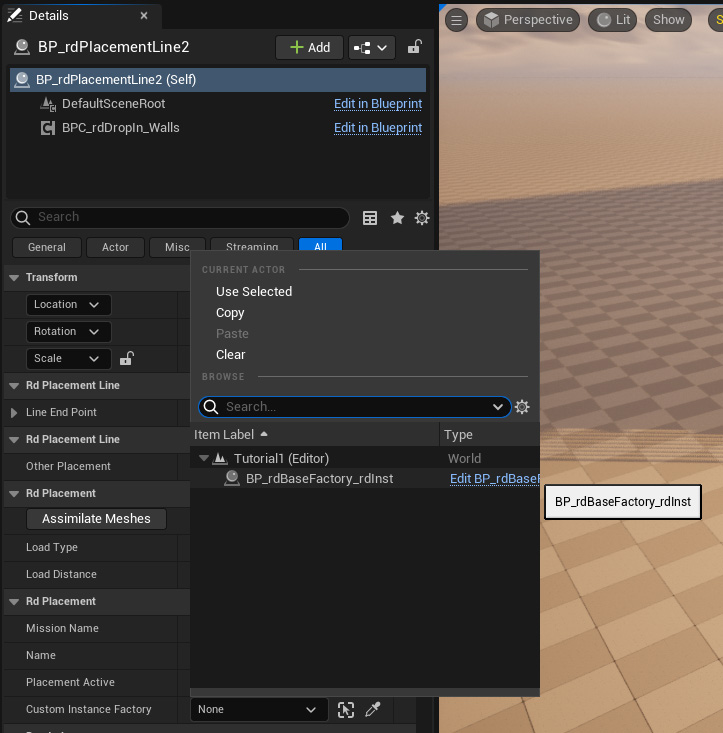
Step 1. Add the rdInst Instance Factory.
The first step is to add the rdInst Factory to the level – BP_rdBaseFactory_rdInst – If you don’t have it already, you can Download From Here (compatible with UE4.25-UE5.2).
Add to your project, and then drag onto the level
Step 2. Convert the Hotel Frontage into a StaticMesh
In this example we’re just going to convert the whole frontage into one static mesh. In real games though, you’ll probably want to handle this a bit differently so you can still randomize objects along the whole frontage row.
Select one of the BP_MotelFrontage actors in the World Outliner (created from the previous Tutorial) and choose “Merge Actors” from the Tools Menu at the top of the UE Window.
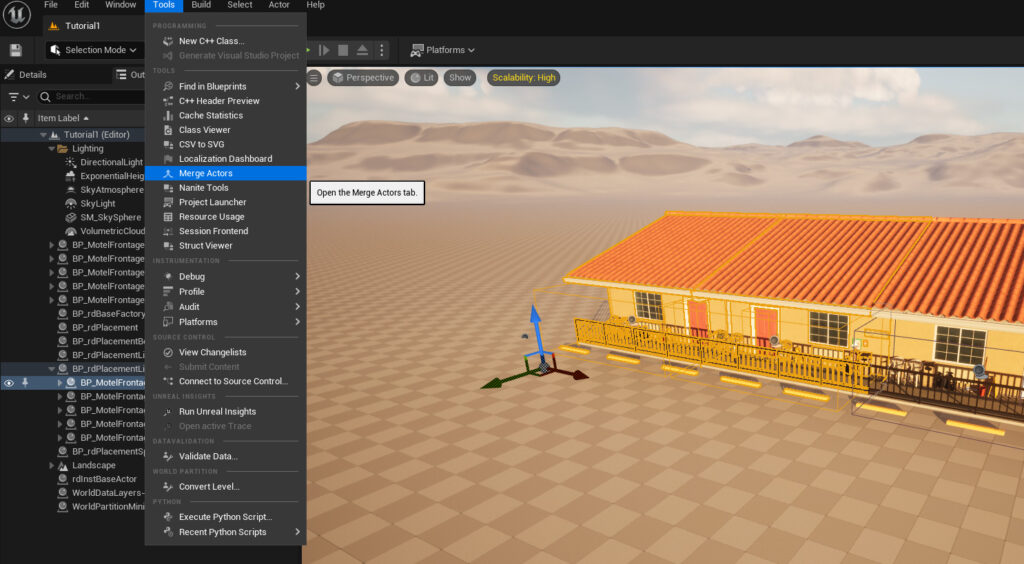
Just use the default settings, click on the Merge Button and select a name and path for the new mesh.
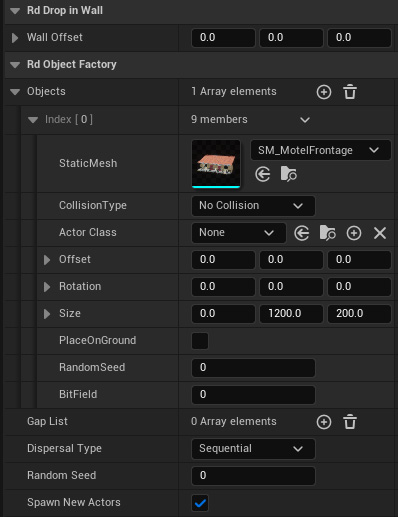
Then in the Builder DropIn, remove the Blueprint Class from the Object List and add the StaticMesh instead.
Also, change the Size X to 0.0 (when a mesh is used, this value is an offset).
Step 3. Point the Hotel Build Buddy Actor to the new Custom Factory
Now select the BuildBuddy Wall and in the Details Panel, select that new Custom Factory in the “Custom Instance Factory” property.
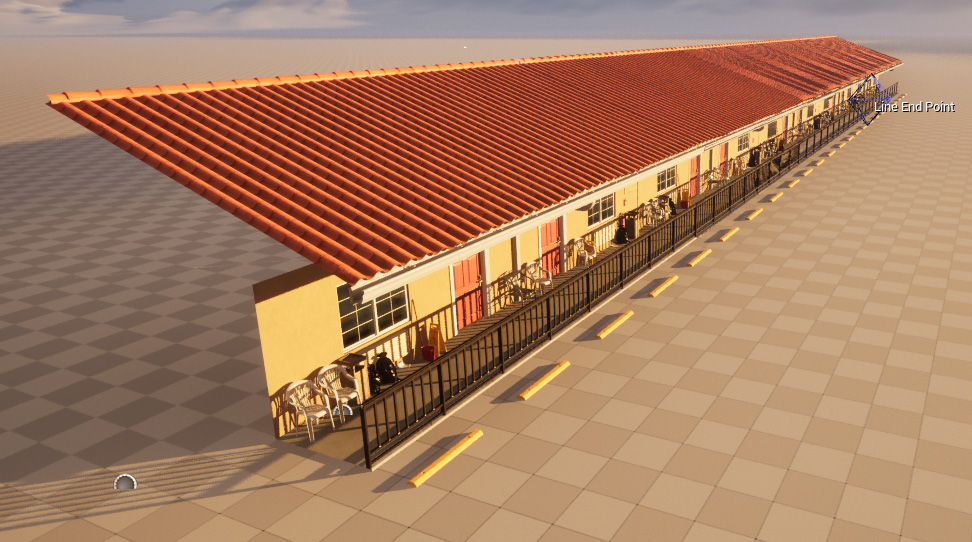
Step 4. Done.
That’s it – now it will rebuild as instances!
