rdBuildBuddy Tutorial 4 – Assimilating Built Instances
Last Updated: 7th January 2022
In the previous tutorial it shows how you can easily create a line of motel frontages – it uses InstancedStaticMeshes so is fast – but it didn’t have any randomization of the objects, so each of the chairs, litter etc are repeated on each object.
Another way to get a fast build is to actually build the hotel frontage as a container built by rdBPtools – that adds randomization to the objects, and stores them all as Instances itself (if you specify it). This is what we will do here – and then once we have a row of these new actors – we can merge them all into one actor for even more performance increases. Note that converting a whole row of hotel rooms would not be efficient as they don’t vary the triangle counts on distance like LODs or Nanite do. the HLOD system works well with the smaller objects as well.
This tutorial assumes you have rdBPtools, and have followed rdBPtools Tutorial 4 to create the Randomized Hotel Frontage. In this example we don’t need the actual room though – just the External Walls and objects.
Step 1. Create the Hotel Frontage.
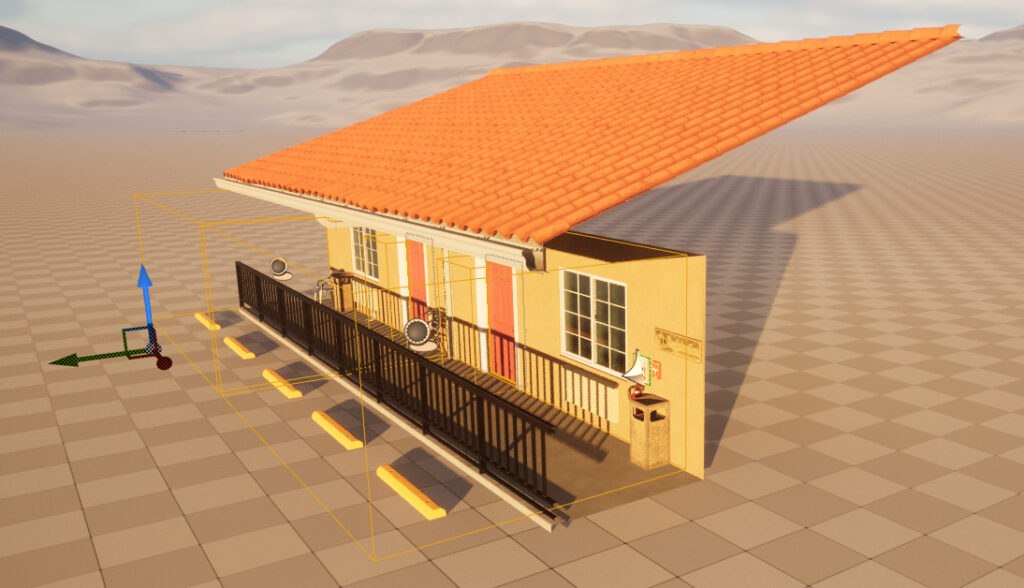
As stated before, follow the rdBPtools Tutorial 4 to create the Hotel – just the external parts though. You should end up with something like this:
Step 2. Add an rdPlacementLine to your Scene.
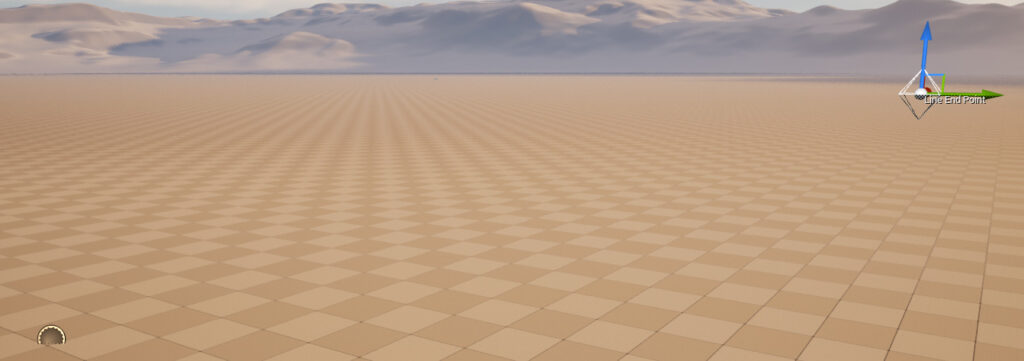
Just like Tutorial 2, now we add a rdPlacement_Line Blueprint to the level and move out the LineEnd point to out to where you want the Hotel Frontage to extend to.
Step 3. Add a Wall DropIn to the Placement Actor
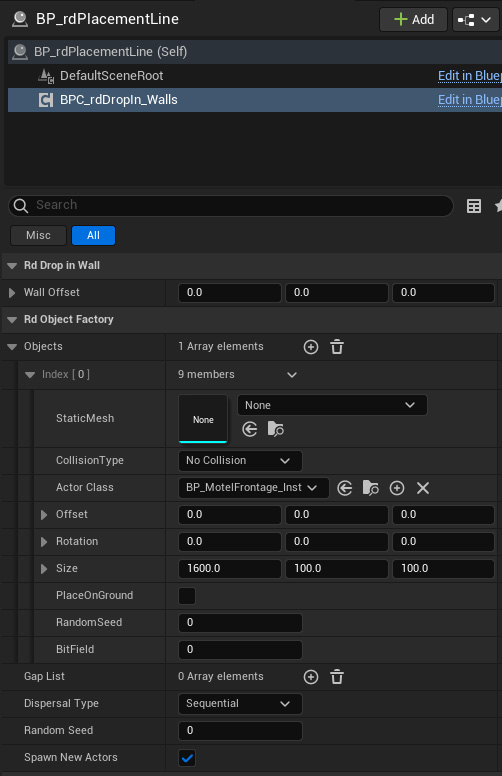
Now Add a BPC_rdDropIn_Walls DropIn Component to the Placement Actor.
Set the X Size of this to 1600 and leave the others at 100 (not important).
Set the Class Type to the Blueprint you created for the Hotel Frontage (in this instance it’s called “BP_MotelFrontage_Inst”.

Note how all the items are randomized along the Frontage.
Step 4. Re-Parent our Placement Actor
rdInst has a powerful Randomization System built in – one of the things it does is maintain a hierarchical RandomStream. This means that all the Randomization of every part of your build can be controlled right from the Placement object.
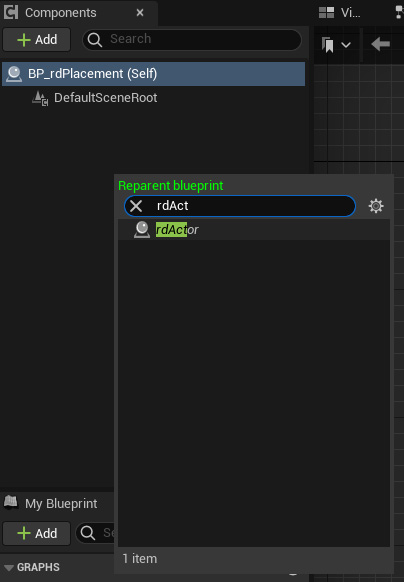
To do this though, we need to re-parent it to an “rdActor” – this has no effect apart from adding the RandomStream functionality to the build objects.
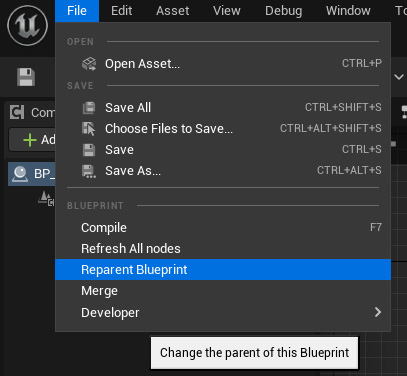
Just open the BP_rdPlacement Blueprint in the Blueprint Editor and then from the File Menu at the top, select Reparent, then rdActor as the Actor:
Make sure that the property “Can be Assimilated” is ticked for the Frontage.
Now that is set up – you can press the “Randomize” button with your Placement Actor selected to recreate the whole build with a new Random Seed. That seed is stored, so from then on – the randomization will be the same.
Step 5. Add a rdInst Factory and point our Placement to it
The assimilation is routed through the Object Factory rdBuildBuddy uses – this is so you can add your own custom routines to assimilate if you wish. It also keeps rdInst completely separate from rdBuildBuddy.
Add a “BP_rdBaseFactory_rdInst” to your level – anywhere is fine, it’s hidden.
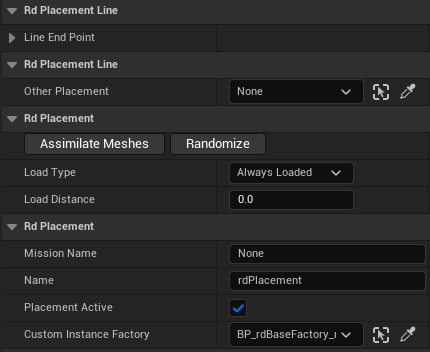
Select that Actor as the “Custom Instance Factory” in your Placement Actor.
Step 6. Assimilate the Frontage Meshes
Now all that’s left to do is to Assimilate all those meshes into one actor.
Now just press the “Assimilate Meshes” button with your Placement Actor selected.
This combines all the StaticMeshes into one Actor, with all placement and randomization in tact. After this, you cannot change the randomization as all that data is removed for speed and efficiency – think of it as a “bake”.
Any other type of actors are left as they are, so will operate as usual (e.g. doors).
Step 7. Done.
That’s all there is too it. You can of course, build more things with the new actors – compounding the savings.