rdInst Tutorial 13: Actor Pooling
Last Updated: 25th February 2023
Tutorial created using rdInst version 1.20
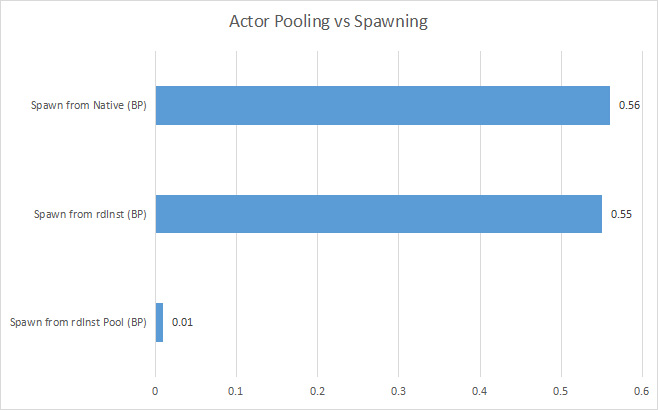
As of version 1.10, rdInst provides a way to spawn actors very quickly. It uses Actor Pooling – a number of actors are pooled (in a fast way) at the beginning of play and then reused when you’re wanting to spawn them.
The Pool can either add as it goes, or be pre-allocated (fast) on play.
Step 1. Create a Blueprint based on rdActor
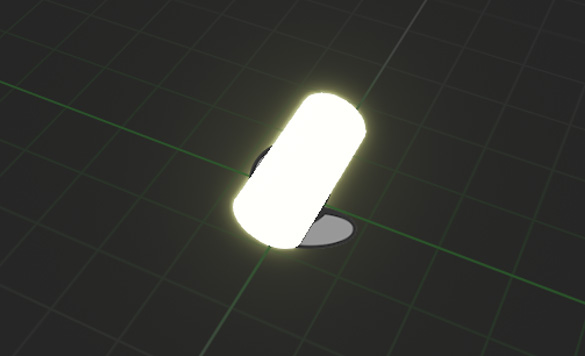
This first Blueprint is our Bullet Blueprint. It is simply a cylinder mesh with a glowing material. It has a function in the Tick event to move “forward” until it reaches a distance from it’s origin, then remove itself back to the Actor Pool.
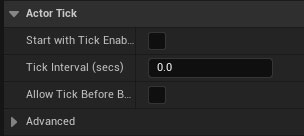
Note that we turn off Tick by default for the actor, the pooling system is in charge of enabling Tick if it’s wanted. In the Blueprint, select the “Class Defaults” from the top toolbar, then in the Details panel, untick the “Start with Tick Enabled” tickbox:

Step 2. Create another Blueprint based on rdActor
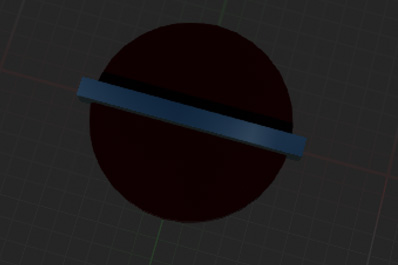
This Blueprint is our base that fires the bullets, it rotates around at a fixed speed, firing at a fixed interval.

In the BeginPlay event, we simply set how many actors we want in the pool, seeing as our bullets are being driven by tick (just for the tutorial) we also want to make sure “Do Tick” is ticked.
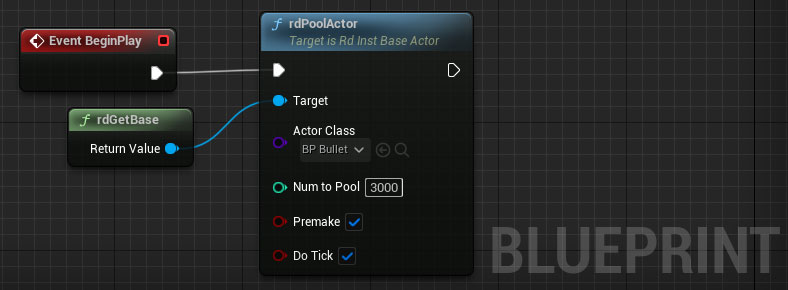
And the FireBullet Function, which is the part that spawns an actor from the Pool:

Step 3. Done – drag a base blueprint into your level and play.
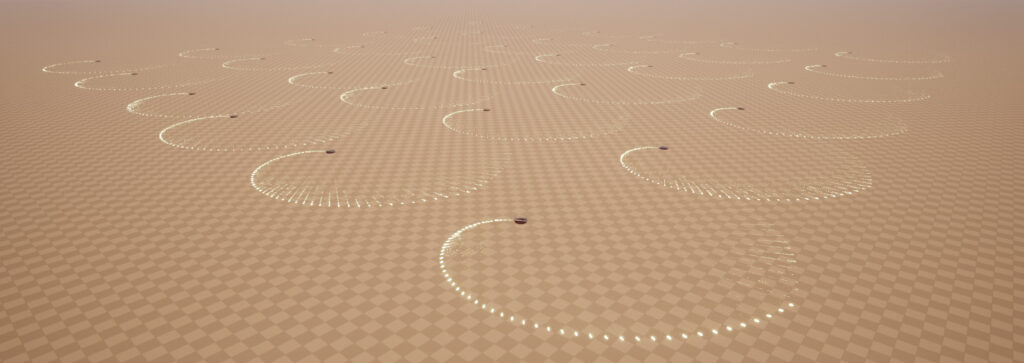
Step 4. Pool and Depool Events
If you want to do things such as turn on and off Niagara effects in your Pooled Actors or Components, you can use Custom Pool and Depool Events to execute your own code when the actors are added and removed from the level.
If your Pooled actors are Subclassed from rdActor – you can simply override the Pool and Depool Functions from your actors Blueprint Editor.
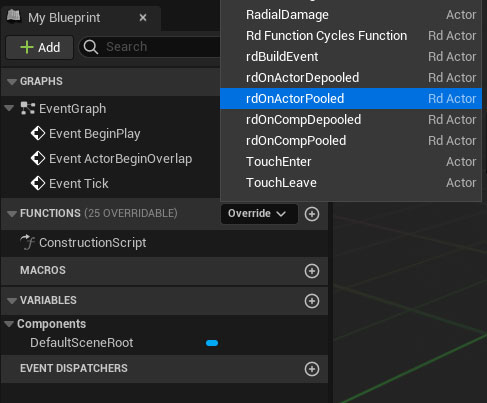
If your Pooled actors are not Subclassed from rdActor you can add a “Pool Listener” which is an rdActor in your level, you assign that as the listener for all your Pooled objects, and in that actors Blueprint you override those Pool and Depool Functions. The Actors and Components being Pooled/Depooled are passed in as parameters.

If you’re wanting the Events from C++, you can simply derive the Pool/Depool methods:
void AMyrdActor::rdOnActorPooled_Implementation(AActor* actor) {

	UE_LOG(LogTemp,Display,TEXT("rdOnActorPooled"));
}

void AMyrdActor::rdOnActorDepooled_Implementation(AActor* actor) {

	UE_LOG(LogTemp,Display,TEXT("rdOnActorDepooled"));
}