rdInst Tutorial17 – Using Pooled Actors with Movement Components
Last Updated: 14th April 2023
Tutorial created using rdInst version 1.22
Often your pooled actors will be projectiles of some type – and sometimes you’ll be wanting to use the MovementComponent or ProjectileMovementComponent to control its motion.
When doing this, there are a couple of things to keep in mind:
- Start your pooled actors with “Auto Activate” turned off.
- Add Pool Listeners – Activate the MovementComponent on the “rdOnActorPooled” event and Deactivate on the “rdOnActorDepooled” event.
- These components call “FellOutOfWorld” when the actor, well, falls out of the world. If your pooled actor is SubClassed off rdActor – there is nothing you need to do, otherwise you will need to Derive FellOutOfWorld() in C++ and stop it from calling the Actor Destroy() – if you don’t the pooled actor is destroyed and you can cause a crash.
Step 1. Create a Bullet Blueprint (based on rdActor)
This first step is the same as Step 1 of Tutorial 13, except we use a ProjectileMovementComponent to handle the movement rather than just adding a vector in tick.
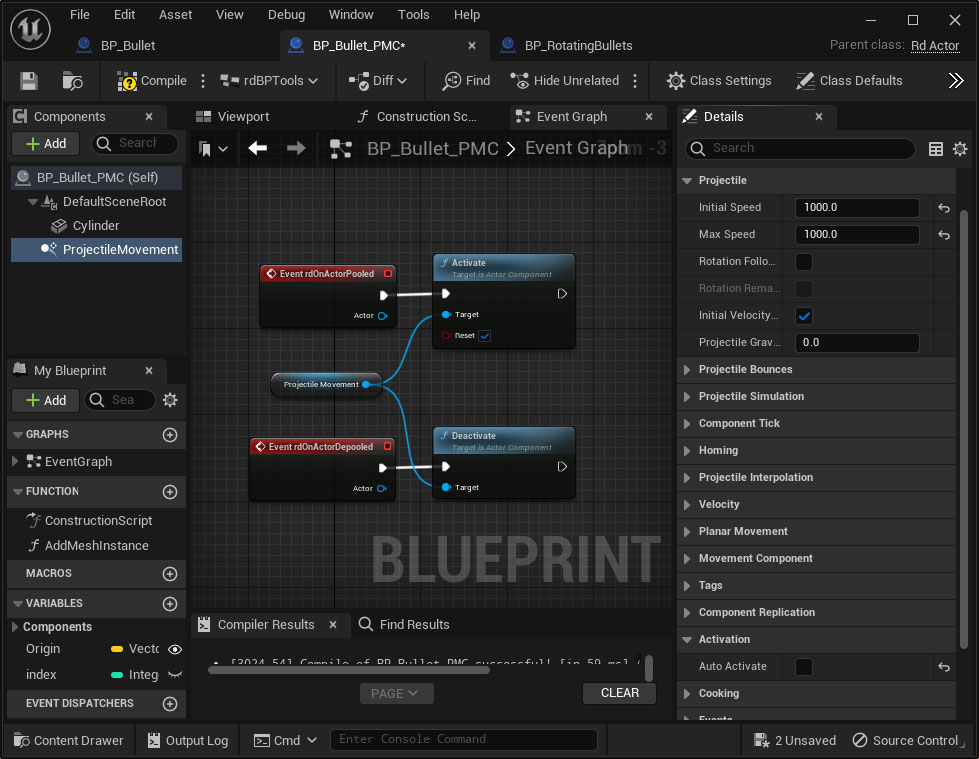
Add the ProjectileMovement Component from the Component Pane on the left.
With it selected, Set the Initial and Max Speeds – and set the Gravity Multiplier to 0.0 (or a low value) if you don’t want your projectile falling to the ground, then find the “Auto Activate” option in the details, and un-tick it.
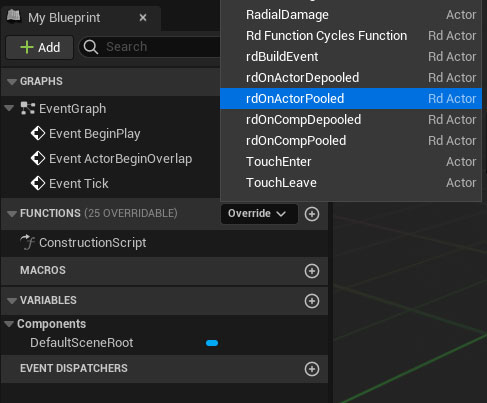
Override the Pooling events (rdOnActorPooled and rdOnActorDepooled) and Activate/Deactivate the Movement:
In the Activate Node, make sure the “Reset” option is ticked.
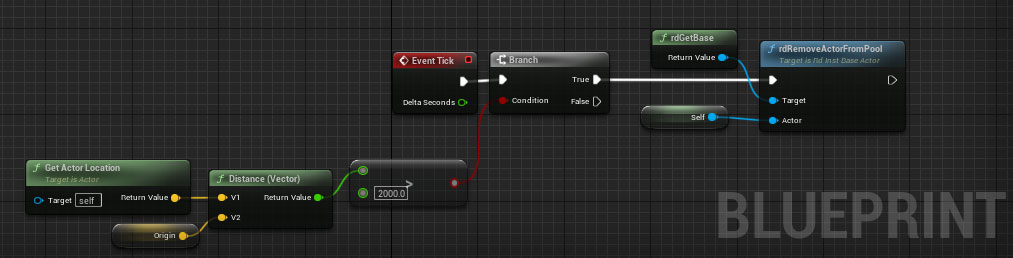
Now we just need to add a bit of code to tell the bullet to stop after a certain distance (just in tick for example):
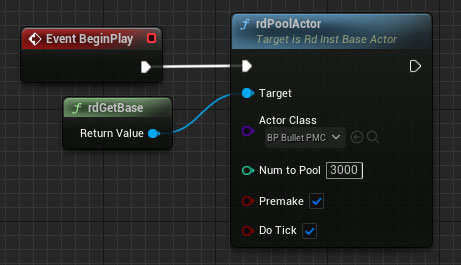
Step 2. Create a Base Blueprint (based on rdActor)
This step is exactly like Step 2 of Tutorial 13, just replace the Bullet Class in the Pooling to our new Bullet Class.
And in the FireBullet function, just change the bullet class, and make these changes:
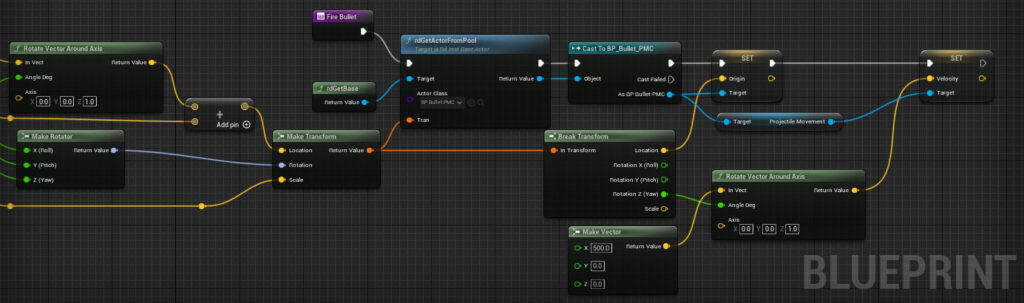
Step 3. Done
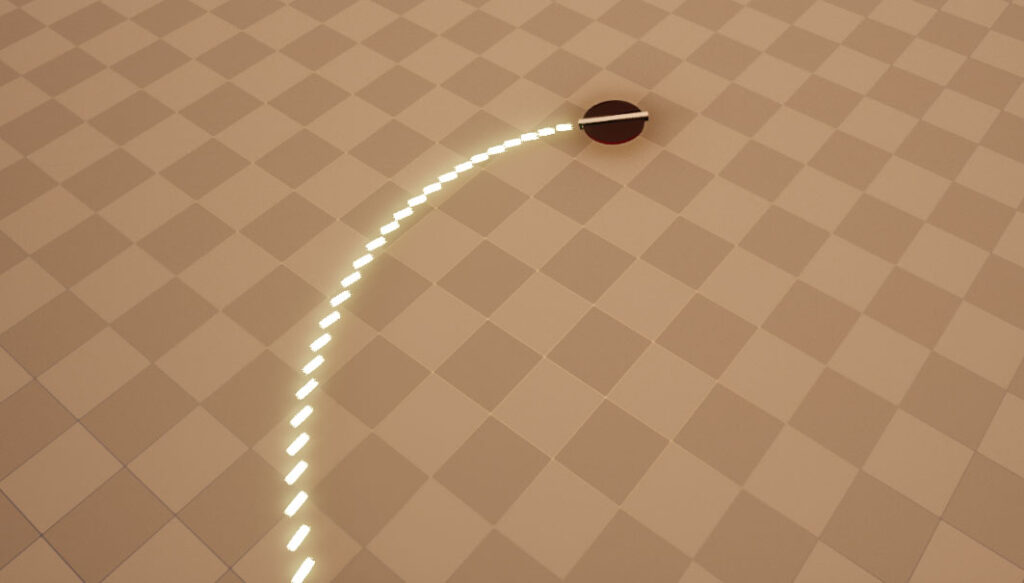
That’s it, now you should get something like: