rdBPtools Tutorial 15 – Creating a House with Rooms
Last Updated 1st April 2024
Tutorial created using rdBPtools version 1.10
This tutorial will combine a lot of the tools rdBPtools provides – and the result is a House Blueprint where each room is randomly set up (set by it’s own seed) and moved into position when the character gets close to the door.
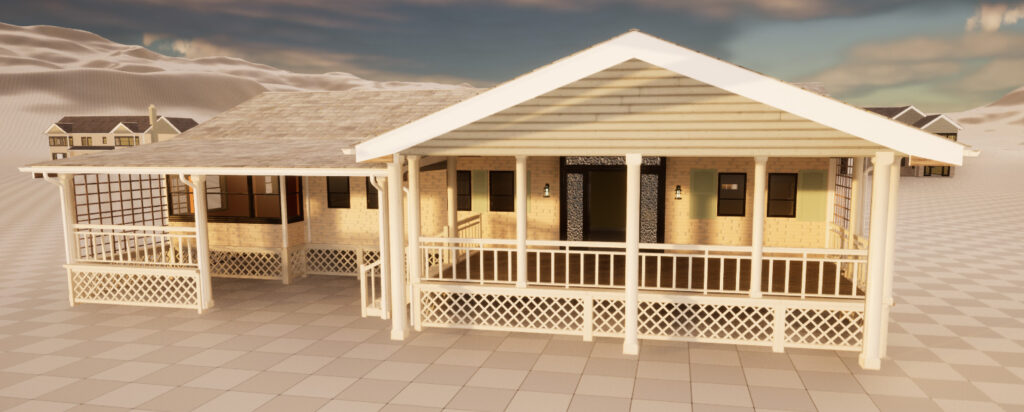
The House here is created using a combination of Assets from the “Modular House” by QuadArt, “Modular Neighborhood Pack” by Dokyo and “Modular Neighborhood Interior & Exterior Pack” by Relentless Games:
https://www.unrealengine.com/marketplace/en-US/product/modular-houses
https://www.unrealengine.com/marketplace/en-US/product/modular-neighborhood-pack
https://www.unrealengine.com/marketplace/en-US/product/modular-neighborhood-interior-exterior-pack
Step 1. Create the Randomized Objects for your rooms.
The first step is to build a library of Randomized objects – Things like Pictures, Beds, Curtains etc can all be made into Blueprints that randomly choose a set of objects to show. They can also contain Themes, so if you set a theme, it will only choose from a set within the total set.
These Blueprints can be reused for virtually any type of room (and of course not limited to room items). Once you’ve made it – you can just drop in into your scene where-ever and when-ever you wish. The following steps show how these can then be baked into your rooms to optimize.
Step 2. Create your House Blueprints
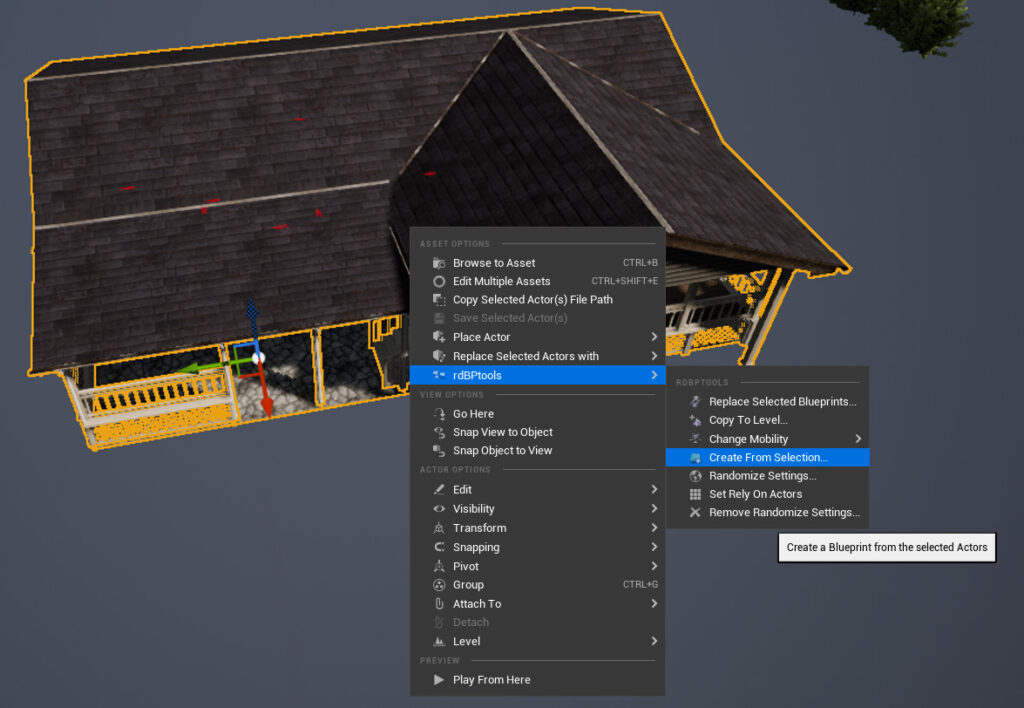
Now build your House Blueprints – just find the houses you’re wanting in existing maps, or create from modular pieces into your own level. Then just select all the parts in the level, Right-Click and select “Create from Selection…” in the rdBPtools menu. Set the options in the Window that opens as you wish – I usually use these blueprints just as “Transport” blueprints, so I retain the hierarchy, but don’t use randomization or Instances Static Meshes, and have the base actor just as “Actor”.
To make it easy to select all the pieces of the house, I find it easier to delete the landscape and anything else around the house that won’t be included. Then I change the view mode to “Wire Frame” and hold down ctrl+alt and drag around the around from a top perspective. If you weren’t in Wire-Frame mode, it would just select the top layers, Wire-Frame selects all objects under too – the same way Blender does.
Step 3. Find the Dimensions and Door/Window Layout
Next we start creating rooms. There’s a few ways you can go about creating populated house – we can build a Blueprint of the room and it’s walls, or just create Blueprints for the objects in the room, and use pre-made houses or Rooms walls.
In this example, I’m using pre-made houses and creating Room objects for specific sized rooms – not limited to just a specific room in a specific house.
The first thing to do is to find the size of the rooms and where their doors and windows are.
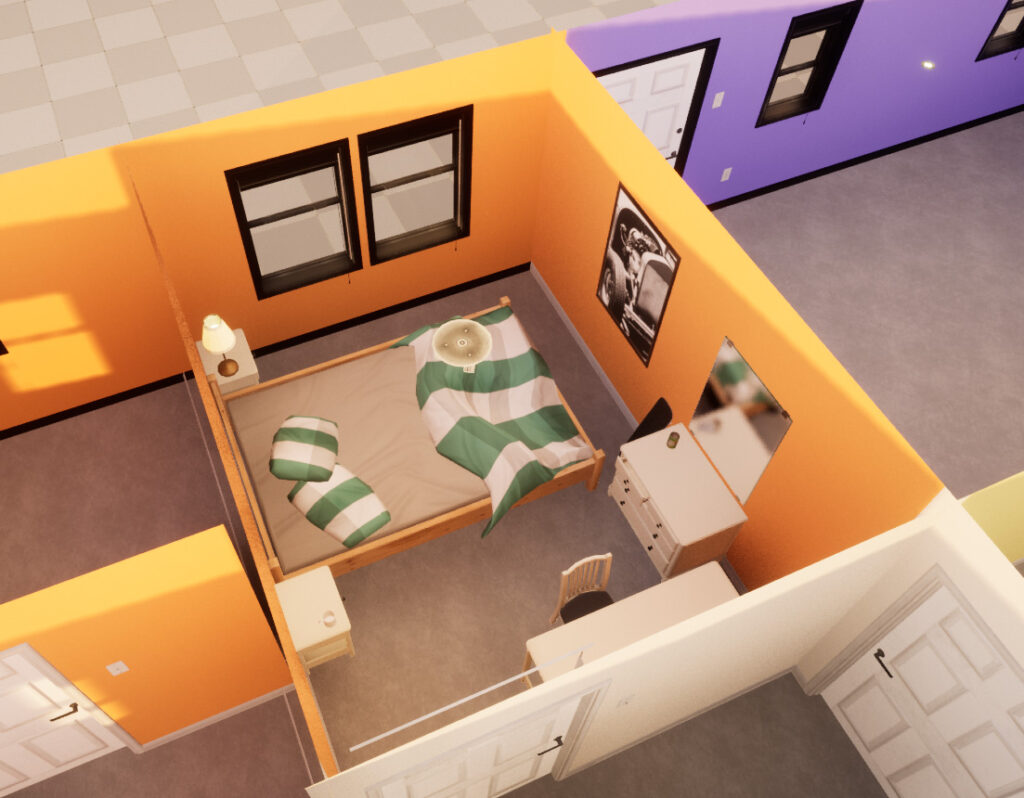
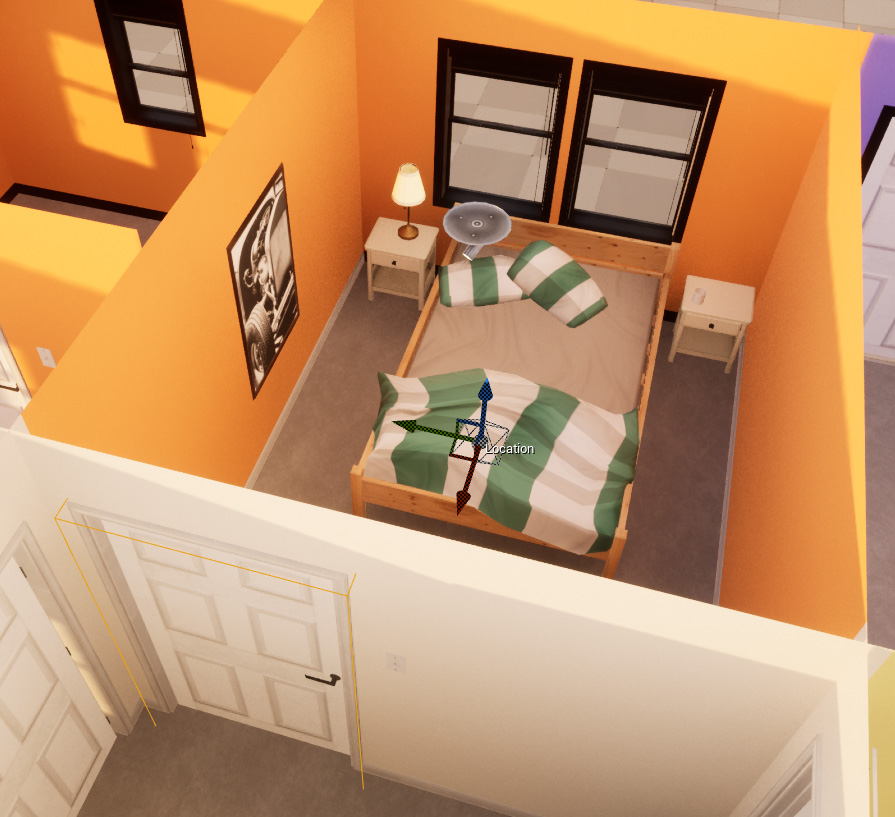
We’ll work on a bedroom first, so the idea is to find a size (box) that fits the bedrooms in your houses.
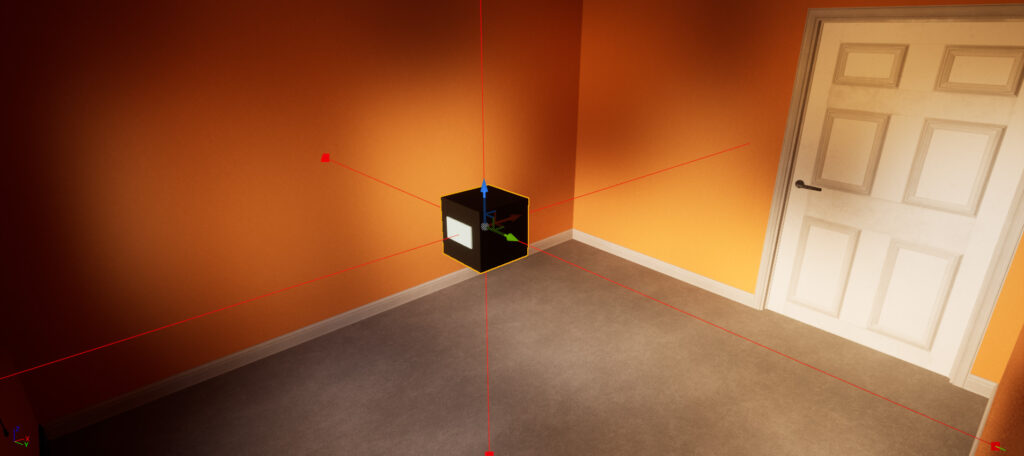
I’ve made a small Blueprint which is an expanding box with boxes to represent the door and windows too, you can drag it into the rough center of a room, then click “expand” and it will fill the room (rectangular only), then select the door/window cubes and move them into position – you can download that Here (4.25 up).
Now you can use that Box Blueprint as a reference to find all the other rooms with the same dimensions. Where the door is will be a factor too – sometimes you can just rotate your Room BP to fit, other times you will need to be creative and make generic type entry points to fit with as many rooms as possible.
Once you’ve done that, you can drag it out into the open level and visually match up to others you have made.
So now we have the correct size (the Dimensions are stored in that blueprint, just look at the details) and where the doors and windows are, we can create the randomized room.

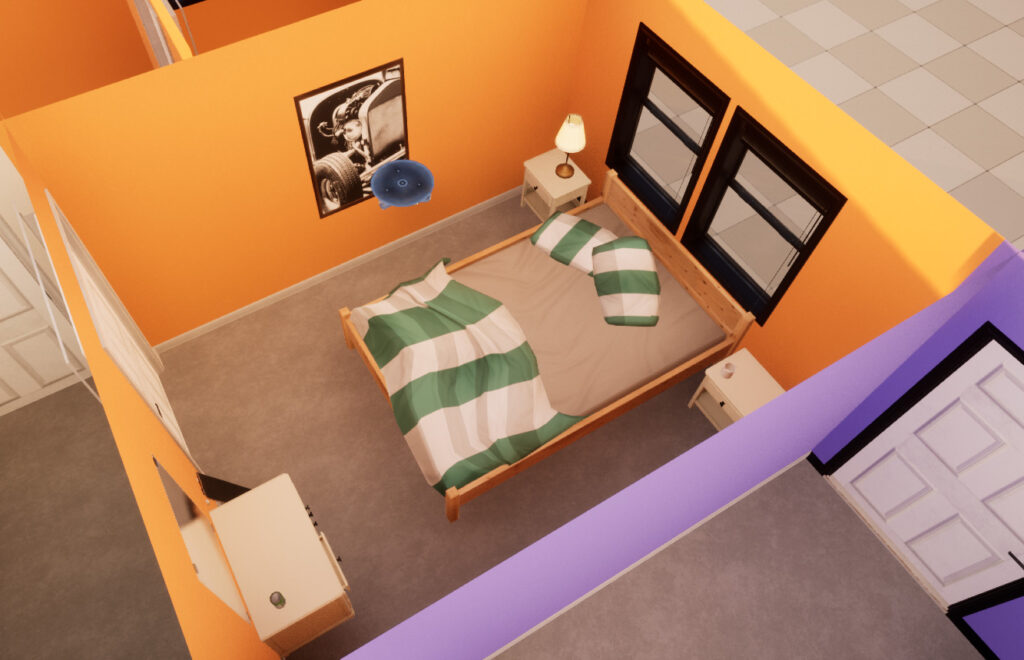
Step 4. Make a few Rooms in that size, but different layouts
To make everything look the most random we need to create a few different layouts for the room. This includes the bed and furniture in different locations, but still respecting the Doors and Windows.
So with these layouts, and randomized clatter within each layout, we now have our rooms. Now we can create a new Blueprint from our layouts that chooses only one of them – using the hierarchical Random Stream.
Step 5. Create a single Blueprint from the Layout Blueprints
Add each of the Layout Blueprints into your level – place them within your “ExpandToRoom” box with the window and doors in the correct place – don’t worry about how they look – the placement is the important thing for now.
To help with placement – you can set the Cube Material for the ExpandToRoom cube to translucent and set the opacity to around 0.5 – then you can see exactly when you’re on the walls (or through them).
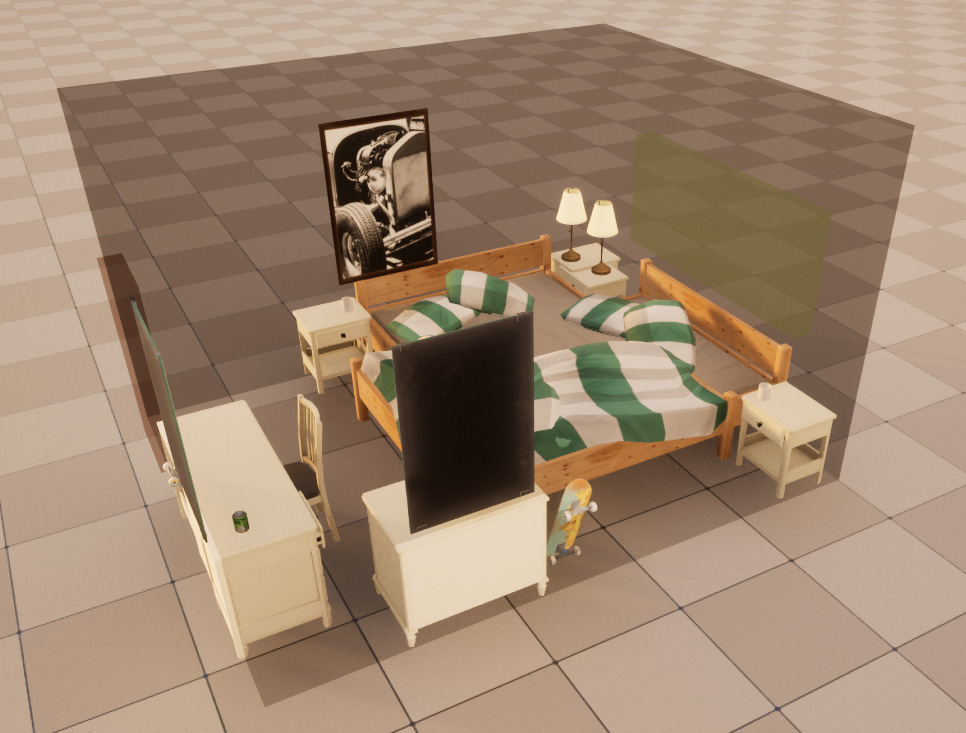
Now move the layout blueprints into unique folders, one for each of the room layouts – those folders can contain as many actors as you want – they will only show when that folder is selected as the visible one.
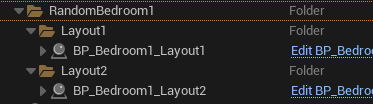
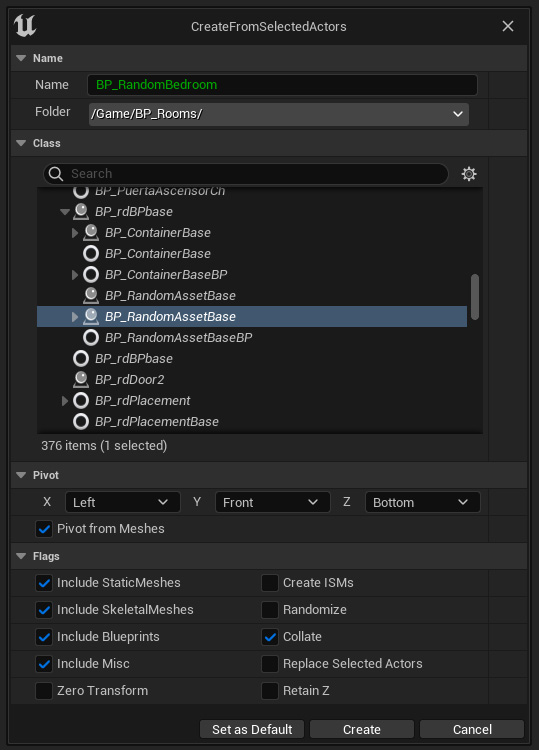
Once they’re placed correctly and in their folders, select them all and choose “Create from Selection” in the rdBPtools menu. Choose the “BP_RandomAssetBase” class – that’s the one that shows only one randomly selected folder – and make sure Collate is ticked but Randomize and Create ISMs is not.
Step 6. Add the Trigger Box
Right, that just leaves the trigger box – just add one of These (UE4.25 up) in front of the door and point it to our RandomRoom blueprint (or give the room a tag, and specify the tag). Align the “Marker” to make the room appear there. And that’s it!
This is a similar Trigger Box to what is used for the Motel Rooms in the previous Tutorials. This one is not subclassed from rdActor though, so is more generic.
Step 7. Done.
That’s it – just test by adding to your level and playing, then moving to the door (you’ll need a door BP to open it too).