Chapter 2 – The Placement Actors
These are the main actors you place in the level and base your builds from. They’re pretty light-weight and can have as many Build Components attached to them as you want.
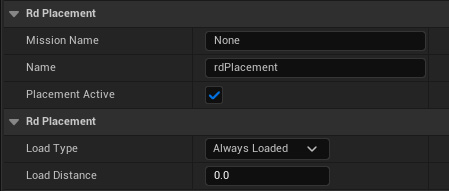
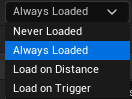
Each Placement Actor can set as Active or not, be set to Always Loaded, or can be set to Load at a specific distance from the player. When “Load from Distance” is set – no building is done until the player reaches the specified distance from the Placement. You can also filter them by a “Mission” name, so they only build for specific missions.
The 4 types are:
Point Placement. Build Components attached to these build blocks in radius from the point, either in 2D or in 3D.
Line Placement. Build Components build blocks along the line in either 2D or 3D.
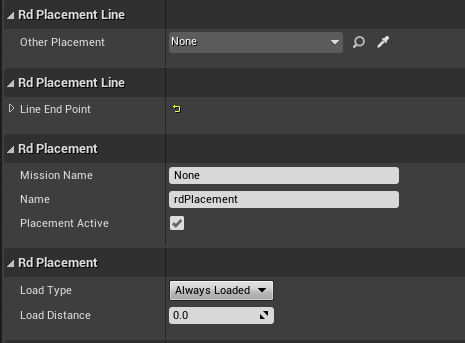
Each LinePlacement Actor has the details as shown on the left. You define the line by either dragging out the “Line End Point” gizmo in the level, or you can choose another Placement Actor as the end point by selecting it in the “Other Placement” property.
Box Placement. Build Components build blocks in the Box, either filled or hollow and either 2D or 3D. The Actor has a Box component which you can drag out to resize when you’ve added to your level.
Spline Placement. Build Components build blocks along the spline in either 2D or 3D. They have the spline built-in, and your Build DropIns access that for their positioning. You can a combination of SplineMeshes, Meshes and Actors.
You’re also able to set a custom Instance Manager for each Placement Actor – just create one in your level, and then point the Instance-Manager reference in your Placement Actor to that.
Adding Build Drop-Ins to your Placement Actors is as simple as Adding their Components from the Details Panel.