rdInst Tutorial 10 – Runtime Instance Transformation
Last Updated: 15th November 2022
Tutorial created using rdInst version 1.12
Another tool rdActors Instances have is the ability to alter their Transform quickly at runtime.
You are able to set any new Transform straight to the Instance without needing to recreate it.
Now objects that have traditionally been left as Static Meshes can be moved to Instances. A good example is Blueprint doors – the Door Blueprint that’s used in the examples for this and rdBPtools is just an Instance that gets it’s rotation changed at runtime.
This tutorial will create a box in a blueprint to represent a door, then rotate that door.
Step 1. Create Blueprint SubClassed from rdActor
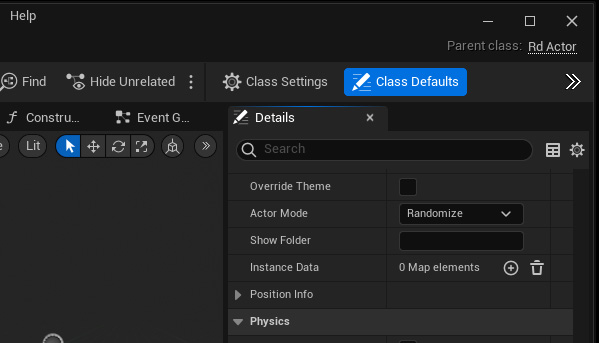
Create a new Blueprint that’s SubClassed from rdActor, open it into the Blueprint Editor, open the “Class Defaults” in the Details Pane, and make sure “Actor Mode” is set to “Randomize”.
Step 2. Add the Cube Instance data
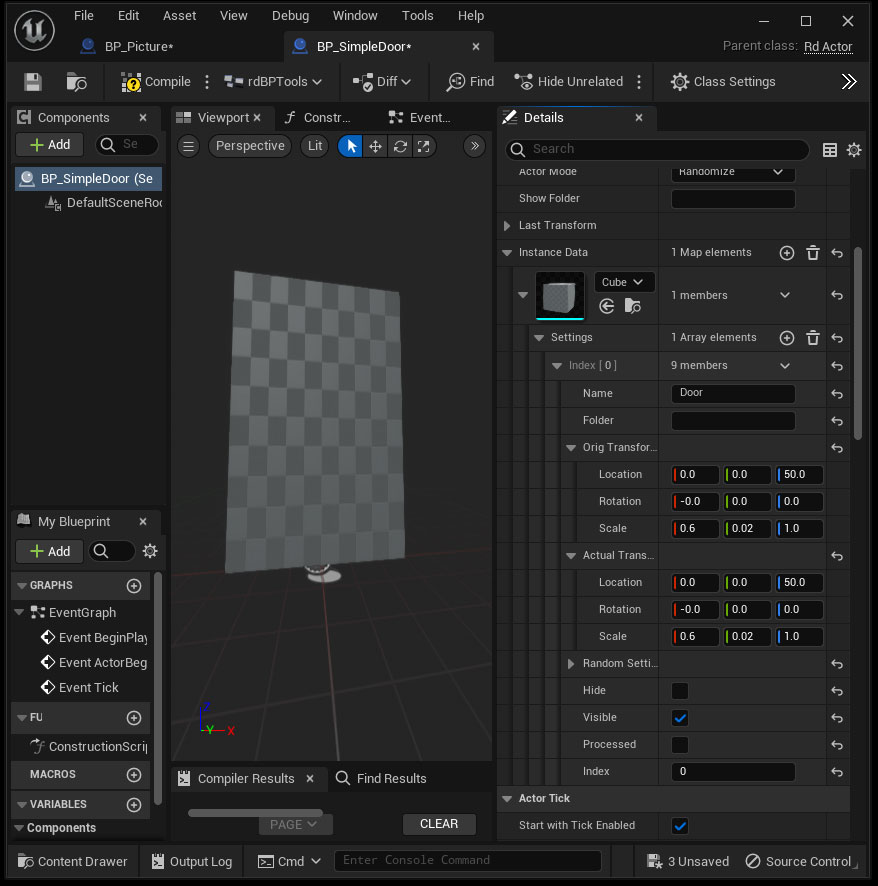
Now add an item to the “Instance Data” map found in the Details Pane:
- in the DropDown for the StaticMesh select “Cube”.
- Set “Name” to “Door”
- You can adjust the Transform, set both Orig and Actual to your desired values.
- If you want any Randomization, set that in the Random Settings.
- If you want random based doors, set a Folder name too.
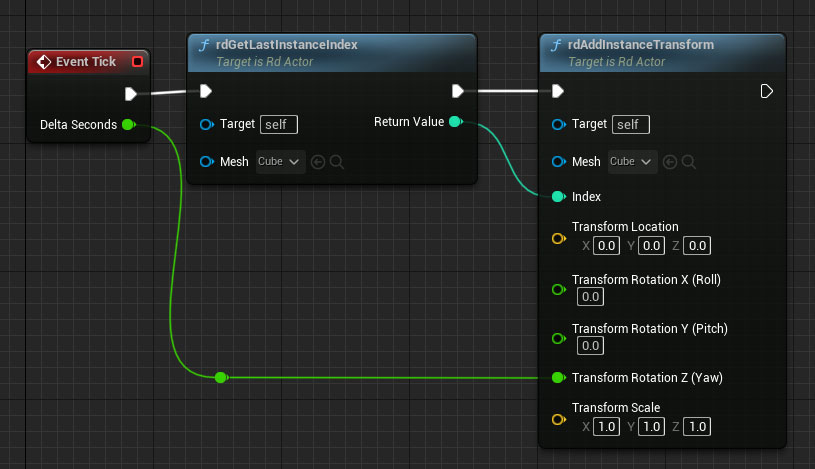
Step 3. Add animated Rotation
All that’s left to do now is add some transformation, for simplicity, this just rotates the cube around in the z axis, the getlastindex node is used to find the last Instance added by this actor and return it’s index:
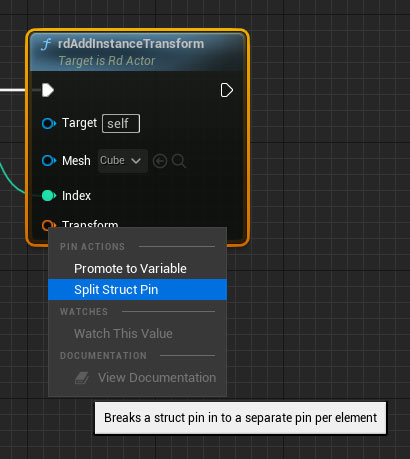
By default you’ll only see a “Transform” pin on the rdAddInstanceTransform node, just right-click near that pin and select “Split” , then do the same for the Rotation.
You can also use the “rdSetInstanceTransform” node which sets the transform to the one you pass in, the AddInstanceTransform Adds it to the existing Transform.
Step 4. Done
Just press play to see the door rotate in the level.