Prev Tutorial – Next Tutorial – Manual – rdLODtools Home – Tips & Solutions
rdLODtools Tutorial 3 – Getting better results for Emissive Colors
This version of rdLODtools has no way of capturing the Emissive output of the meshes materials, that will be added in the next version – but for now there is a way around it for the bold.
You will need to dust off your paint software too.
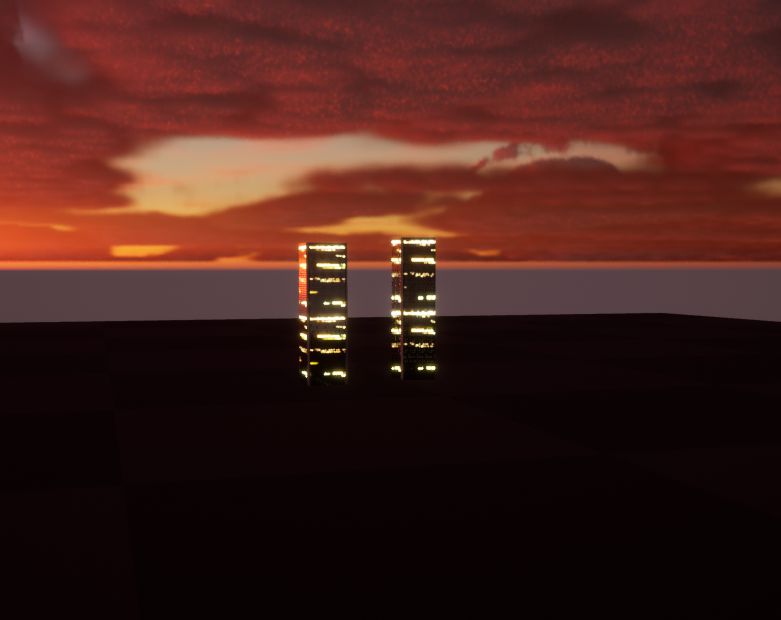
Here is a tutorial on how to get Emissive lighting in windows of a building. The building is from the Epic Infiltrator Demo “HighRise 2” if you’re wanting to look at it.
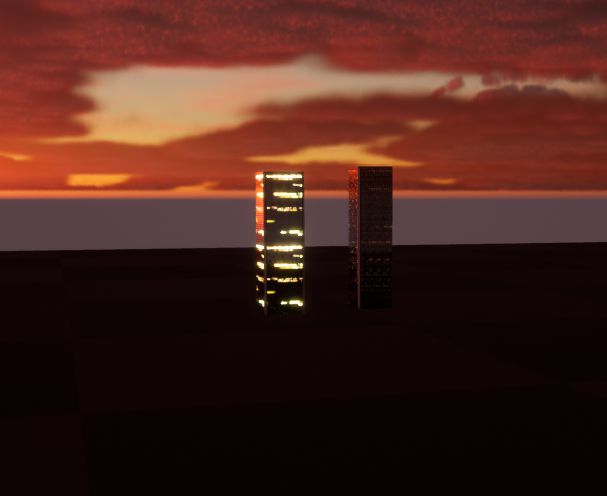
When the Billboard LOD is built, it’s very obvious that it’s different because of the lack of Emissive Colors on the Billboard.
Basically, what we have to do for now is to create a new TextureMap for the Emissive colors and then plug them into the main Material Blueprint.
- The first thing to do is to re-create the Billboard LOD, this time with the “Copy Master Materials” option ticked.
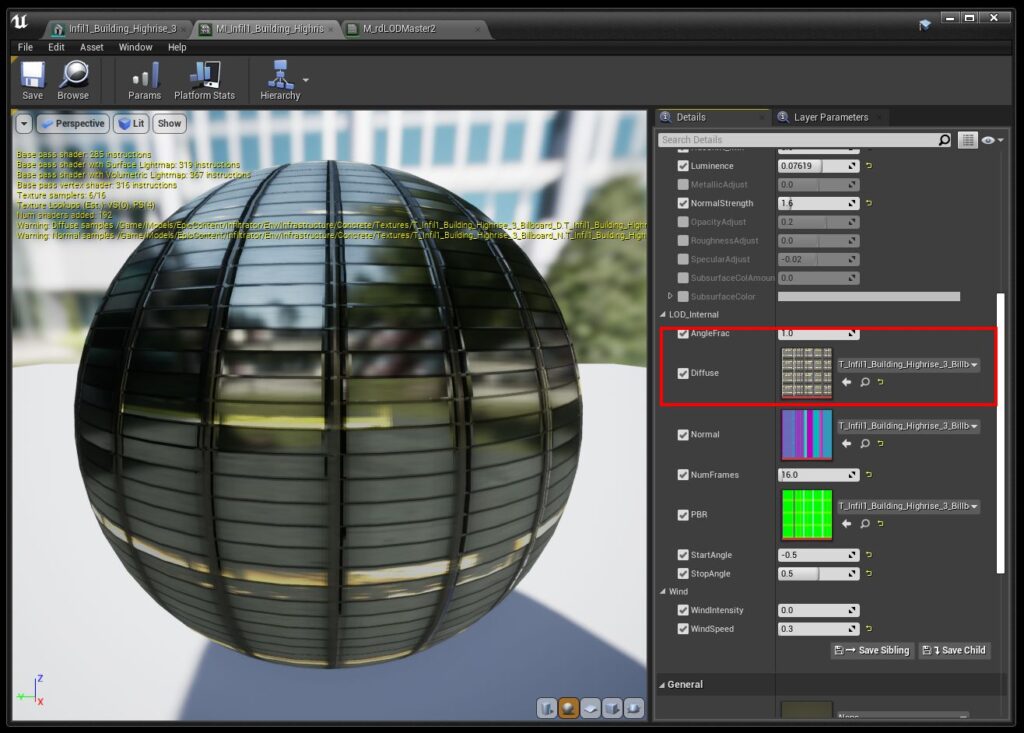
- Then open the Material that rdLODtools has added to the mesh (it will be the last material socket) in the Material Editor.
- From there, Click the magnifying glass next to the Diffuse texture to Browse to that texture in the Browser.
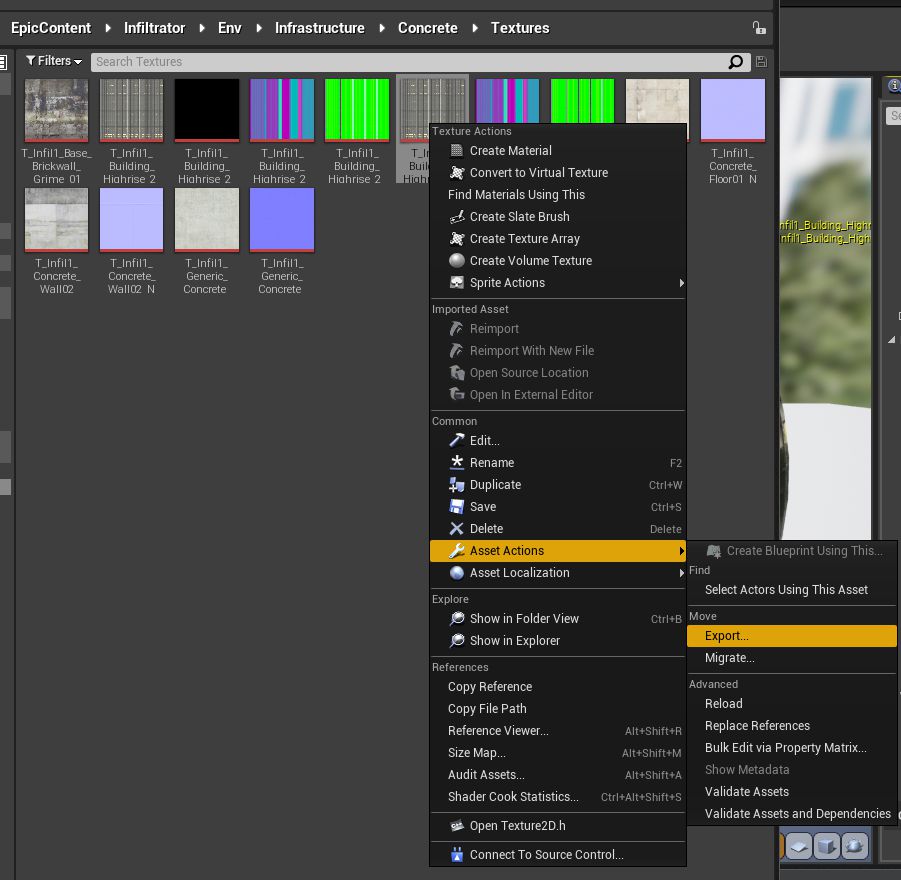
- From here right-click on the Diffuse texture and choose “Asset Actions -> Export…”
Choose somewhere for the file you’ll easily find and let it save. - Open that file in your Paint software next and what you’ll need to do is select the parts of the texture that are high reds and yellows.
I use Krita, and it has an option to “Select from Color Range” – I choose Reds, then added Yellows to the selection.
Paste that selection into a new layer and give it a black background.
Save that out and import it back into UE, I put mine into the same folder as the Diffuse so I wouldn’t loose it.
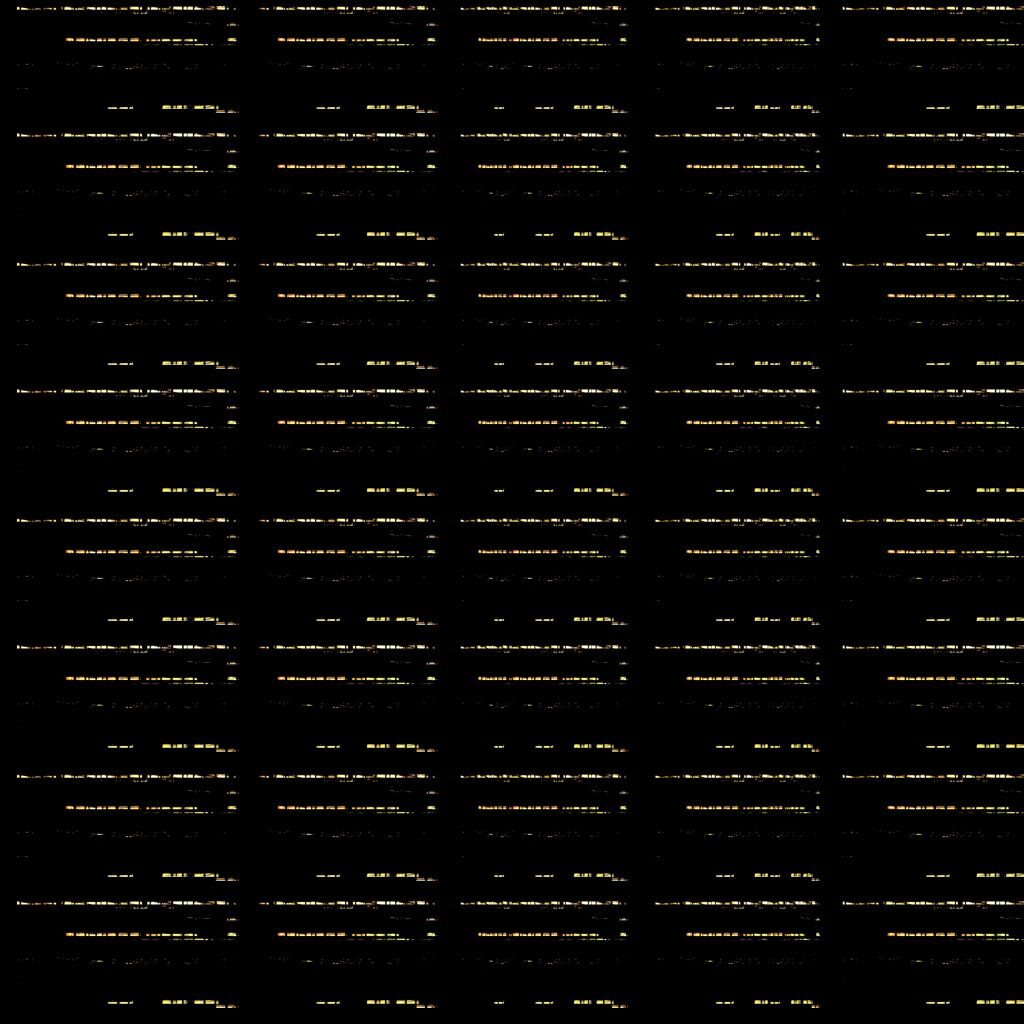
- You should now have a texture that looks something like the one to the right.
The next step is to modify the rdLODtools Base Material that was copied in step 1.
It will be located in the Buildings Material folder – it gets copied to the same place as the Material Instance that is normally created.
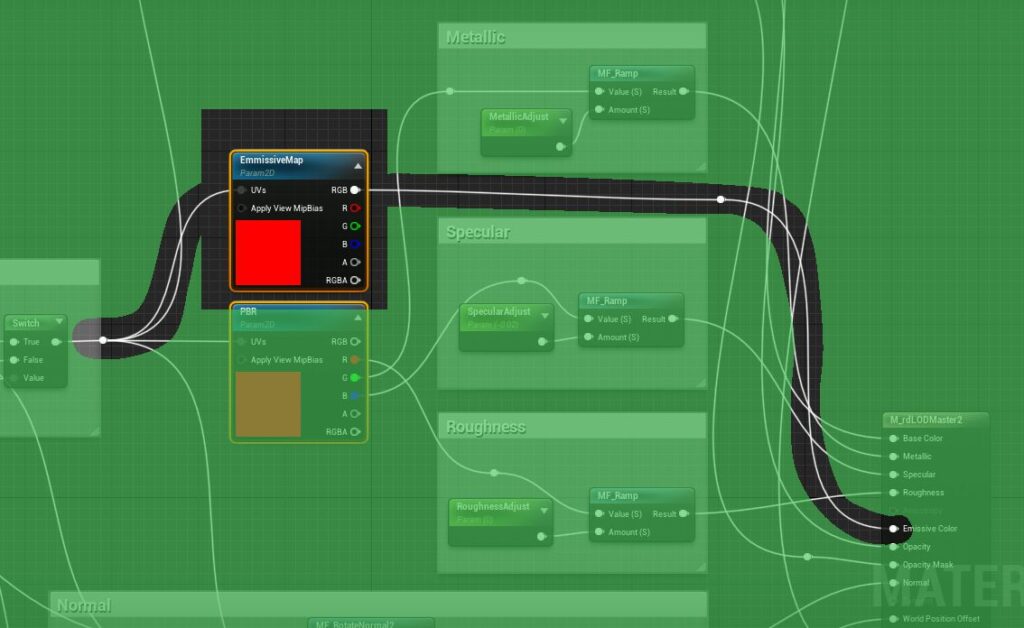
- Open the M_rdLODMaster2 Material in to the Material Editor and add a new Texture Sampler node to the Blueprint and make it a Parameter – called it “EmissiveMap”.
Then link the UV’s to the same pin as the other UV’s go to, and the RGB out just then goes to the “Emissive Color” pin of the Material.
Save that, go back to the Material Instance and the final step is to set the new “EmissiveMap” parameter to the Texture you just created.