rdTexTools Tutorial 3 – Optimizing Megascans Landscape Materials
Last Updated: 6th March 2024
Tutorial created with rdTexTools v1.00
Download Landscape Project – 64.8MB (UE4.25 up)
Note: Megascans has added channel packing as a default option for a lot of their textures now, including the Hyrangea used in this tutorial – their Trees have channel packing and are a little different too.
This tutorial was written for older style MS materials, or MS materials downloaded from UE4/5 in non-packed ways.
It is also compatible with many other types of textures you can find on the internet or the marketplace, so following this tutorial can still be very helpful in learning how to reduce memory by channel packing.
Introduction
Quixel and Epic have provided us with some excellent high quality assets with their Megascans collection.
They have very high detail and high resolution textures. This is great because we get to choose the level of detail we can have in our games. The more optimized each asset is, the more of them we can have in-game.
This tutorial shows you how easy it is to get a huge reduction of resource space, both disk and GPU by using rdTexTools to optimize the textures.
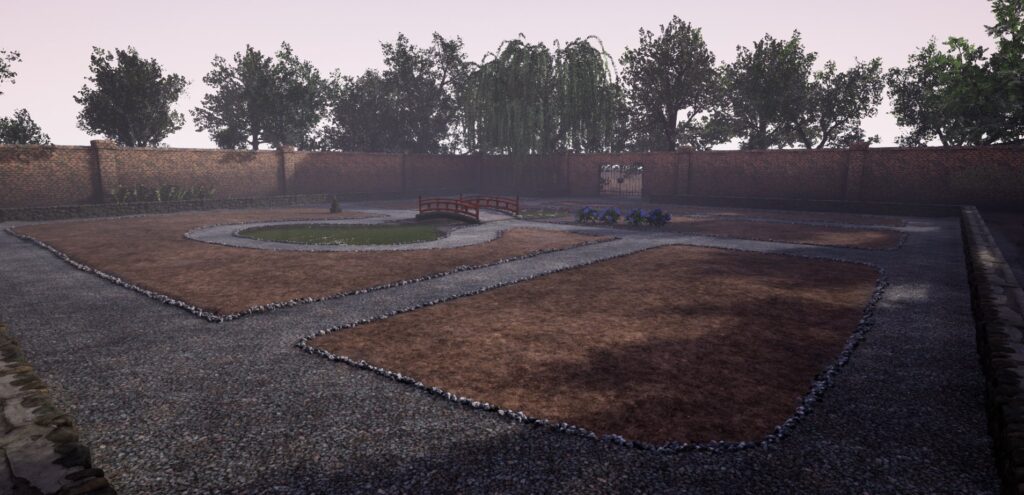
In this tutorial I go into how to create a set of textures from the Megascans collection to build a landscape material that can be painted onto your landscape. It also has some techniques describing how to remove tiling on the Megascans assets along with how to use tessellation.
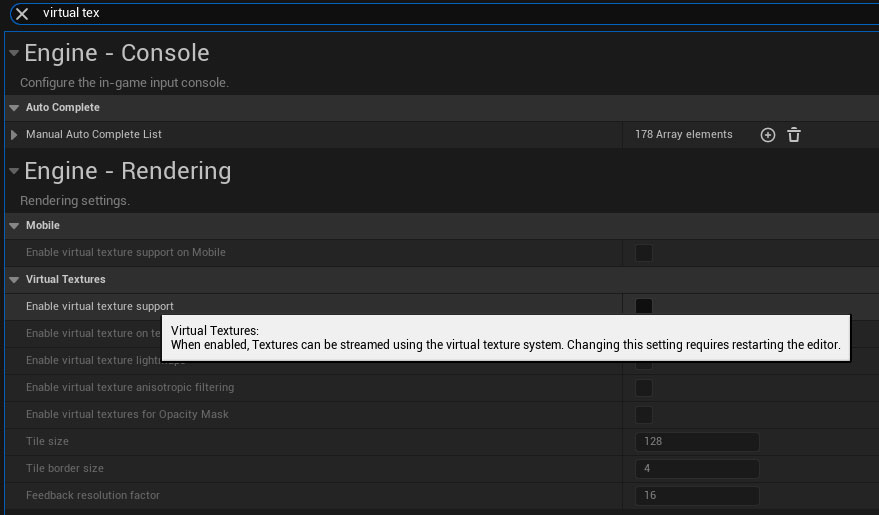
Note: UE5 has “Virtual Textures”. If you want to keep any textures you’ve created compatible, you’ll need to convert them to Virtual Textures too. Another option is to convert them to ordinary textures while editing, then convert them back – or alternatively, disable virtual textures.


The Landscape material will have a Gravel layer, a Mossy-Stones layer, a Potting-Soil layer, and a Soil-Mulch layer. These are all downloadable from the Megascans Bridge Application.
You can use Bridge to import the textures and meshes into the Unreal Engine or just import them by dragging the textures and meshes into your project content browser from the Bridge Download folder.
For completeness, this tutorial creates the materials from scratch, so I’ve imported the textures and meshes by hand.
This tutorial uses 4K textures, the same percentage of savings come if you use 2K or 8K.
