rdTexTools Tutorial 6 – Working with the Stat Tools
Last Updated: 7th November 2021
Tutorial created with rdTexTools v1.10
Introduction
rdTexTools provides a tool to quickly calculate how much CPU memory and Disk footprint your selected textures take up. It can be very helpful to be able to easily see the exact amount of memory used when you make changes to the textures optimization.
The most common optimization for textures will be changing the LOD bias – this forces the texture to use a smaller LOD of the texture. For instance, if your texture is 4096×4096 – you can change the LOD Bias to 1, and it will be used internally as a 2048×2048 texture. When you package the project, the texture is also saved at the smaller size.
Note: only square, power-of-two textures can have LODs.
Stat Tool 1. Memory statistics
Step 1.
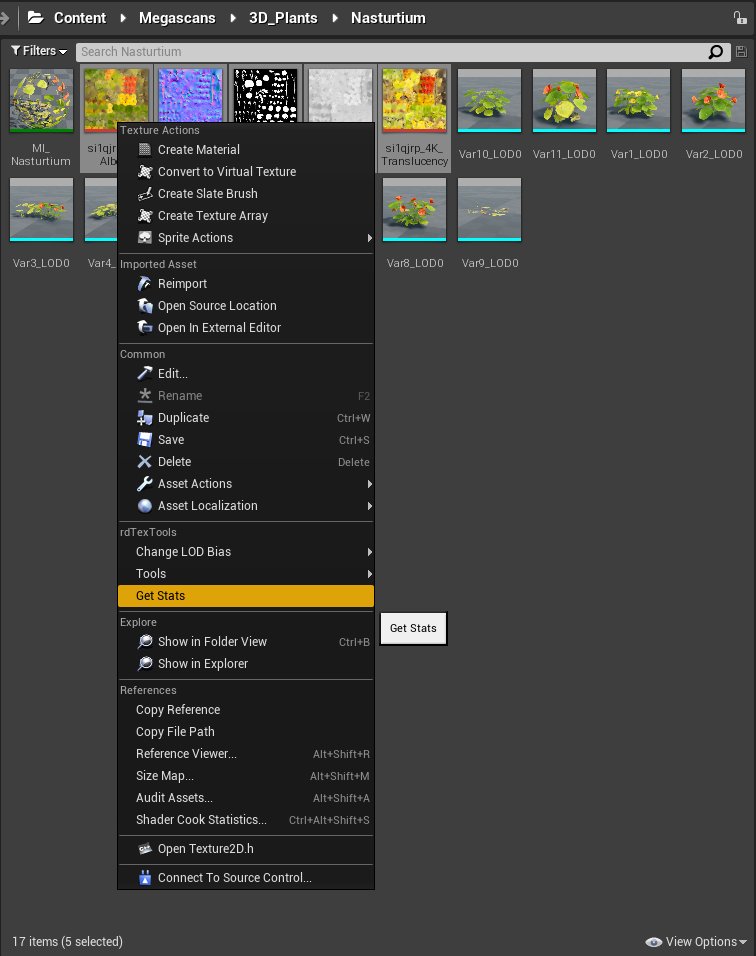
In the UE content browser, select the textures you wish to optimize, then right-click and select the “Get Stats” option from the menu.
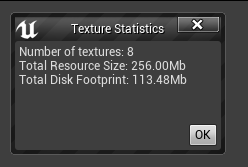
This then calculates the total GPU memory and disk footprint for the selected textures and displays the results in a window.
Step 2.
These textures are 4K (4096×4096), so let’s try changing the LOD bias to 1 to reduce the internal size to 2K (2048×2048).
With the textures still selected, right-click again and this time use the “Change LOD Bias” menu and select “1” from the sub-menu. You could also use the “+1” option, this will move each texture down one bias – eg if the textures LOD bias is 0, it will change it to 1 – if the LOD bias is 4, it will change it to 5 etc.

Once you have done that, you can again quickly select the “Get Stats” option and find the savings made by changing the LOD bias:
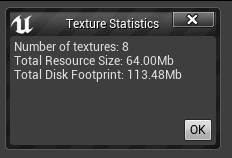
As you can see, that has reduced the CPU memory usage down to 25% of the original.
The disk footprint remains the same as the textures are still stored on disk at their original size.
This concept can be used for any of the optimization techniques you use – it can prove to be invaluable to be able to quickly see exactly how much memory you have saved (or used)!
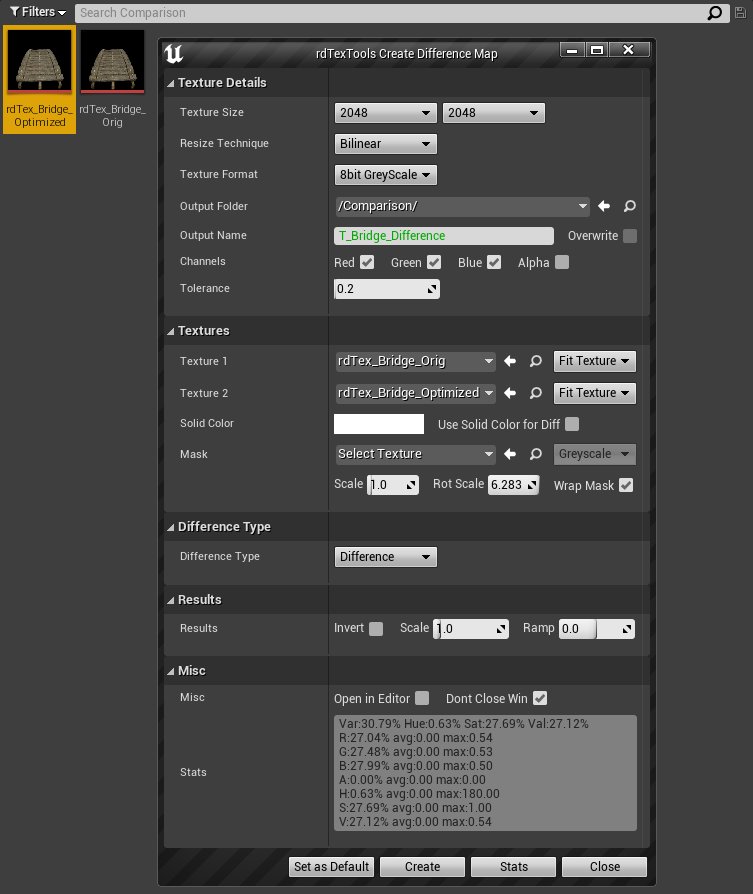
Stats Tool 2. The Texture Difference Statistics
This stats tool is located in the “CreateDiffMap” tool. If you open this tool from either the context menu or from the Texture Editor toolbar menu you can see the “stats” button at the bottom-left.
This stats tool goes through each pixel of both files and calculates the difference between them in RGB and HSV color space, generating statistics on the changes.
This tutorial examines the difference between the Megascans rdTextTool Surface tutorial scene (a snapshot) using the original 4K textures and it using the optimized textures.
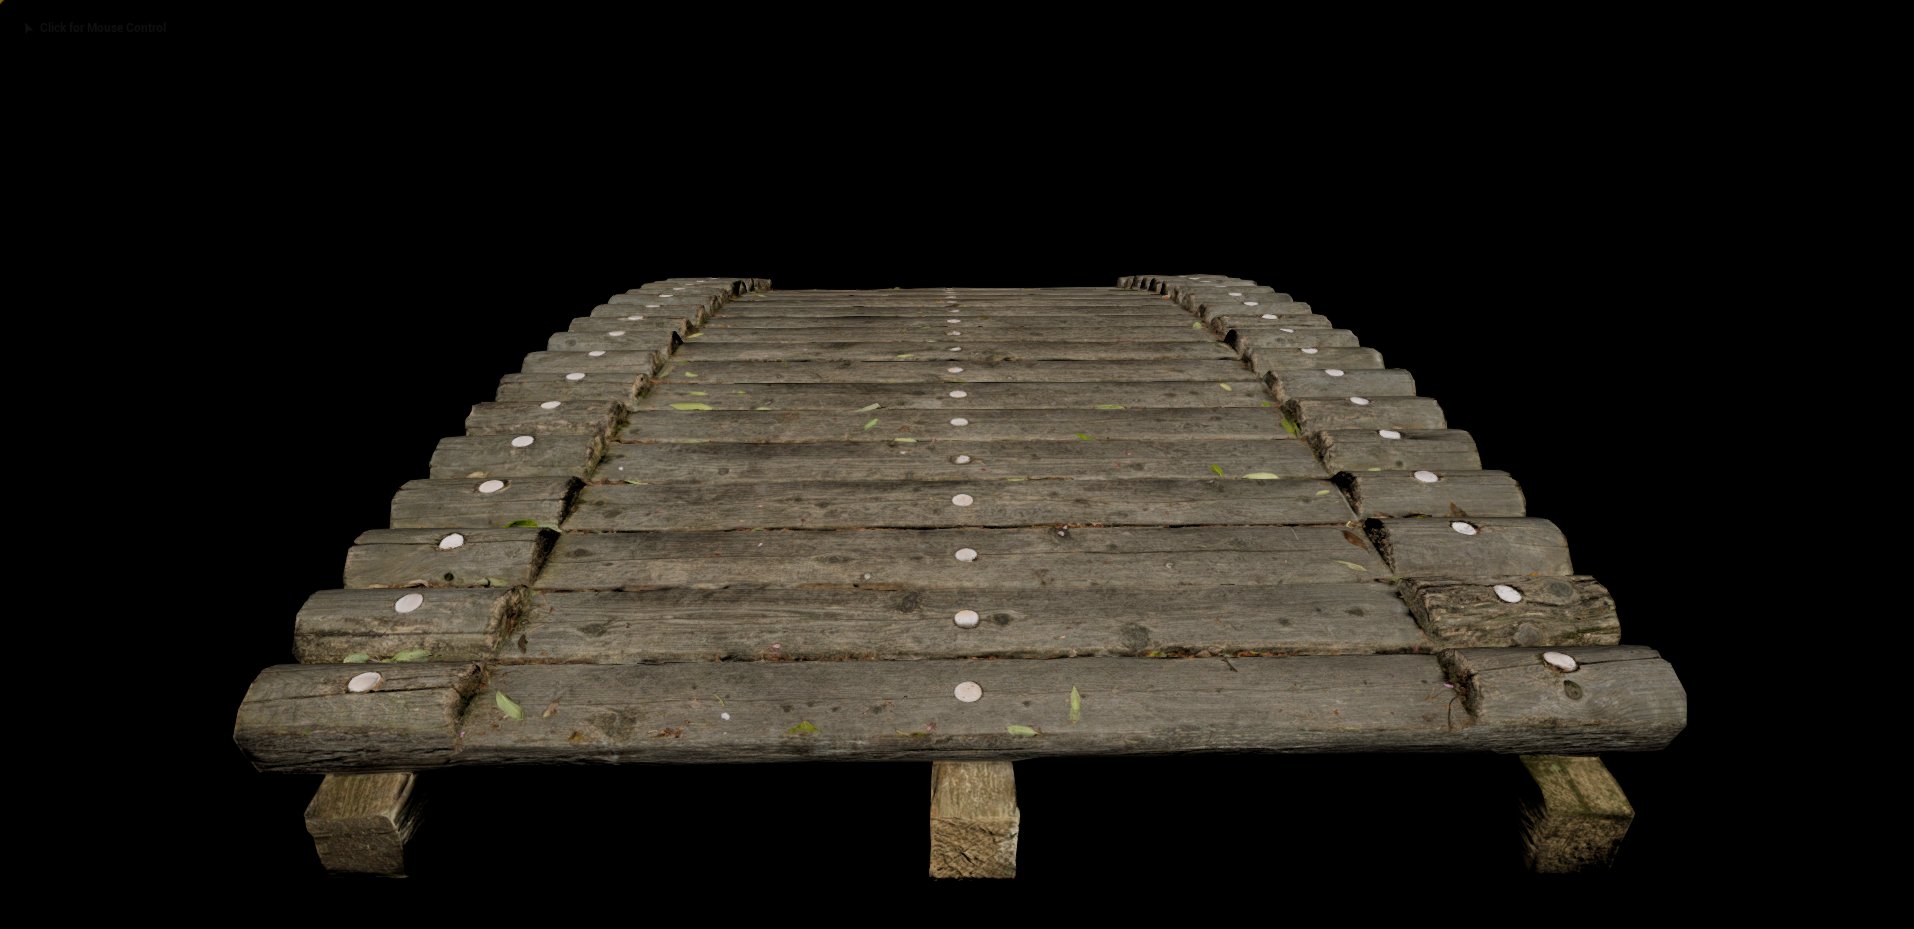

First you make snapshots of the scene in the Unreal Editor using each material set keeping the camera in exactly the same place (or use a Camera Actor). For this test, it uses an empty scene with just the Bridge and a Light. Having reflections or lighting effects would have made the stats incorrect.
You can also change the ViewMode to Unlit or use one of the Buffer Visualizations such as World Normal, Roughness, Specular etc.
- Then import the two snapshots into UE and open the “CreateDiffMap” tool, selecting the two textures as Texture1 and Texture 2.
- The Texture size isn’t important here, just close to what the snapshots are.
- Use Nearest Neighbor for the resize technique so it’s accurately showing the correct changes.
- The Difference Type for this example is “Difference”.
- Now the “Stats” button has enough information, so it enables, clicking it products the statistics in the Stats box.
You see that there is quite a difference at 30% variation – we can find out more next… - Clicking “Create” now creates a new texture with the difference of each pixel – this gives a good way of seeing the difference in every area of the textures and a quick way to highlight any discrepancies.
This creates a difference map as shown below – a grey color of 0.5 denotes no change, white a positive change and black a negative change. We can see that the places with the most change are the shadows, so there are some things we can do to get them a little closer.

There are a number of things you can do to help reduce this, they’re mentioned in the MegaScans Surface tutorial. For this tutorial though, we will just set the mip-map interpolation type to “Sharpen10” for the Normal map and “Sharpen5” for the Diffuse:
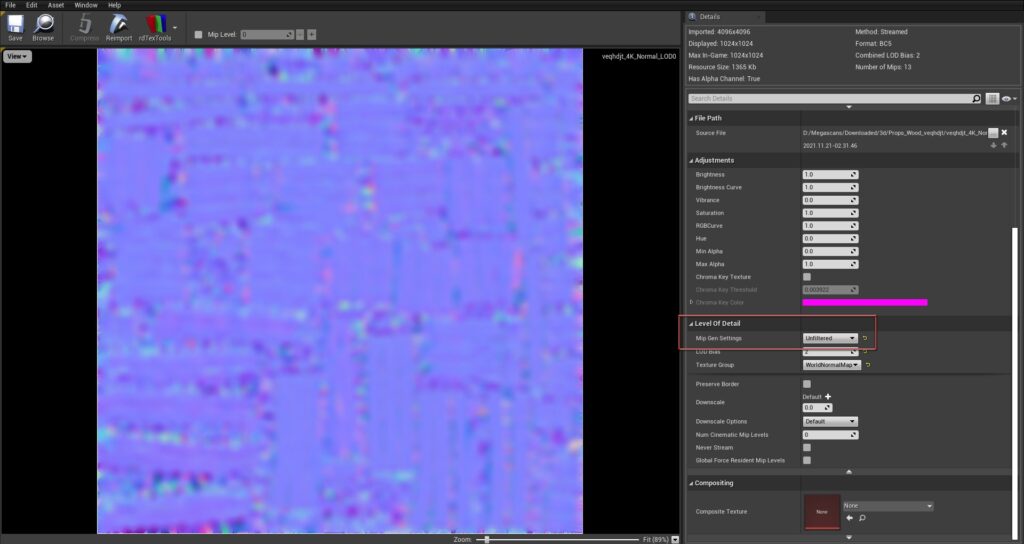
This can keep more of the dark areas in the Normal map. That produces the following result:

The Difference tool can be very handy to analyze and find ways to optimize your textures, this tutorial just scraped the surface. The other tutorials show different ways it can be used, but the limit is your imagination.