rdTexTools Tutorial 7 – Using rdMasks
Last Updated: 6th February 2023
Tutorial created with rdTexTools v1.10
Introduction
rdMasks are just an extension to noise masks. They contain a noise mask in the Red Channel of an RGB texture, random rotation data based on highlights in the noise map and random scale data based on the same.
These masks can be stored as 8bit, 16bit or float RGB formats.
The data is usually used for masking operations in rdTexTools which reads the mask pixels from the source data and isn’t affected by GPU compression. If you use these masks in shaders, be aware that the default compression of BC1 reduces the pixel channel data to 5 or 6 bits per channel.
These extra channels allow rdTexTools to not only interpolate the pixel colors between textures, but rotate and scale the second texture while merging. Both textures can be the same source.
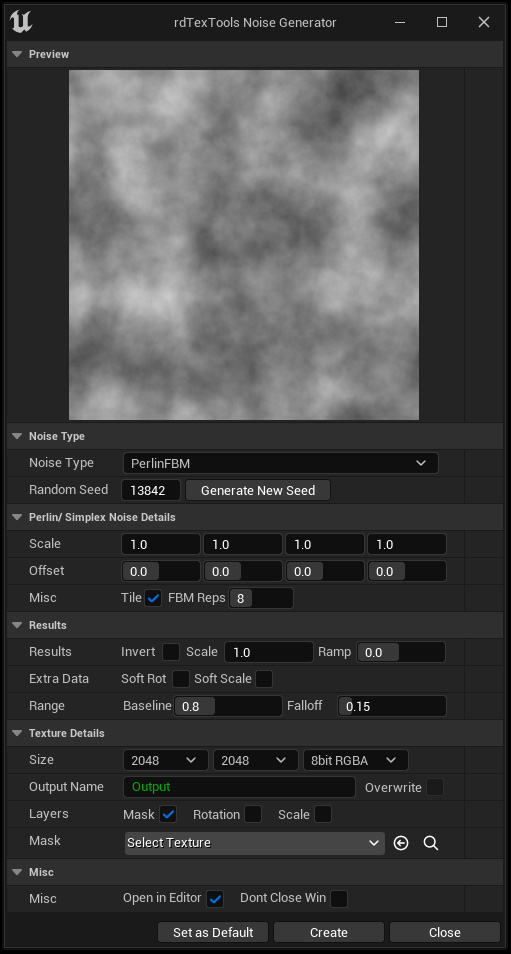
rdTexTools version 1.1 has a noise generator that can create various types of tile-able and non-tiling noise including Perlin and Perlin Simplex (both with plain or Fractal Brownian Motion applied),Worley, Voronoi, Random Walk, Random Blocks, Bricks and Blobs.
It also creates maps with random rotation and scale data that fits the noise and can be used as distortion maps.
This tool is available in the current version, but for quickness, at the bottom of this page there are some rdMasks I’ve created that you can download and use…
How it works
The CreateDiffMap tool has routines built in to distort your textures with the rdMasks.
It reads through the pixels of the source textures 1,2 and the rdMask:
When the rdMask noise layer is 0.0, source texture 1 is written to the destination.
When the rdMask noise layer is 1.0, source texture 2 is used to read from, the current x & y position of the pixel for reading is scaled by the Blue channels amount (0.5 is unscaled, 0.25 is twice the size, 1.0 is half the size) and rotated by the Green channels amount (0.0 is 0 degrees, 1.0 is 360 degrees).
When the rdMask noise layer is something between 0.0 and 1.0, the two textures (with scale/rotation on the second) are interpolated.
Below are a couple of short tutorials that show how to use the rdMasks with the CreateDiffMap tool.
Tutorial 1. Warping a Logo
This is a simple tutorial that just shows how the rdMasks work.
Step 1.
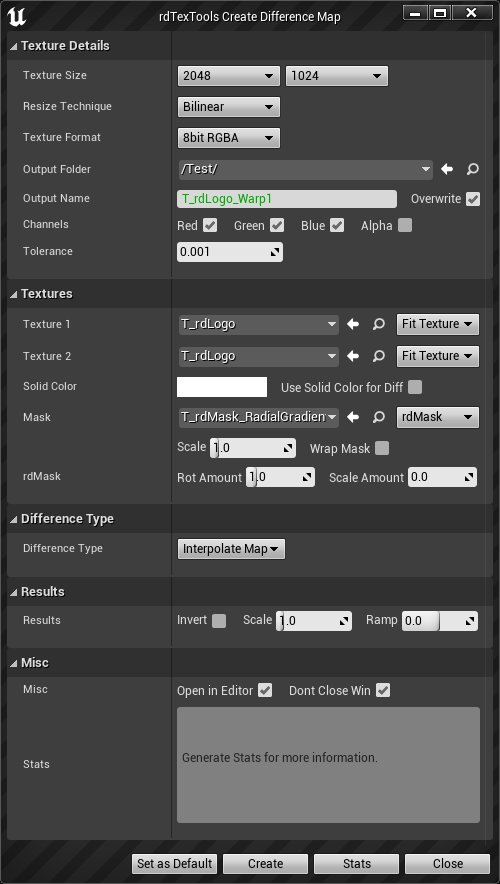
- Download this rdMask, unzip and import into your UE project – it’s a simple radial gradient from 0.0 to 1.0 in the center in the Green and Blue channels and flat 1.0 in the Red channel (to rotate/scale all pixels in the texture).
- Open the CreateDiffMap tool from either the Texture Editor or the Content Browser context menu.
- Choose the same resolution as the logo, choose an output name for the texture and select Red,Green and Blue channels.
- Select the Logo as both Source Textures 1 & 2, and ensure they are set to “Fit to Texture”
- Choose the rdMask you downloaded and imported in step 1. as the mask and set the type to “rdMask”
- Set the Rotation Amount to 1.0 and the Scale Amount to 0.0.
- Set the Difference type to “Interpolate Map”
- Click “Create”

The result is a warped logo, following the curve of the linear gradient map.
Tutorial 2.
Warping logos wasn’t really the intention when creating this tool, so here is a tutorial that shows how the rdMasks work in their intended way.
To easily see the visual differences, this tutorial uses a texture with a grid pattern on it, if you are wanting to experiment with this tool it can be quite handy, you can download the image here, unzip and import into UE.
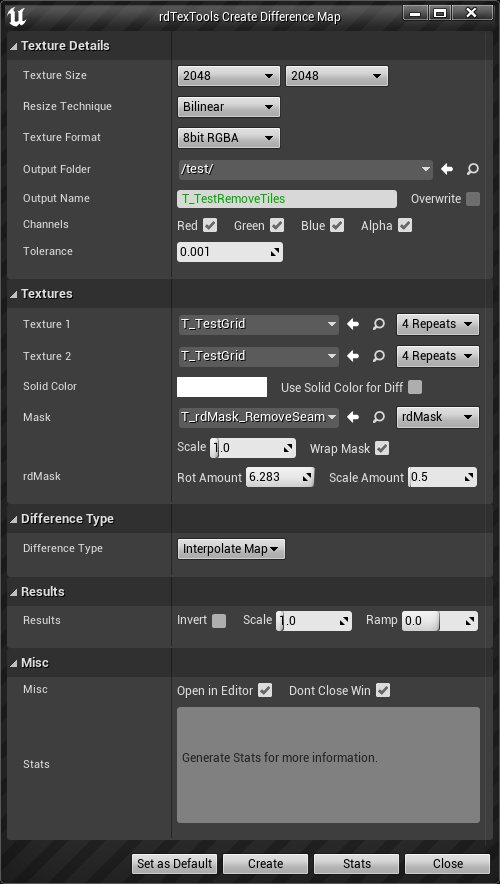
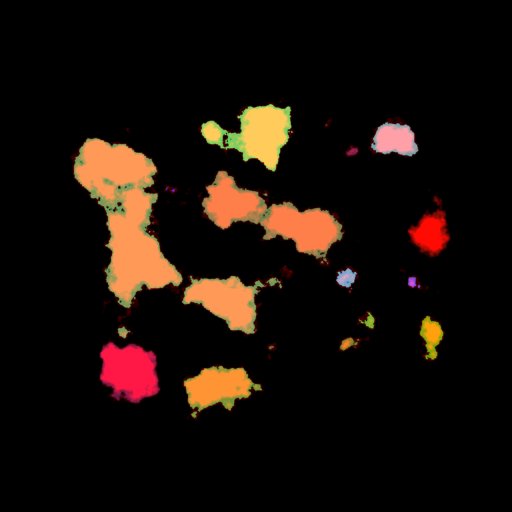
- This tutorial uses an rdMask that has a Perlin Simplex noise as a base and random rotation and scale for areas in that base. It can be downloaded here and imported into your UE project.
- Once imported, open the CreateDiffMap tool and select the grid pattern texture as both Source Textures 1 & 2.
- Set the Tiling on each of the Source Textures to “4 Repeats”
- Choose a name for your new texture and the size and format you want, the tutorial uses 2048×2048.
- Select the rdMask you imported as the mask, and select “rdMask” as the mask type.
- Change the “Scale Amount” to 0.5 and leave the “Rotation Amount” as 6.283 (2 times Pi).
- Select “Interpolate Map” as the Difference Type.
- Click “Create”.
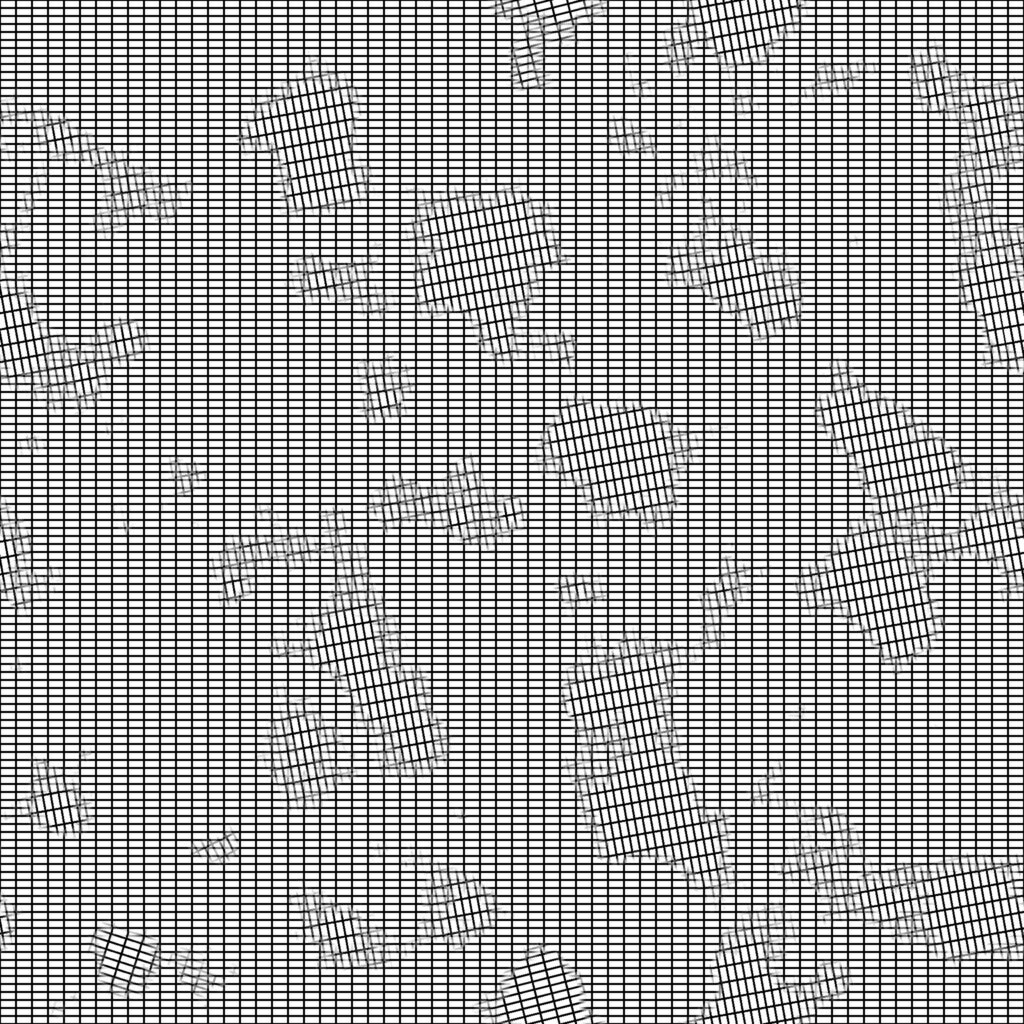
And that produces the result below – you can see how the tool works at a basic level.
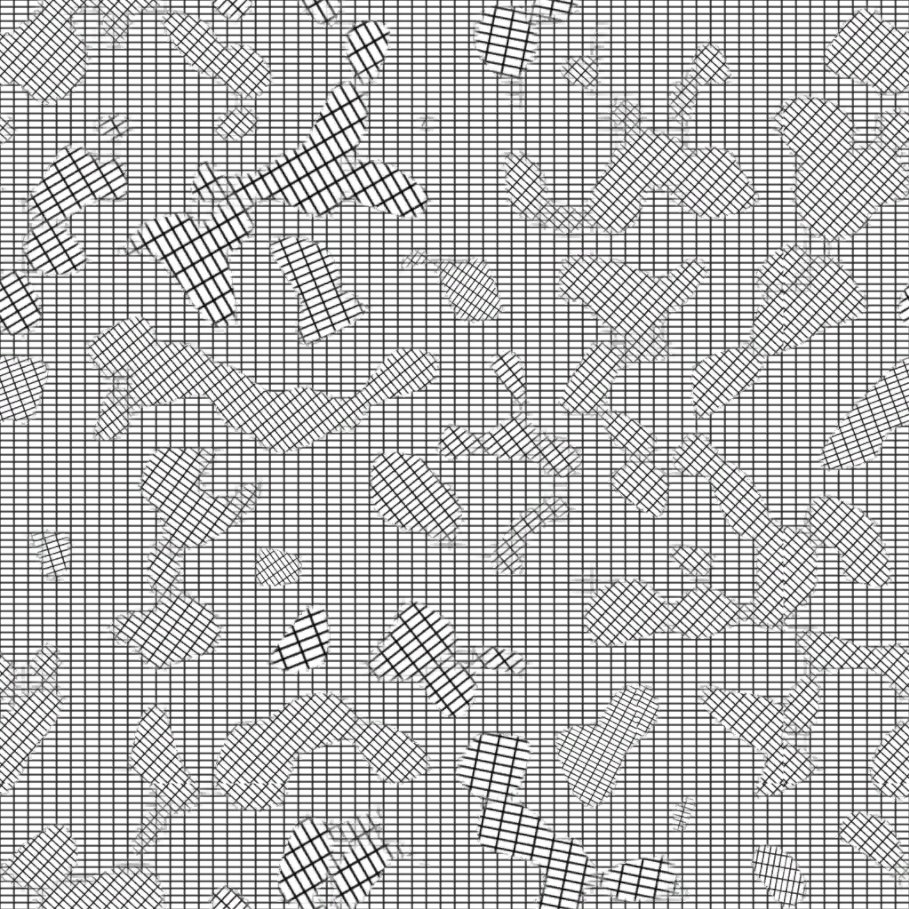
You can also use soft rotation and scale masks – rather than having them apply the random rotation and scale to all the area of each part of the mask you can apply a smoothed gradient from low to high.
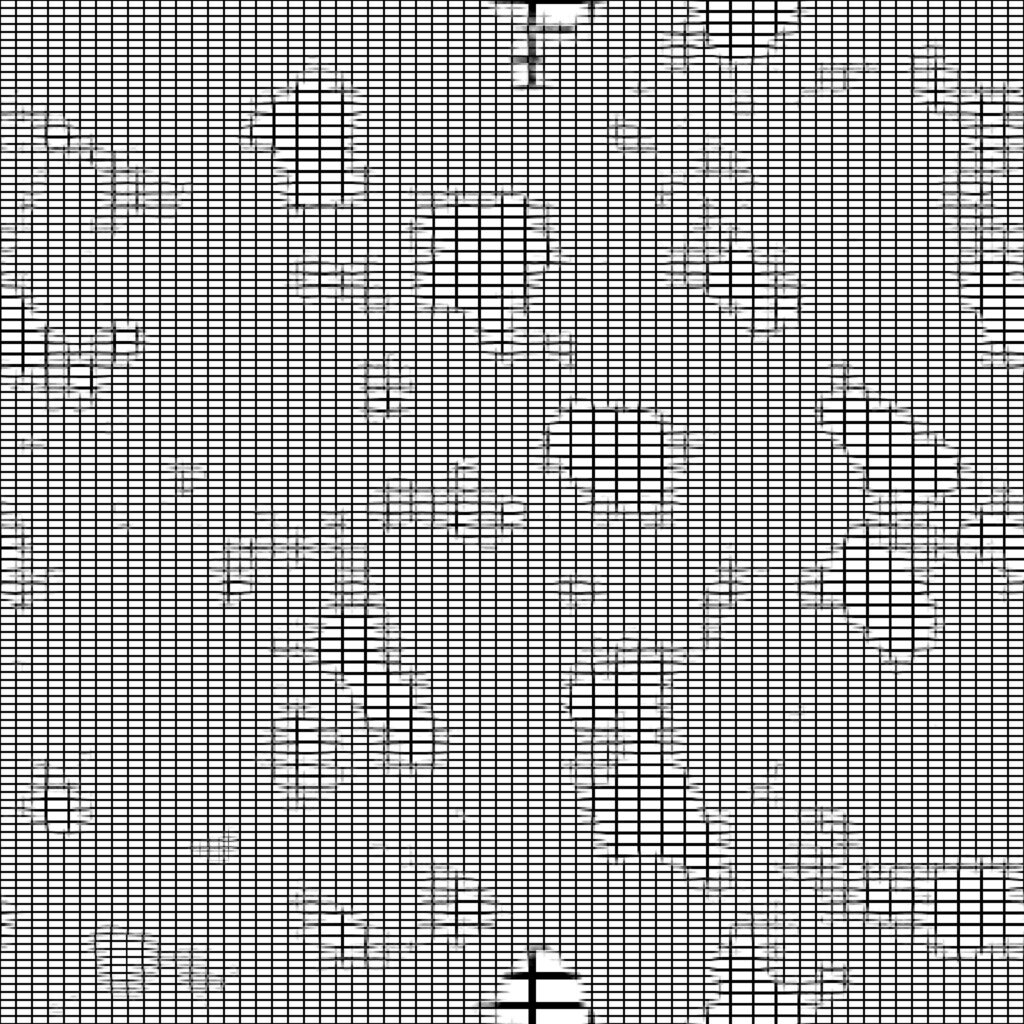
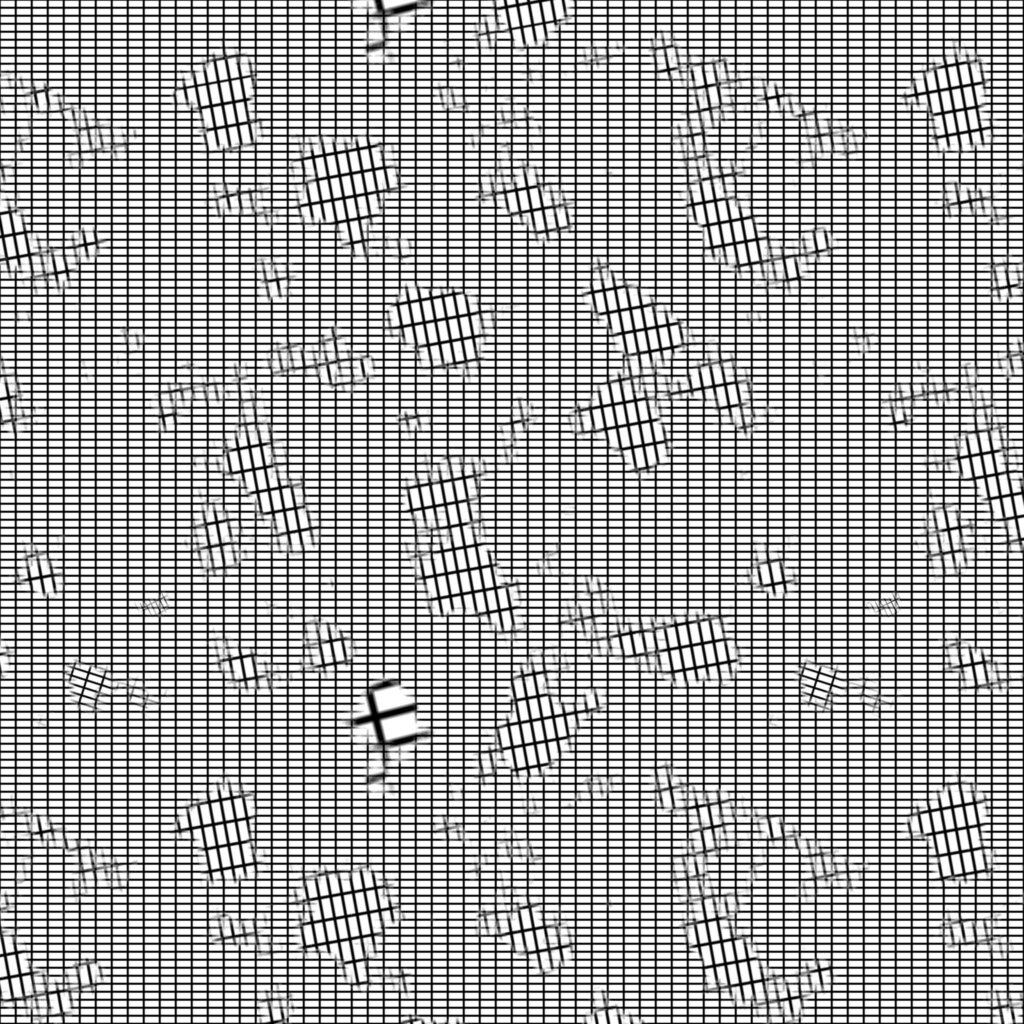
You can see this in action by downloading and importing This rdMask and doing the above tutorial with the new mask instead of the original, and using a smaller rotation amount (eg 0.8) – it produces a result like below:
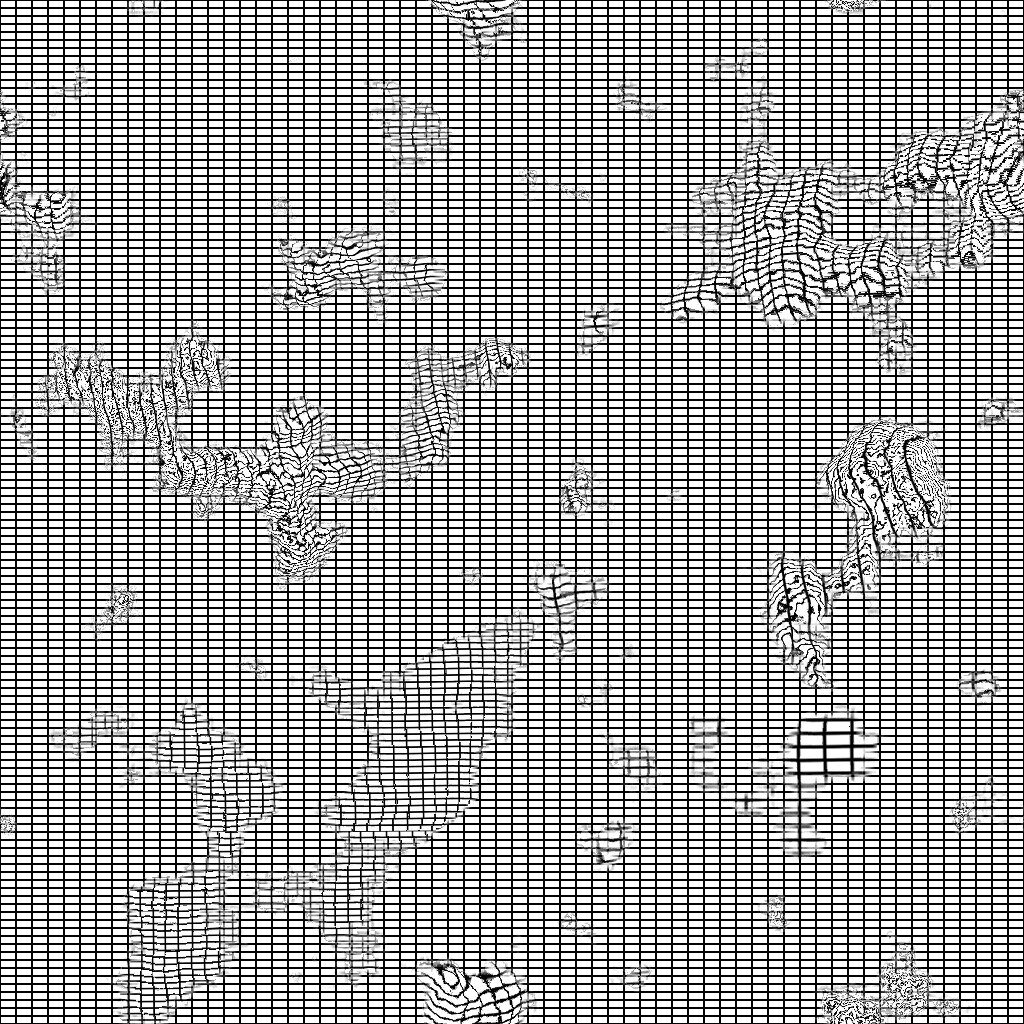
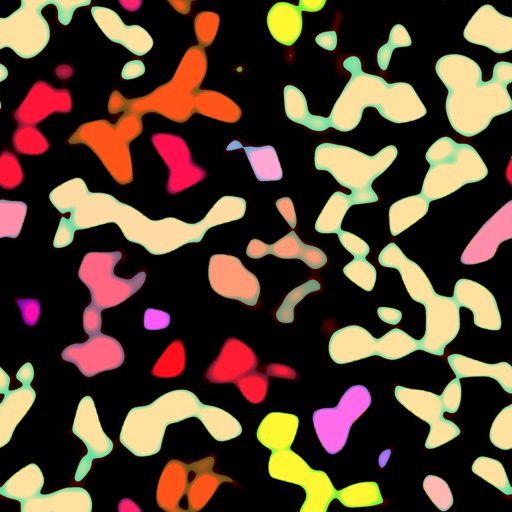
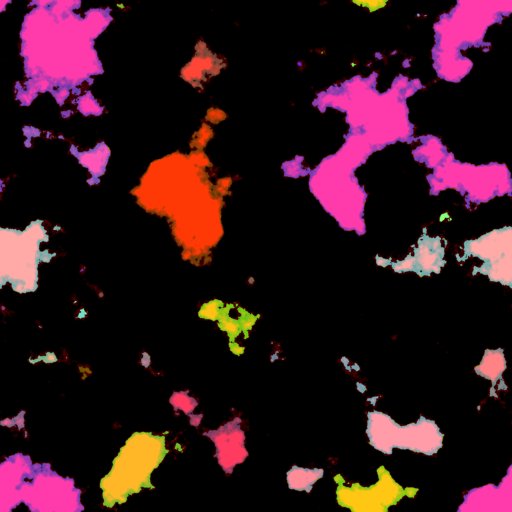
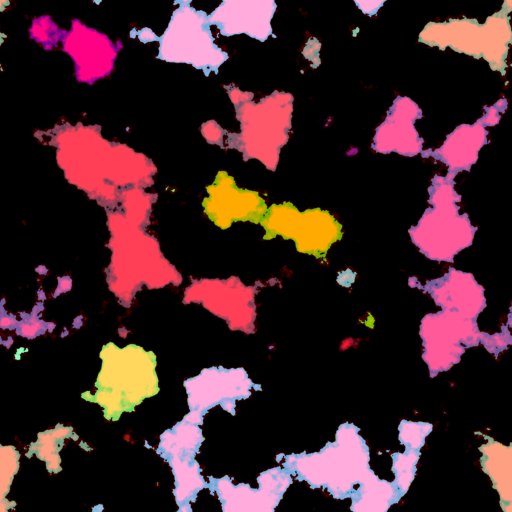
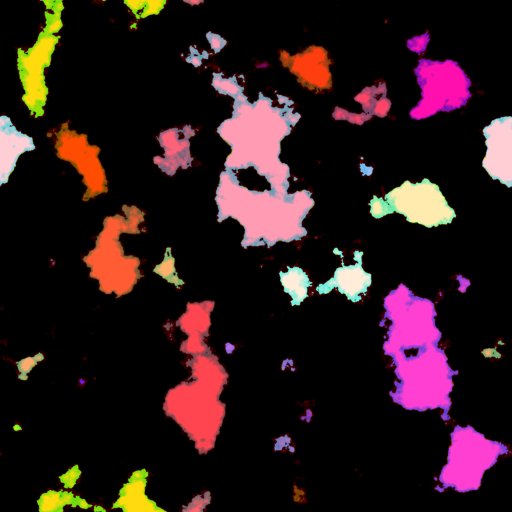
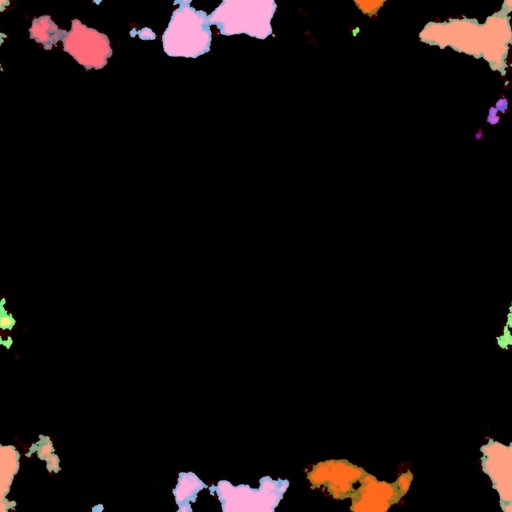
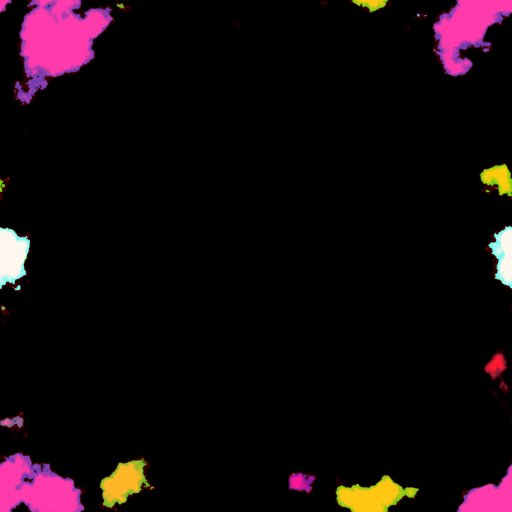
Here are some rdMasks you can download removing seams and patterns – these can be used for single tile or multiple repeats in the destination texture.
These should cover most seam removal. If you still have stubborn seams that just don’t seem to want to disappear, you can try rotating or mirroring these masks and then run them over your textures again to mix them up even more.
Click on link below the images to download zipped image.
If there is just a localized area that is causing issues, you can use an rdMask that covers just that area.
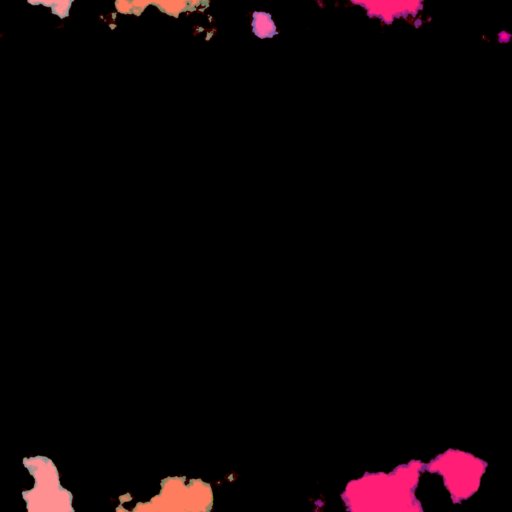
Here are some rdMasks you can download for specific areas. For the Horizontal Edge one, you can rotate it 90 degrees with the rdTexTools Resize tool to convert it to a Vertical Edge one (less mouse clicks and bandwidth).
Click on link below the images to download zipped image.
These were shaped with masks in the rdTexTools v1.1 Noise Generator, but you can also edit them in a paint program to get the exact area you are wanting.
