Section 4: Context Menu Additions
The files that get created or modified by these tools get checked out before saving if you are using source control.
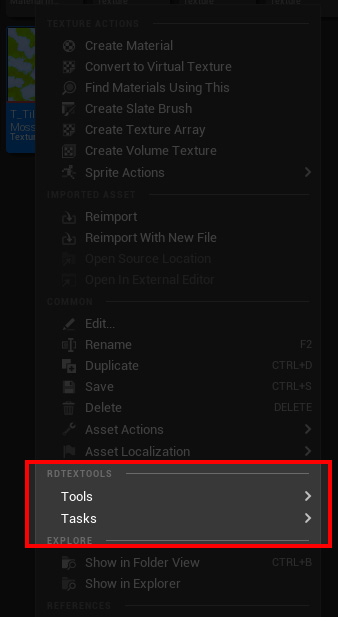
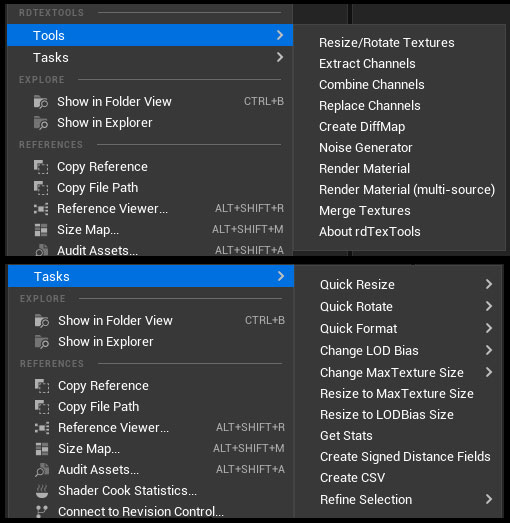
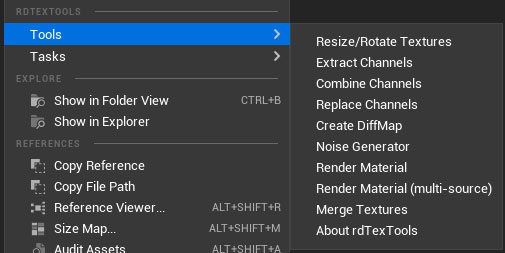
From the Content Browser, if you right click on one or a selection of textures, you will see a “rdTexTools” section providing options available for bulk conversion of textures.
These tools operate in the same folder as the selected files.
These tools make it easy to change LOD Bias, re-size, change pixel format, rotate/mirror and or pad textures, extract, replace or combine their channels, create diffmaps and show GPU resource usage and Disk footprints.
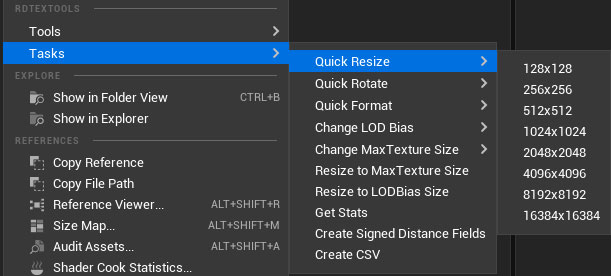
Bulk Task 1: QuickResize – Texture Resolution
Fast way of changing the selected textures Resolution, all other settings remain the same.
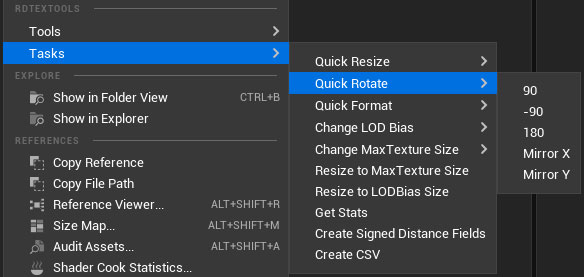
Bulk Task 2: QuickRotate – Textures Rotation/Mirror
Fast way of rotating or mirroring the selected textures.
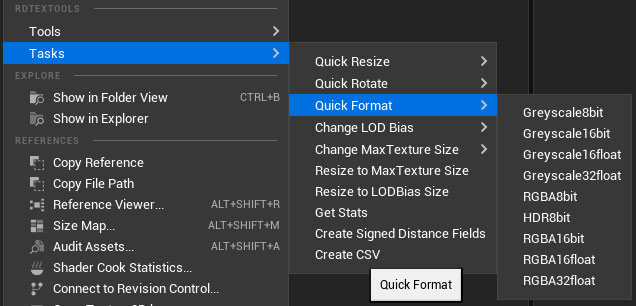
Bulk Task 3: QuickFormat – Textures Format
Fast way of changing the selected textures format.
Bulk Task 4: Change Textures LOD Bias
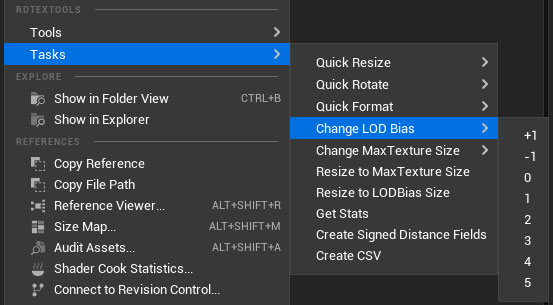
This tool allows you to change multiple textures LOD Bias at once from an easy to use sub-menu.
You have the option to set the LOD Bias to the next lowest (+1), next biggest (-1) or specific LOD between 0 and 5 (0=full size).
If the LOD does not exist it is set to the closest LOD the texture has.
Bulk Task 5: Change Textures Max Texture Size

This is similar to the LOD Bias option, but sets the MaxTexture Size option instead, this uses pixel type values.
The difference between this and the LOD Bias is that changing the LOD Bias shifts the whole chain of LODs up or down, so deeper into your scene, the textures there will be using smaller than normal MIPs.
Changing the MaxTexture Size leaves those MIP values as they are, but never loads in a MIP greater than the specified size. This option allows for better looking objects at a distance, but at the expense of MIP sizes. (Of course, if you have objects using the same textures distributed around your level, the MIP will be calculated from the closest one).
Bulk Task 6: Resize to MaxTexture Size
This task resizes any textures in the selection that have a MaxTextureSize specified (and it’s smaller than the texture size).
Bulk Task 7: Resize to LODBias Size
This task resizes any textures in the selection that have a LODBias to the size specified.
Bulk Task 8: Get Stats
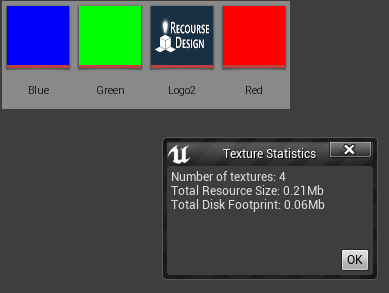
Note that the textures must be saved before getting the stats.
Just select the textures you’re wanting to find the size of, right click and select “Texture Stats” from the menu.
Bulk Task 9: Signed Distance Field
This tool can be useful to create low resolution textures of scene details such as text – they can be resized a lot larger using a shader algorithm still looking nice and sharp. It’s a common technique used in games.
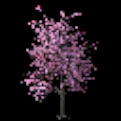
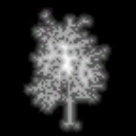
Just as an example, the texture to the right is 64×64 pixel and has had a signed distance field texture created for it, which is what the one on the right is.
Bulk Task 10: Create CSV
This tool creates a comma separated values text file (.csv) of the selected textures. The output is saved in the “Saved” folder of your project, the name being that of the texture.
Bulk Task 11: Refine Selection
This tool allows you to refine the current selection based on various criteria – you can refine the results of each to find exactly what you’re after.
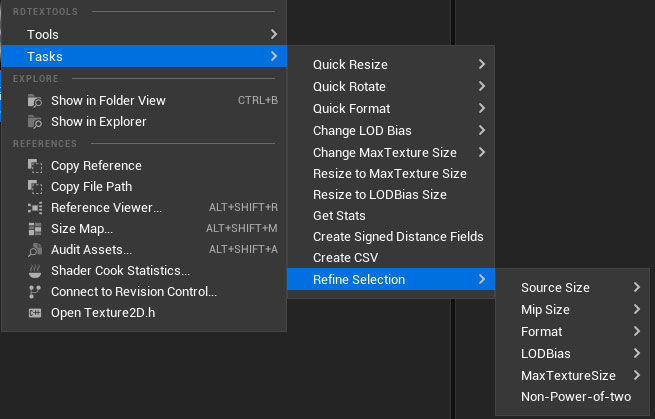
The “Source Size” submenu allows you to filter on the size of the texture (the Width is used), filtering out textures smaller than the selected size. This works with the original size on disk.
The “Mip Size” submenu allows you to filter on size, after LODBias and MaxTextureSize values have been applied.
The “Format” submenu allows you to filter on the texture format.
The “LODBias” submenu allows you to filter on LODBias settings
The “MaxTextureSize” submenu allows you to filter on MaxTextureSize settings
The “Non-Power-of-two” option filters to textures that don’t have dimensions set as a power-of-2 value.
Bulk Tool 1: Resize/Rotate Textures
This tool allows you to adjust bulk textures size, pixel format, rotation, mirroring and padding from the content browser.
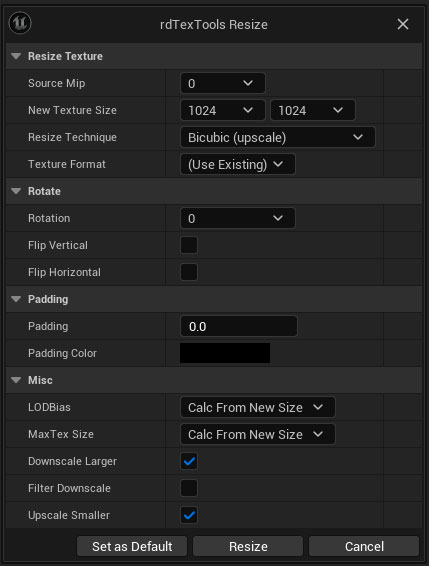
All the first 3 areas settings are the same as for the Resize Current Texture window, you can refer to the documentation for that for more information. For the Source Mip, if the specified Mip does not exist, Mip 0 is used.
The Misc Area replaces the “Open Texture” option with the following:
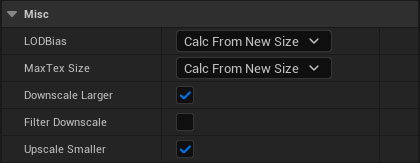
The LODBias and MaxTex Size are described in the Resize Current Texture Window.
Downscale Larger When ticked, larger textures will be down-sized to the specified resolution. When unticked their size is left untouched.
Filter Downscale When ticked, textures that are being downscaled have an Average Interpolation applied, when unticked, nearest neighbor is used.
Upscale Smaller When ticked, smaller textures will be up-sized to the specified resolution. When unticked their size is left untouched.
Note: When you use the “Set as Default” button, these settings will also be used for the bulk resize tasks.
Bulk Tool 2: Extract Channels
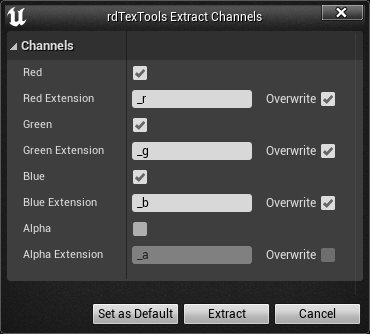
This tool gives you the ability to quickly and easily extract multiple textures channels out into their own textures.
The Channels settings are similar to the Extract Current Texture tools window except rather than specifying output names for the textures you specify the suffix to use for their original names. If “Overwrite” is ticked, any existing textures by those names will be overwritten otherwise the texture channel is skipped.
Tool 3: Combine Channels
This opens the Combine Channels tool. This just uses the first selected texture as a base for the current folder and pixel format.
Tool 4: Replace Channels
This opens the Replace Channels tool. This just uses the first selected texture as a base for the current folder and pixel format.
Tool 5: Create DiffMap
This opens the Create Difference Map tool. This just uses the first selected texture as a base for the current folder and pixel format. To find more information about this tool, Click Here.
Tool 6: Create Noise
This opens the Create Noise tool. None of the selected actors are actually used. To find more information about this tool, Click Here.
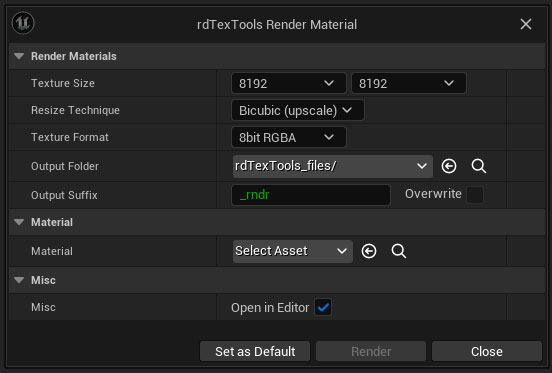
Tool 7: Render Material
This tool allows you to create a new texture from the output of a custom material, using the selected texture as the source. Goes through and processes each selected texture with it’s own output.
See This Tutorial to find out more.
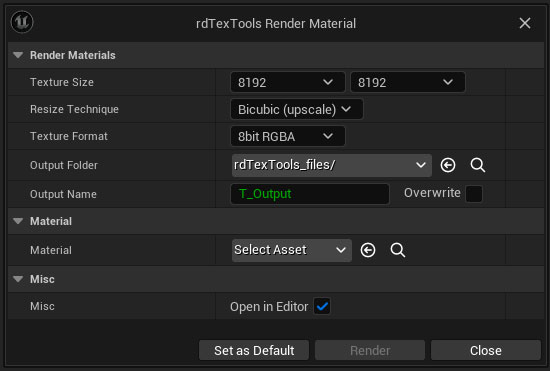
Tool 8: Render Material (multi source)
This tool allows you to create a new texture from the output of a custom material, using all the selected textures as it’s source.
See This Tutorial for more information.
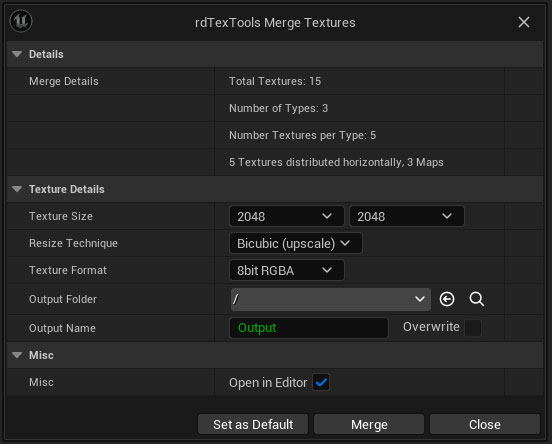
Tool 9: Merge Textures
This tool merges multiple textures into one (per texture type), either dispersed horizontally or vertically.
See This Tutorial for more information.
Tool 10: About Window
This just shows the About Window with the current version number.
