rdBuildBuddy Tutorial 2 – Use Blueprints as Building Blocks
Last Updated: 2nd January 2023
You’re not restricted to just using Static Meshes when building with rdBuildBuddy – you can spawn any type of actor by just specifying it’s class.
This tutorial will create a hotel frontage by spawning a Hotel Frontage Blueprint created with rdBPtools (can be any Blueprint though).
This tutorial uses assets from the Paradise Motel Pack on the Unreal Marketplace:
https://www.unrealengine.com/marketplace/en-US/product/paradise-motel-modular-pack
Step 1. Create the Hotel Frontage Blueprint
The Hotel Frontage is created by going to the Hotel demo and adding objects you’re wanting into one section of their hotel (you can add levels of randomization doing this if you’re using rdBPtools) and then selected them all – along with the external walls, pavement, roof, guttering and railing – then Creating a Blueprint from them (see rdBPtool tutorials).
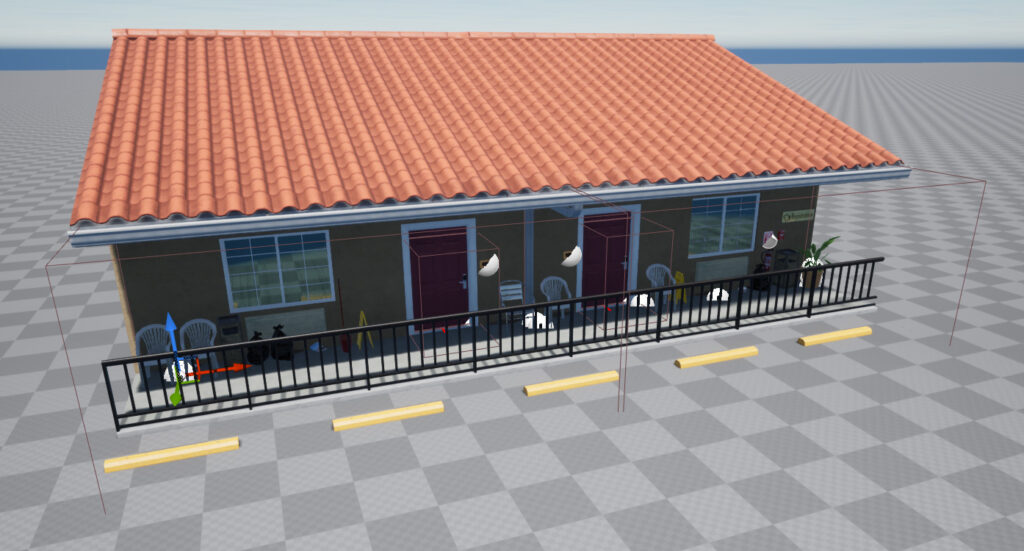
Once in Blueprint form – you can copy that to a blank level and make any modifications/improvements you want, then re-create a Blueprint from that.
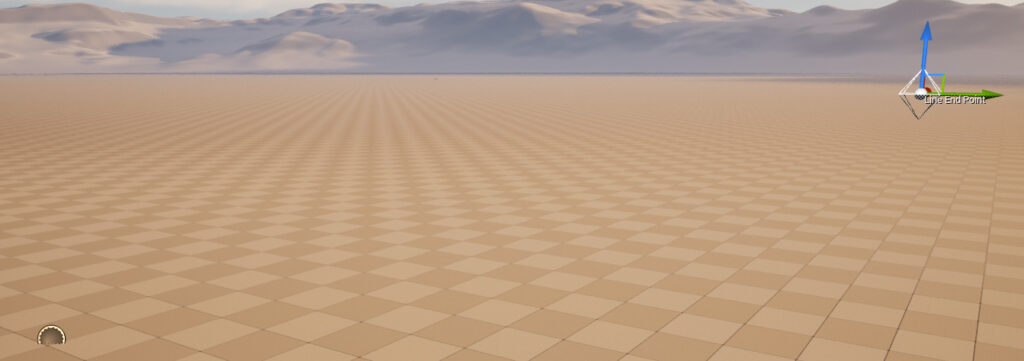
Step 2. Add a Line Placement Actor and a Wall DropIn Builder
Next we add a LinePlacement Actor, and add a BPC_rdDropIn_Walls Component to it. Drag the line end out to a good distance – as long as you want your hotel block.
Step 3. Set the Builder to add the Frontage Blueprint

Now we can add our Frontage blueprint to the Builder, select the Placement actor in the level, and then select the Walls Component from the World Outliner.
Add an Object to the list, and specify an X Size value of 1600.0. Then set the “Actor Class” property to the Frontage Blueprint.
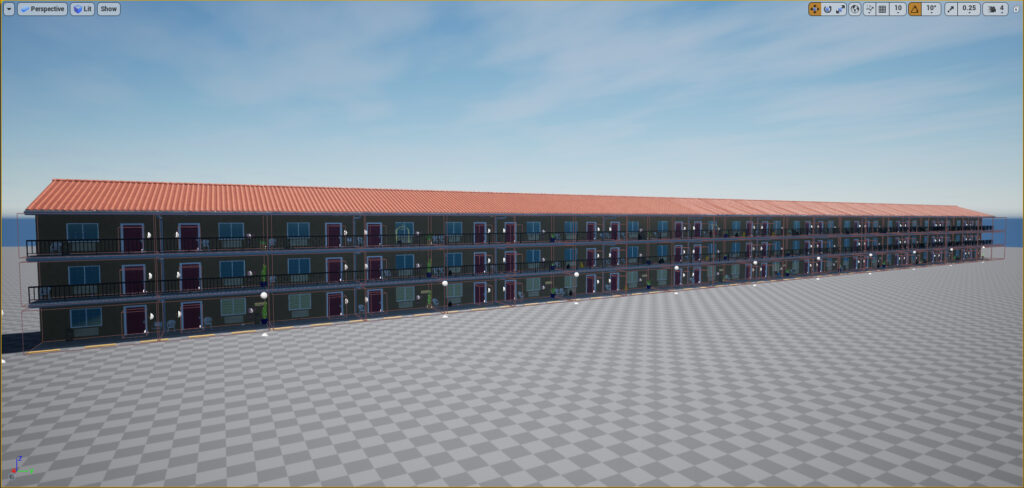
Step 4. Done.
That’s all that’s needed – Done! Note that as these are not Instances by default, creating it too long will slow your machine done. I recommend always using Instances – even if it’s just while editing.
