rdBuildBuddy Tutorial 7 – Creating a Road Spline from SplineMesh Actors
Last Updated 13th January 2023
Something else rdBuildBuddy does is create Splines from SplineMesh Actors – this allows you to control each segment of your spline from an actor blueprint while retaining the advantages of a SplineMesh with the Spline data.
It’s as easy as specifying an actor that is a subclass of SplineMeshActor. When rdBuildBuddy detects one, it handles it in the same way it handles SplineMesh components added straight to the spline. This means your axis, start and end points and rotation are set up automatically for the actor.
In this tutorial we will create a Road Spline which has 2 different lane patterns, select-able for each section of the spline.
Step 1. Create a Road Actor Blueprint
The first thing to do is to create a Road actor (There is a pre-build one in the BP_BuildAids folder) – this actor simply has a bool – when false, it uses a 2 lane road for the spline mesh, otherwise it uses a 3 lane mesh.
Step 2. Add a Spline Placement Actor in your level and add a Wall DropIn
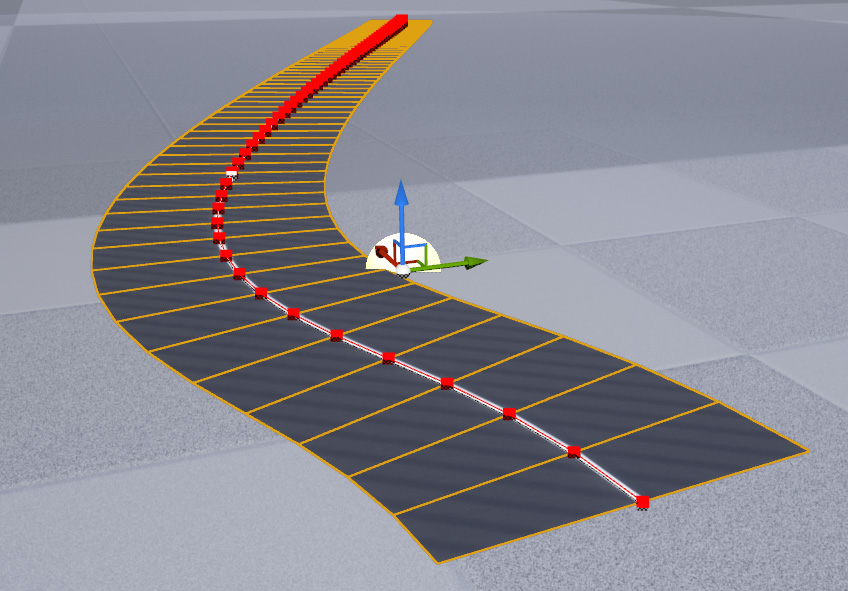
The next thing to do is add our Placement Actor. drag a BP_rdPlacement_Spline actor from the Placements folder into your level, and create a path for the road from the points on the spline (add more if wanted).
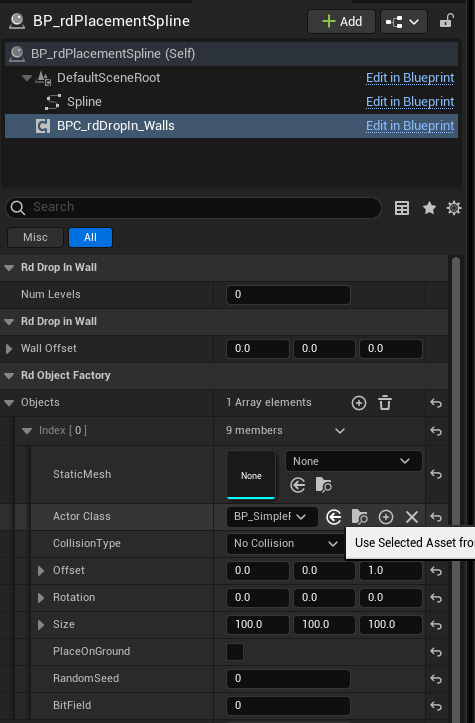
Now add a BPC_rdDropIn_Walls DropIn Component to our Placement Actor.
Add One Object to the Objects List in the rdObjectFactory section and point the “Actor Class” to our Road Blueprint created in step 1.
Set the Z offset to 1 as well – otherwise there’s a bit of z fighting.
Step 3. Done.
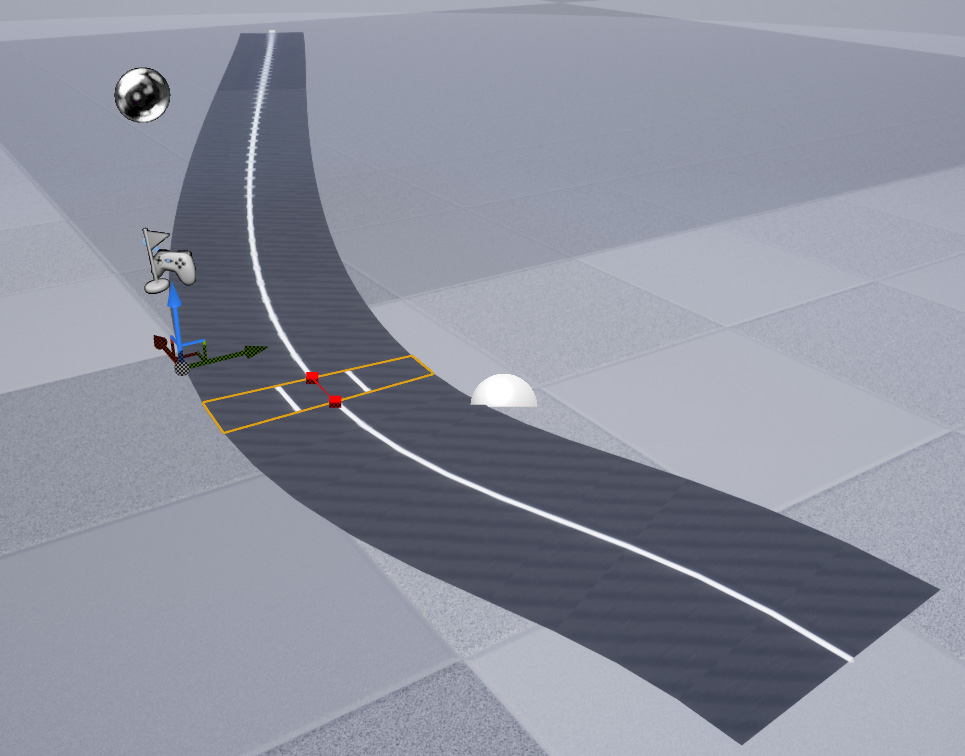
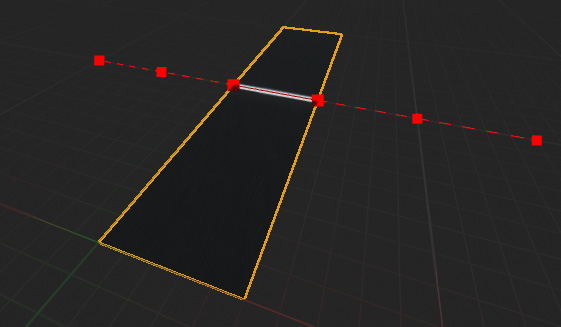
That’s it – now you have a set of child actors along your spline. You can select any one from the world editor and change it’s values.
There’s also the option of create ChildActor Components containing SplineMeshActors – all you need to do is un-tick the “Spawn New Actors” tickbox. Note that these cannot be edited from the world editor. There is a function called “GetActorForPoint” though, so you can change them from blueprint.