rdMeshTools Tutorial 3 – Creating Batch Collision
Last Edited: 28th June 2023
One task when working with StaticMeshes is to ensure they all have accurate and optimized collisions.
Up until now it’s been a matter of going through each mesh individually and setting up their collision shapes from the editor, but now with rdMeshTools the whole process can be automated.
In this tutorial, we will select all the trees used for the project, remove all existing collision and then add simple collision around the trunks of the trees. This can be done by simply executing two commands from the menu with your meshes selected:
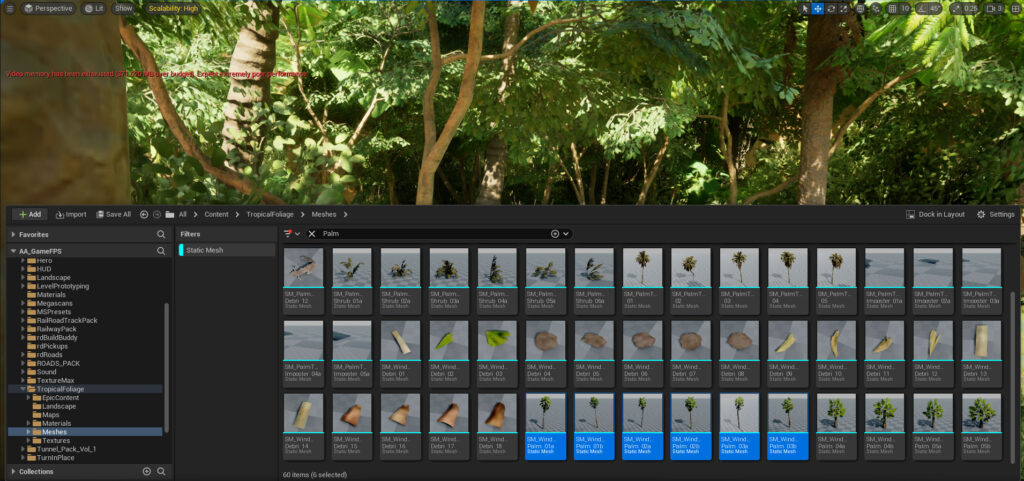
Step 1. Select the Tree meshes.
The first step is to select all the trees that you are working with. Epic make this easy, if you select the filter “StaticMesh” – all meshes in child folders will also be displayed, so you can work from the base folder and filter through all the trees you require.
Note that this only works for trees that are pretty much vertical – you can use it to create them for leaning trees, but you will need to go into those with the StaticMesh editor and rotate them to match the trunk.
Step 2. Remove existing collision.
Once you have them selected, just right-click – and select “Remove Collision” from the rdMeshTools section of the menu. That will go through and remove all types of simple and complex collision from the meshes.
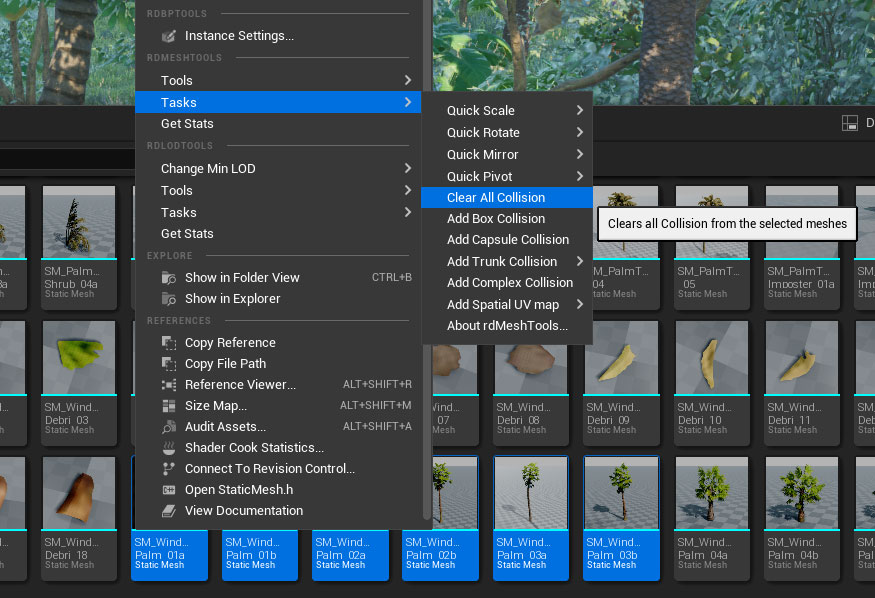
Step 3. Add the “Trunk” collision capsules.
Now just right-click again, and select the “Add ‘Trunk’ Collision’ tool – a submenu will open where you can choose the thickness of the trunks, this is a percentage of the meshes horizontal extent. The trunk is extended to 75% of the height of the tree automatically.

Step 4. Done.
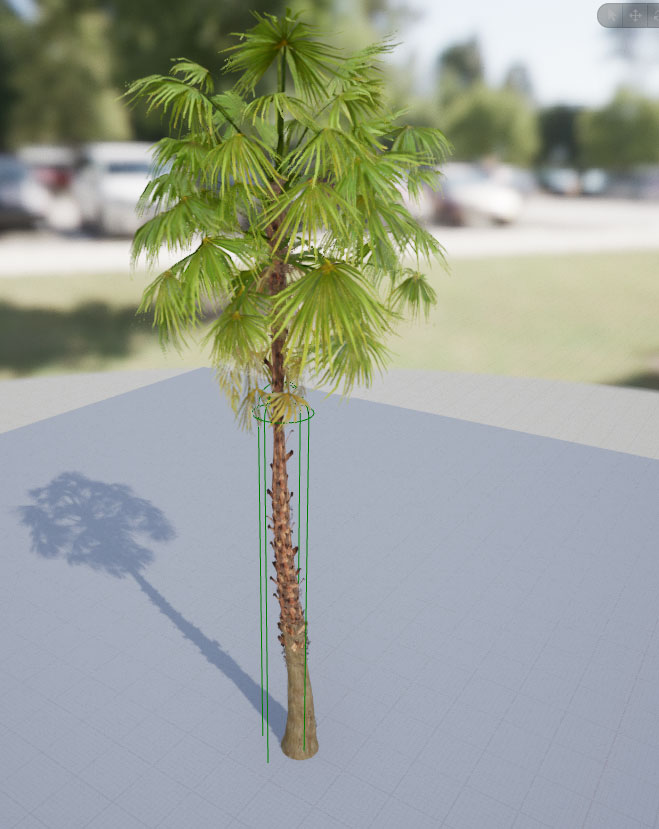
That’s it – all your selected meshes will now have simple capsule collision around their trunks.
If you want to fine-tune any of the capsules you can, just go into the StaticMesh editor, show the Simple Collisions and click on the capsule, then you can transform it with the gizmo – even add more collision objects if you wish.