Section 2.1: The Content Browser Menu
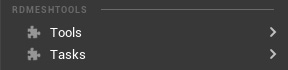
The Content Browser Context Menu has a section containing rdMesh tools. This opens when you right click on selected StaticMeshes from the content browser.
It’s broken into 2 parts:
- Mesh Tools (In the Tools sub menu) – Tools that require more than one click, and/or open a window
- Mesh Tasks (In the Tasks sub menu) – Quick, single click tools
Section 2.1.1: The Tools Sub Menu

The Mesh Tools menu provides you with the ability to Scale, Rotate and Set the Pivot for the raw mesh.
They have a window that opens to choose your custom settings.
These tools work in the same way as the tools in the StaticMesh Editor, so to find more details about each of these, check out Section 2.3.
Section 2.1.2: The Tasks Sub Menu
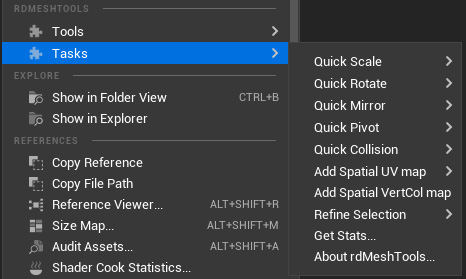
Currently there are 10 options in the Tasks menu.
The first 6 of these are Quick-Fire tools to change the selected StaticMeshes properties straight from their sub-menu option.
These make editing the meshes very quick and easy.
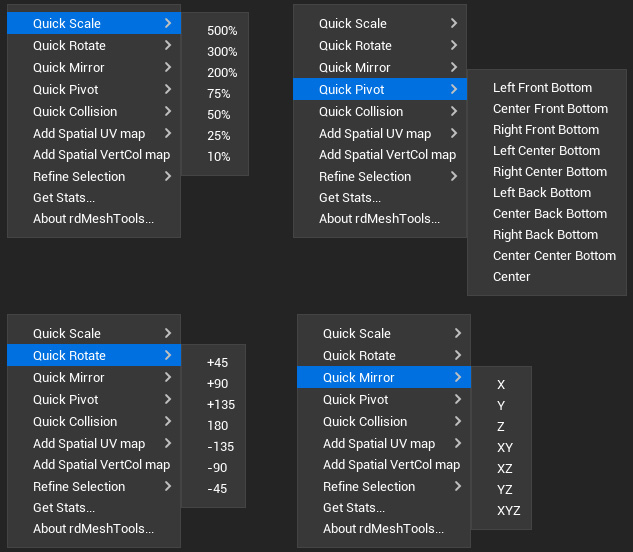
Use the Scale to quickly set the StaticMesh Scale in its source data. All instances of the mesh in your level will be changed too.
Use the Rotate to quickly rotate the StaticMesh in its source data. This too will update the rotation of all instances of the mesh in your level.
The Mirror tool mirrors the StaticMesh in the specified axis in its source data. All level instances rotate too.
The Pivot tool sets the origin of the StaticMesh in its source data. This is the base type of pivot, all instances of the mesh in your level will change their pivots too, regardless of any pivot you have set for individual instances.
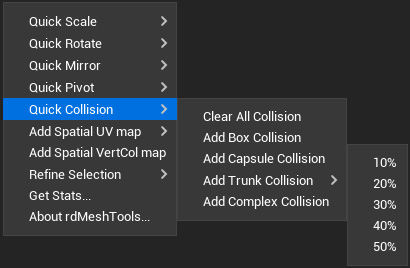
The next SubMenu is for editing the collisions of your StaticMesh:
“Clear All” removes all simple and complex collision from the selected meshes.
“Add Box” adds a simple box around the extents of the selected meshes.
“Add Capsule” adds a simple capsule around the extents of the selected meshes.
“Add Trunk” adds a trunk like capsule extending the height, and a percentage of the horizontal spread.
“Add Complex” adds a complex StaticMesh to the selected meshes when it finds a correspondingly named mesh suffixed with “_col”.
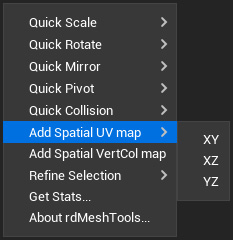
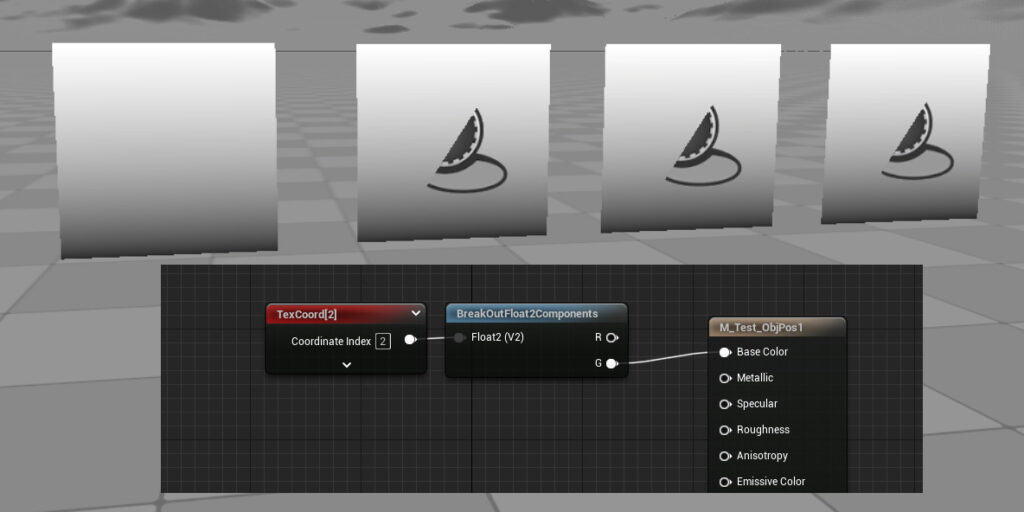
The next tool is for creating Spatial UV data – the UV position reflects the pixel position for the selected dimensions.
You can create multiple UV maps, so one could be XY and another XZ for instance to get the 3 dimensions.
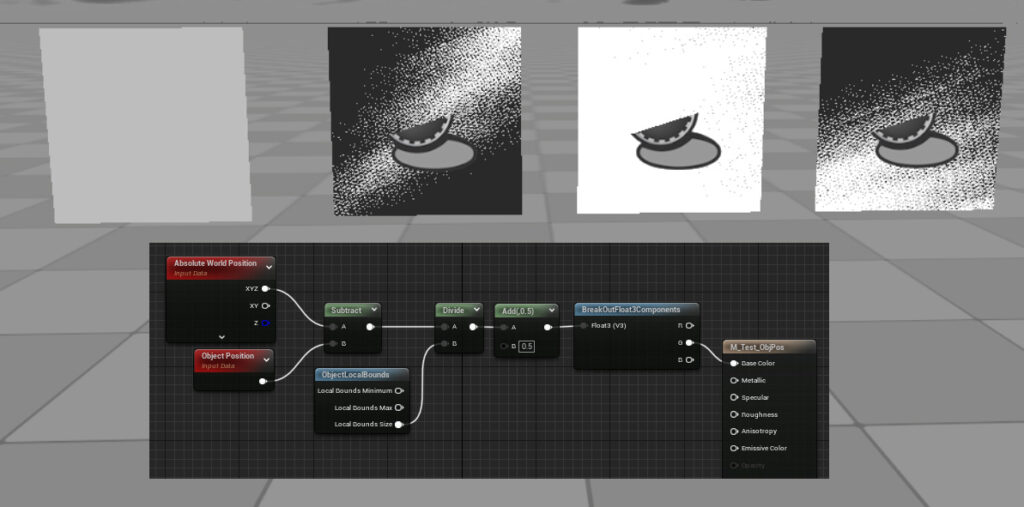
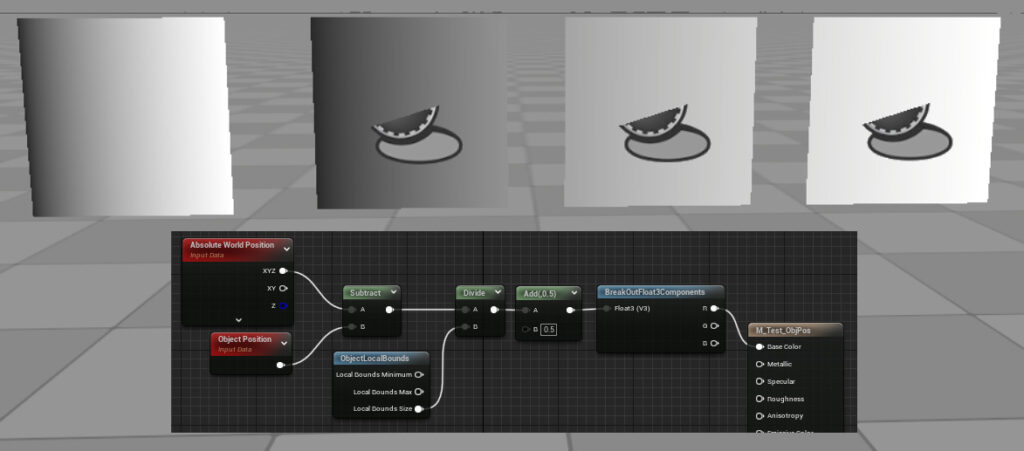
These can be very useful for fast ways to use your spatial pixel position in calculations in your materials, e.g. wind or fake shadows.
Unlike using ObjectPosition and WorldPosition, this works with all types of meshes including instances and all dimensions.

There is also a tool for creating the spatial data and storing it in the Vertex Color data – the Red,Green and Blue are the X,Y and Z values respectively, described between 0.0 and 1.0. The Alpha channel has the XY distance from the pivot point of the mesh – useful for controlling the amount of wind movement on foliage.

The next Submenu is for Refining the current asset selection (not implemented in the current version 1.30).
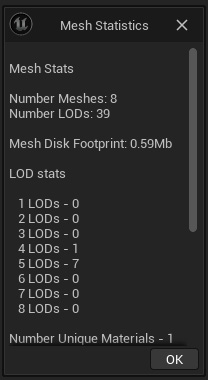
The next option is a tool to gather statistics about the selected meshes.
The last option is just the about window which can be useful to find the current version of rdMeshTools.
