Section 3.4. Initializing your Actor
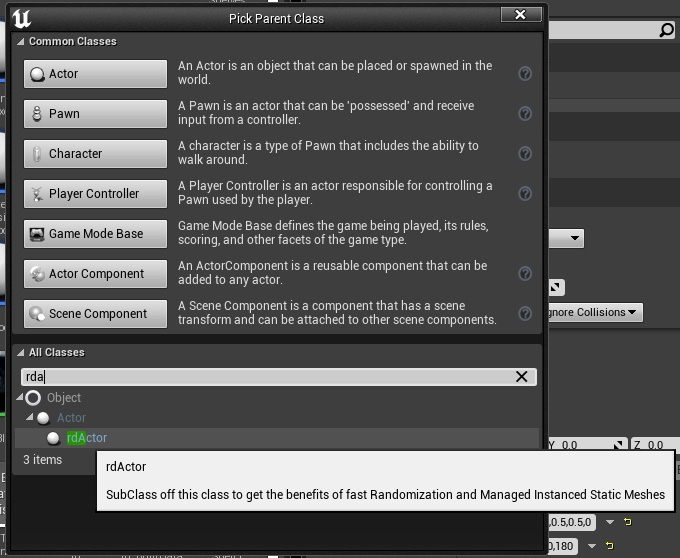
The first step is to create your Blueprint with rdActor as the Parent Class, it’s easiest just to search for it I’ve found, just “rda” should be enough. Then give it a name and away we go.
You can of course SubClass off another Blueprint you’ve created which SubClasses off rdActor – in fact this can be a powerful way to go forward.
There’s not a lot of work needed to set your Actor up, basically you just need to tell it what ActorMode to use and then start adding Instances.
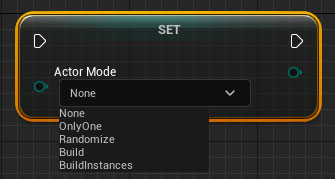
There are 5 Modes:
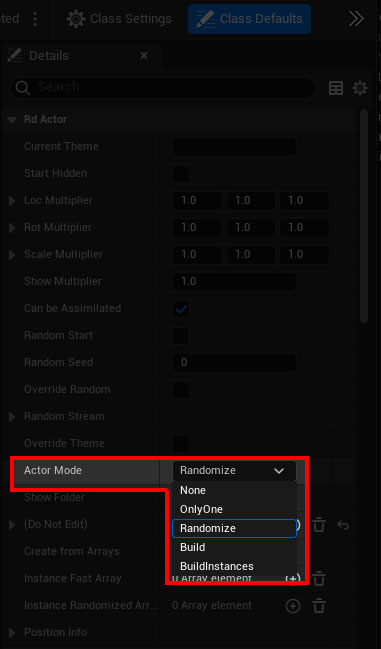
None– No Instance Managing will be done at all on this Actor – you’re on your own…OnlyOne– Organize your actors into folders – in this mode, only one randomly selected folder of actors will ever be visible.Randomize– Processes all children actors and applies their Randomizations before placing in the level.BuildEvent– User-made, triggers an rdBuildEvent event in the Blueprint where you can process your actors.BuildInstances– Similar to Randomize, but only processes the non-randomized instances for a slight increase in speed.
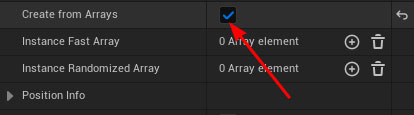
Now you can set whether you want to use the built-in arrays for the instances (you just add/edit items in these arrays and rdActor takes care of setting up and managing the instances), or to add/edit instances directly with the rdActor Nodes and Functions.
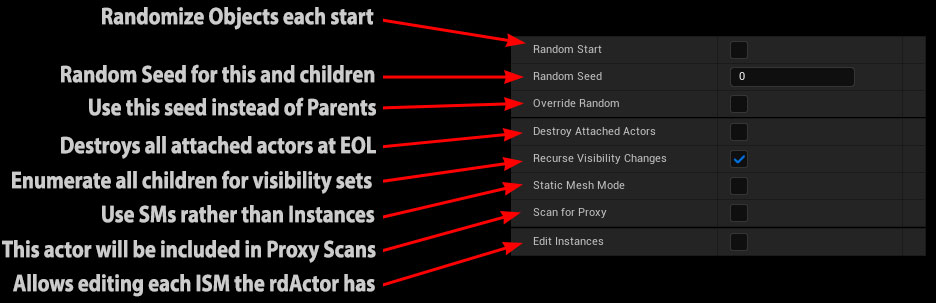
There are some other useful things that rdActor can do behind the scenes too, check out these settings: