Section 4. rdInstBaseActor and rdInstSubSystem
Section 4.1. Introduction
The rdInst Subsystem has been added to allow any actor to easily create instances and pool actors at any time.
It reflects all the methods in rdInstBaseActor. You can interchange the Nodes/Functions between the two.
It make it easy to do things like:
- Add Fast, Unmanaged Instances
- Spawn Actors and Niagara FX
- Add and Manage Proxies
- Edit Splines in the Editor and/or Runtime
- Change/Review Scalability Settings
Section 4.2. How to use
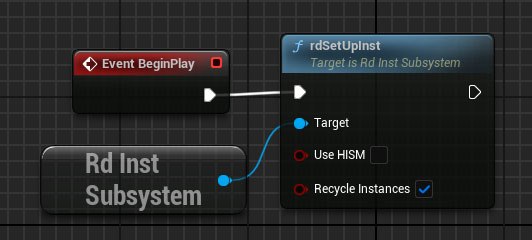
It’s very simple to use the rdInstBaseActor – you can access it from anywhere via the rdInstSubSystem – it relays any commands directly to it (it resides in the level as a singleton).
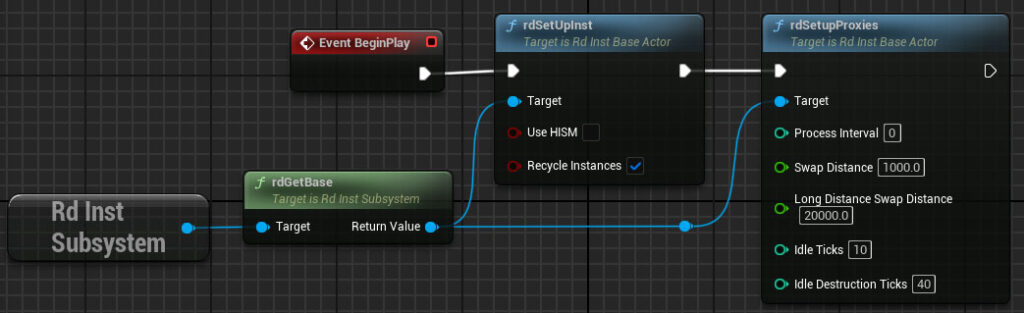
If you’re going to call a number of rdInst, it can be more efficient to directly call it through the rdGetBase Node:
Section 4.3. Tutorials
To learn how to use the rdInst Subsystem, read the following tutorials: