rdTexTools Tutorial 8 – Removing Patterns from Tiled Textures
Last Edited: 15th December 2021
Tutorial created with rdTexTools v1.10
Introduction
Every now and again you’ll find a texture set that is very nice, but has some kind of unique blend in the texture that when tiled, stands out as a pattern.
rdTexTools provides a way to remove patterns like these with the CreateDiffMap tool along with rdMasks.
It takes random areas of the texture and replaces them with randomly rotated and slightly scaled variations of itself – breaking up any areas that may have stood out as unique before.
For this tutorial we’re going to remove a couple of slight patterns in the MegaScans PottingSoil texture set which is used in the MS Landscapes tutorial.
Step 1.
Once you have downloaded the texture set (in this tutorial the Specular, Roughness, AO and Displacement have been Combined into one texture) it’s time to begin:
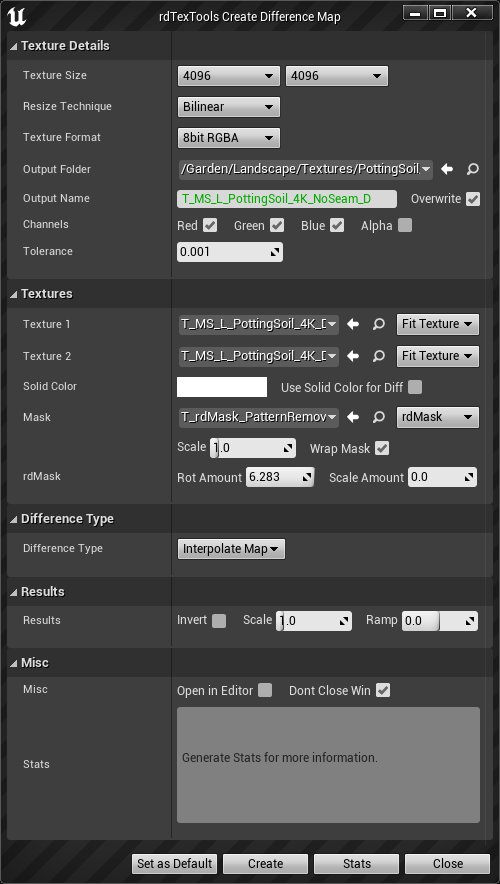
- Open the CreateDiffMap tool from the Content Browser context menu (with a texture selected)
- Select the same texture size as the original (in this case it’s 4K)
- Choose a filename and select the Red,Green and Blue channels
- Choose the Diffuse Potting Soil texture for both Textures 1 & 2
- Download this rdMask and import into your project.
- Choose the rdMask in the Mask selection box from where you’ve imported it and set the Mask Type to rdMask
- Change the Scale Amount to 0.0 (we’ll just be rotating it for this example)
- Set the Difference Type to “Interpolate Map”
- Tick “Don’t Close Win”
- Click “Create”
- Now repeat for the Normal map and the SRAODP map – all you’ll need to do it change the output filename and the two source textures. For the SRAODP texture, tick the “Alpha” channel in the Channels section to ensure the Displacement map is deformed as well.
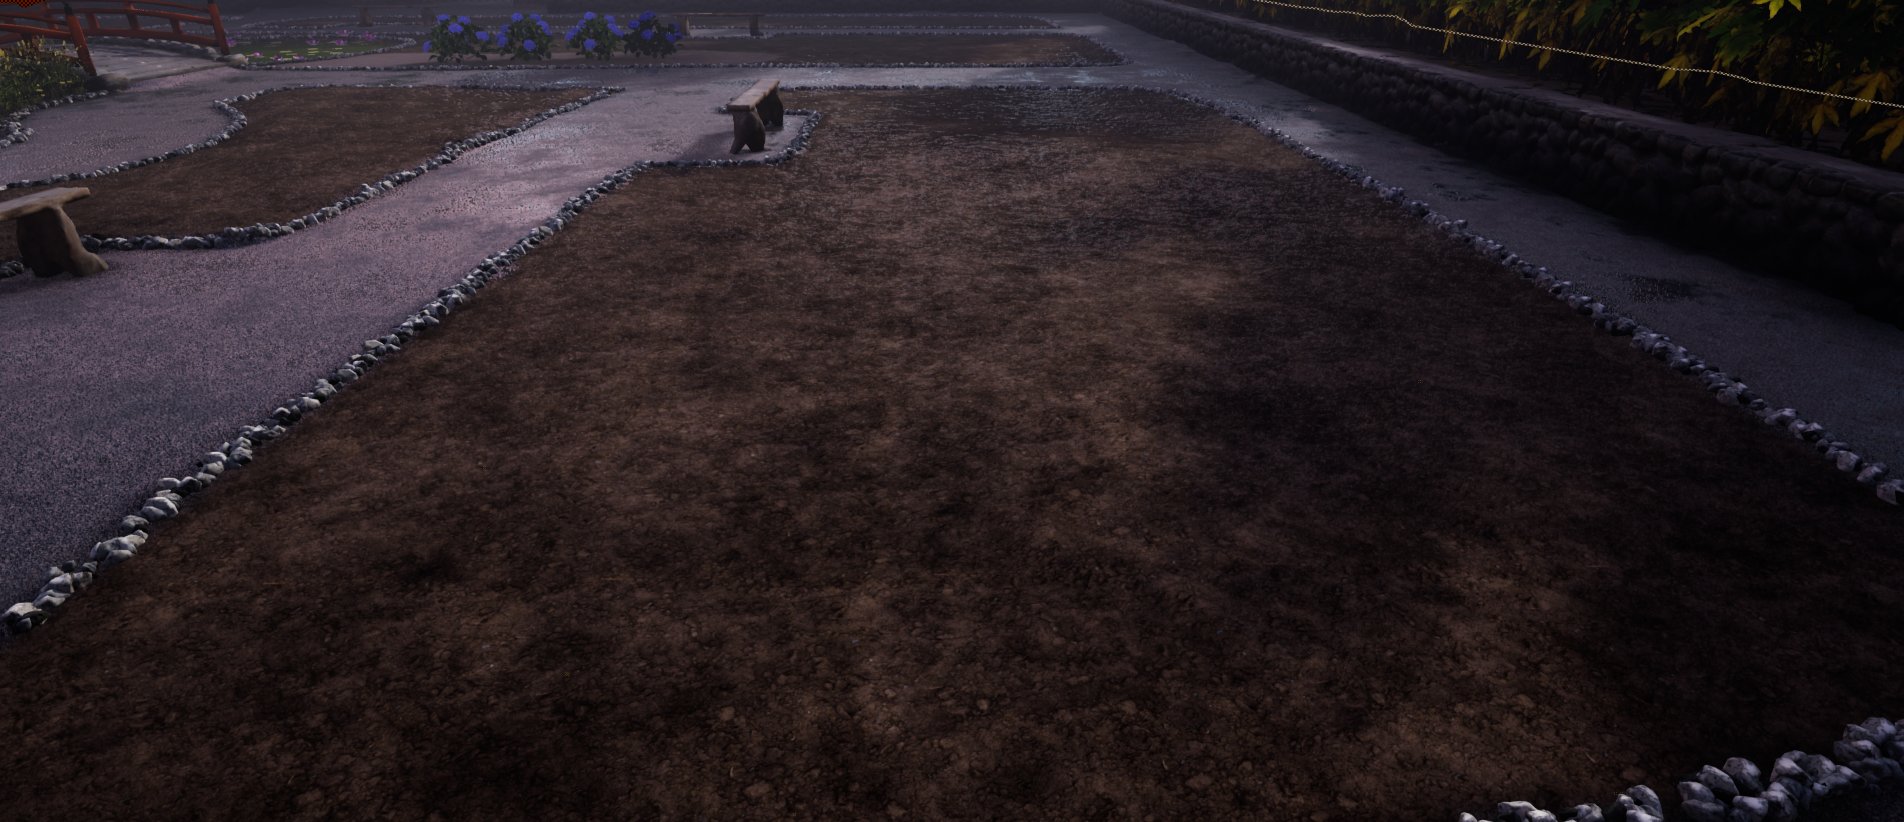
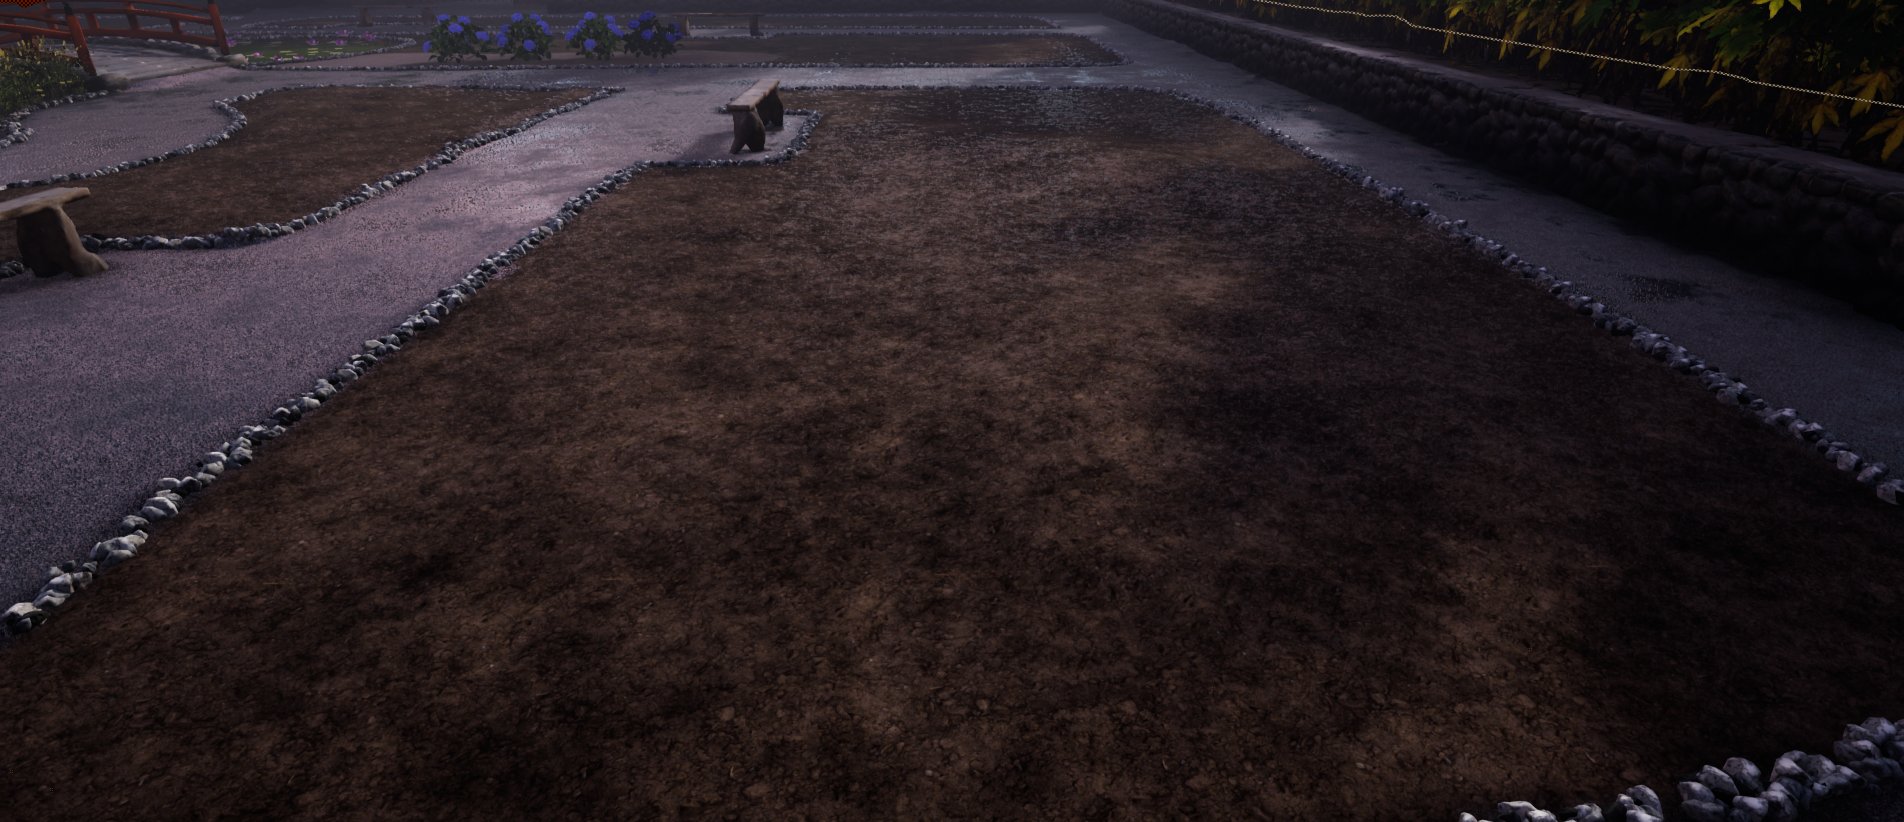
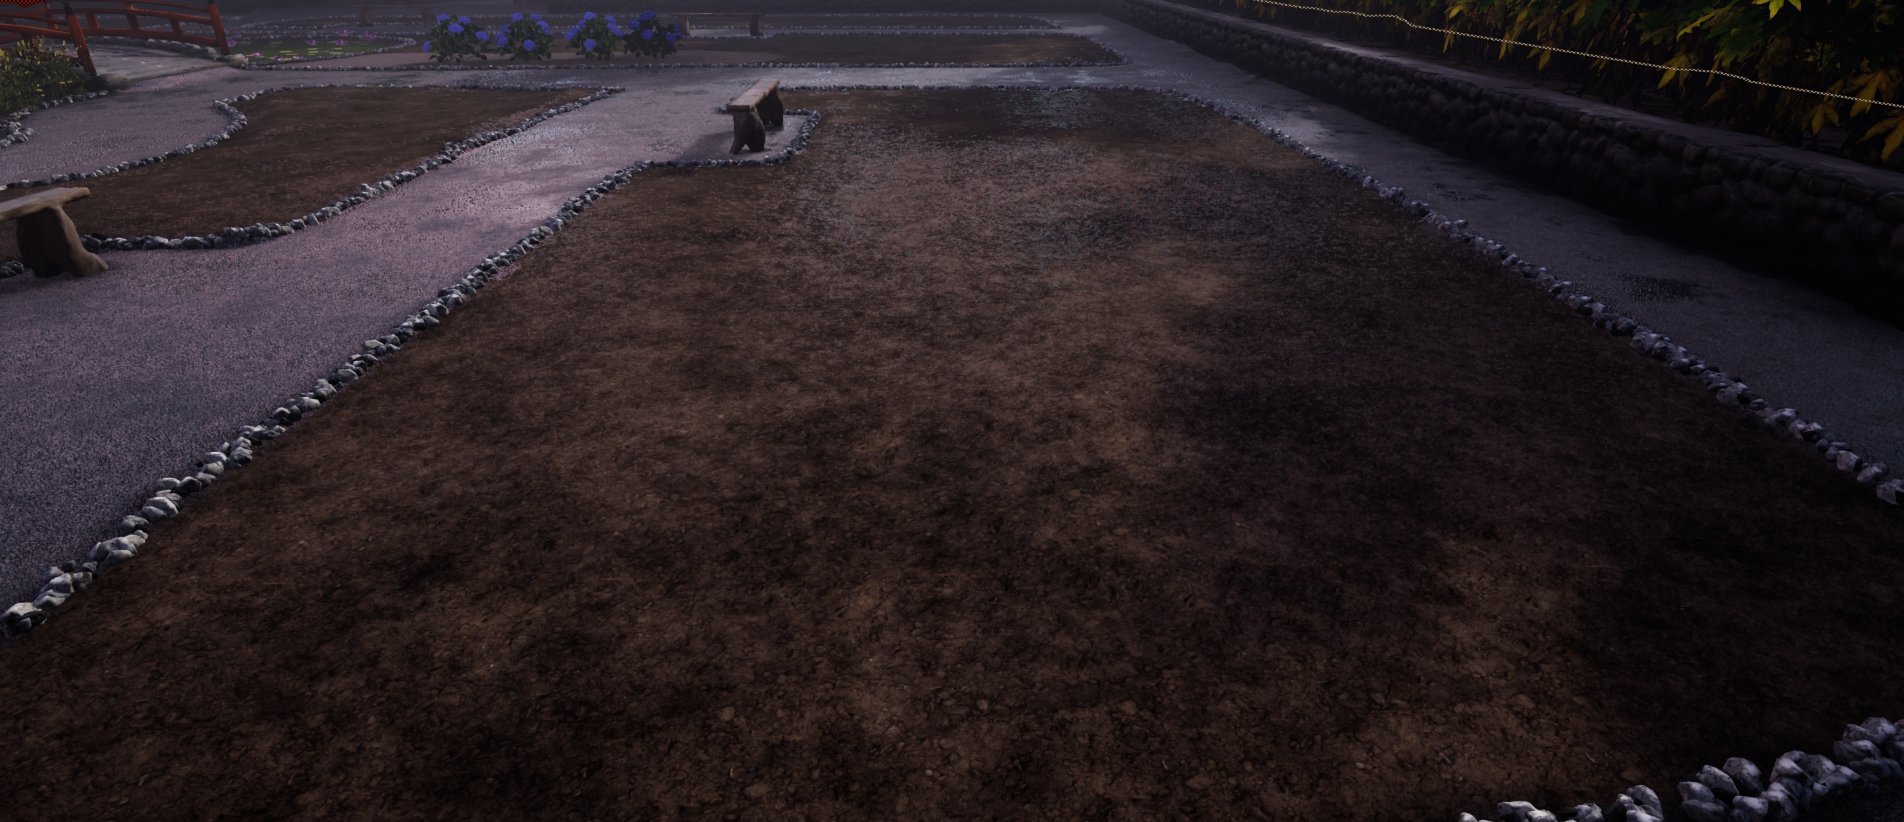
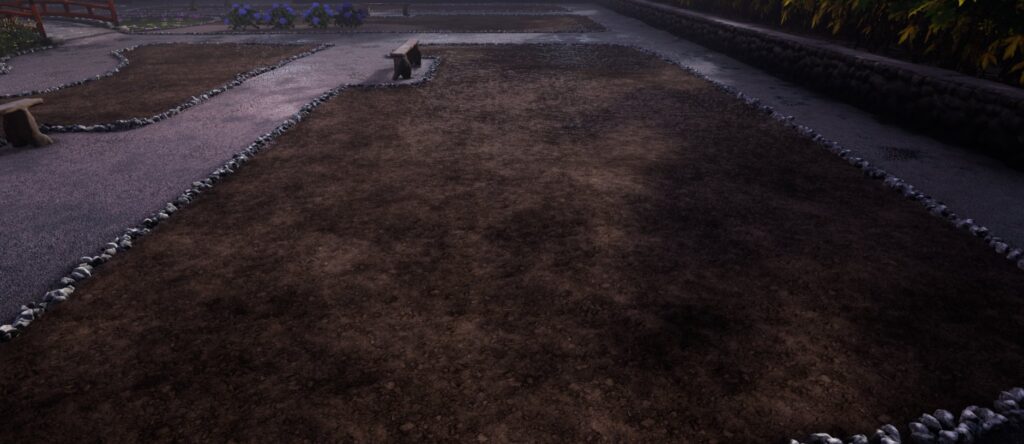
Now we have a new set of textures that have removed the seams as can be seen in the slider below:
Step 2.
This is as much as was needed for the Landscape Tutorial – but if you’re wanting that little bit more de-tiling at a distance, there is something else you can do:
A method used to create distance tiles is to create a new texture set with 2 repeats of the original texture and add a layer of deformation as described in Step 1. Then the two sets of textures are mixed depending on distance from the camera when being rendered. This takes twice as much GPU memory, but is a sure way to remove any tiling artifacts.
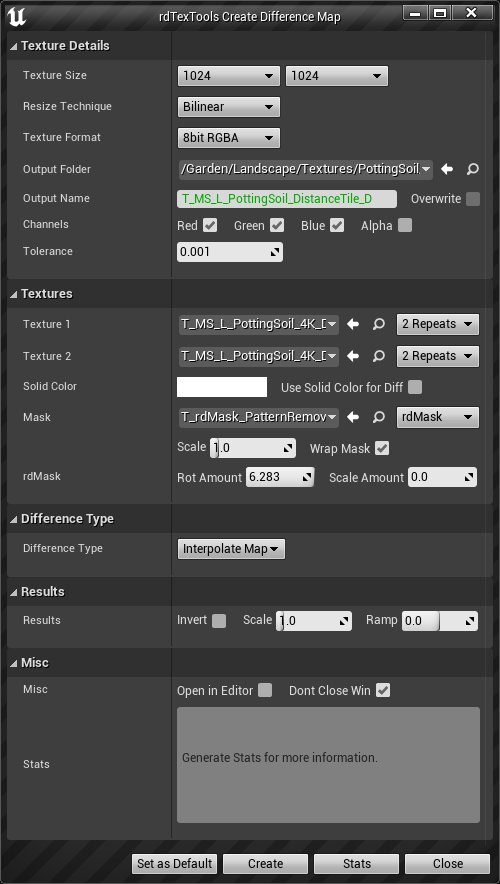
- Open the CreateDiffMap tool.
- Select 1024×1024 for the Texture Size, as it’s in the distance it doesn’t have to be high def.
- Choose a name and ensure Red,Green and Blue are ticked in the channel selection.
- Choose the PottingSoil Diffuse texture that you created in Step 1. as both Texture 1 & 2.
- Choose the same rdMask as in Step 1. and select “rdMask” as the type.
- Choose a very small Scale Amount or set to 0.0.
- Choose Interpolate Map as the Difference Type
- Tick “Don’t Close Win”
- Click “Create”
- Repeat for the Normal and SRAODP maps you create in Step 1. Remember to tick Alpha for the SRAODP texture.
Now we have a Distance Tile set for the Potting Soil. To find how to hook that up in the landscape materials, go to Page 2 of the Optimizing MS Landscapes tutorial and go to “Scene 6: The Scramble” DeTiler.
