rdBPtools Tutorial 20 – Creating Repeating/Tile-able Foliage
Last Updated: 21st July 2023
Tutorial created using rdBPtools version 1.10
Another thing that rdBPtools can be used for is easily creating tilable/repeatable foliage areas. This can be useful if you’re either making a procedural landscape or if you’re just tiling in-place.
In this tutorial we will place some grass foliage using the foliage tool, then convert it to a blueprint to make it tile-able, then move it back to the foliage.
This isn’t limited to landscapes – you can also do this when painting foliage onto meshes.
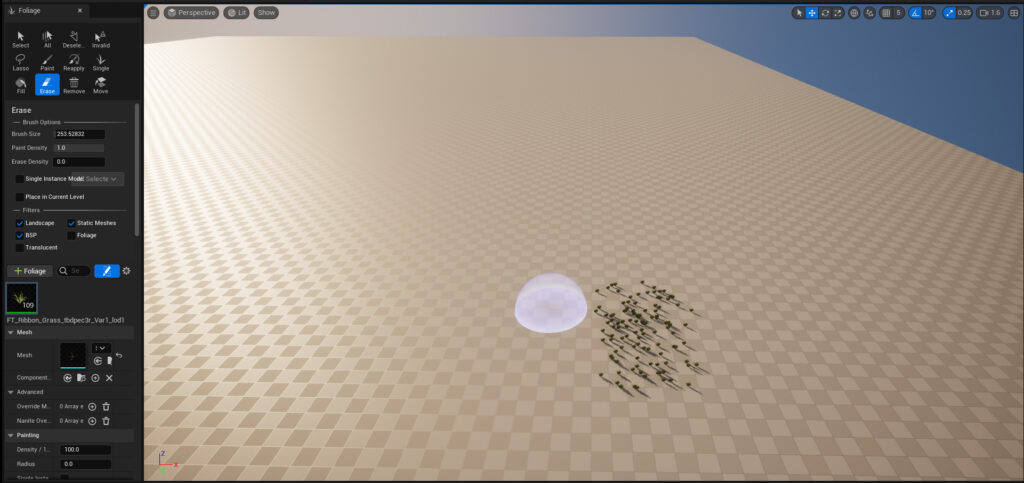
Step 1. Paint some Foliage
The first step is to create a patch of grass the size you’ll be wanting the tile to be. Just add grass type/s to your foliage editor and paint them until you’re happy.
If you have WorldPartition enabled, there may be multiple foliage volumes – the Foliage System creates a volume for each of the partitions in your world – in that case, you want to ensure that you only paint into one volume – an easy way to do that is to unload all but one partition, and then paint onto that. You can just click on the landscape to find it’s outline too.
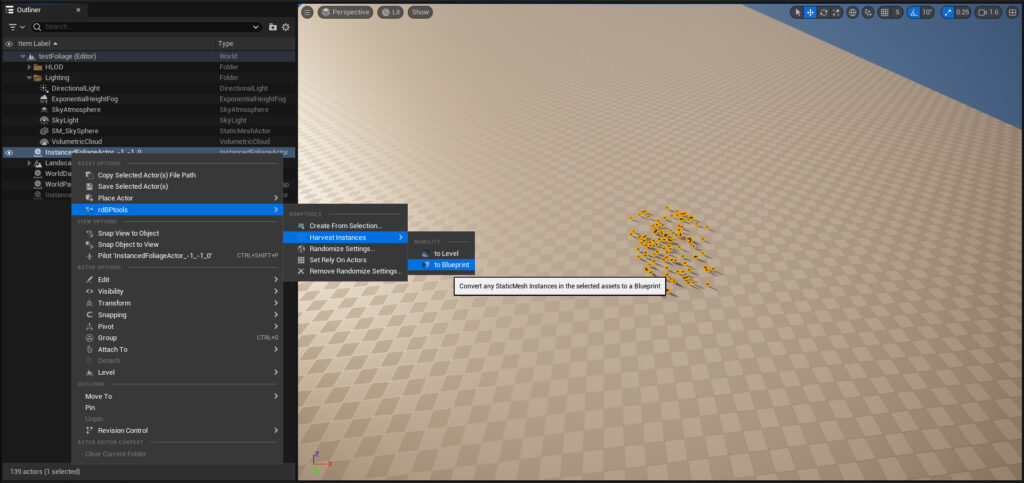
Step 2. Convert to a Blueprint
Now exit Foliage mode and find the Foliage Volume in your world outliner – if you’ve stuck to one partition (if WorldPartition is enabled) there should only be one in the outliner.
Select it, then right-click and open the “Harvest Instances” submenu in the rdBPtools section of the menu – chose the “Blueprint” option.
That opens the Create Blueprint window, from where you can customize. The Default settings are pretty good – but ticking “Create ISMs” will speed up the rendering by using static mesh instances. Those instances belong to the blueprint so behave nicely with world partition.
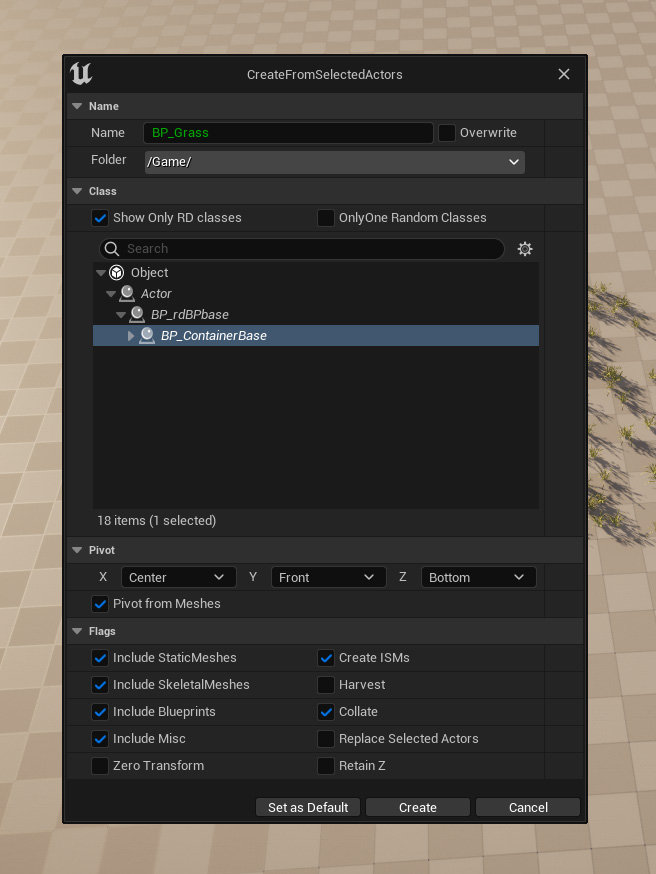
Depending on the orientation of the foliage on the landscape, you will want to choose between “x:center, y:front” and “x:left, y:center” to set the correct pivot point – although not needed unless you’re snapping to the pivot.
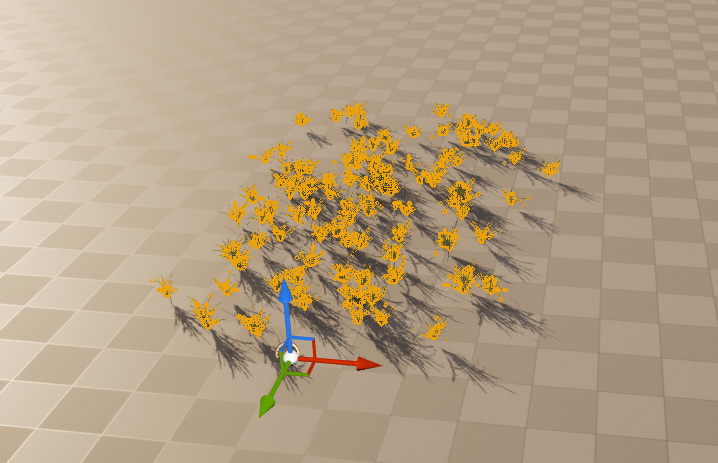
That creates a blueprint that looks like:
Step 3. Duplicate and Mirror
Now we want to make it tile-able. If you duplicate that blueprint and place both in your level, they will look something like:
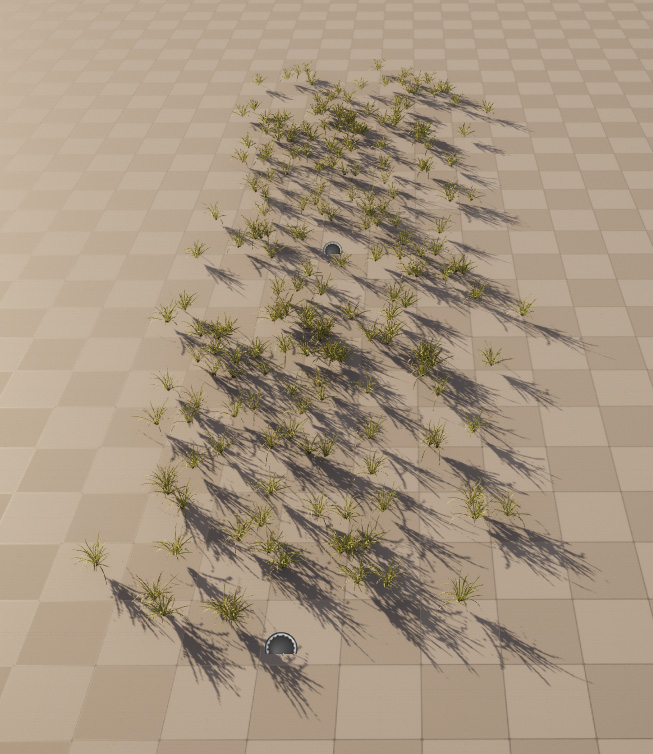
You can see that there is a slight seam. When you pan you camera along the blueprints, it becomes a bit more apparent they are tiled – it’s not too bad, but it can be better…
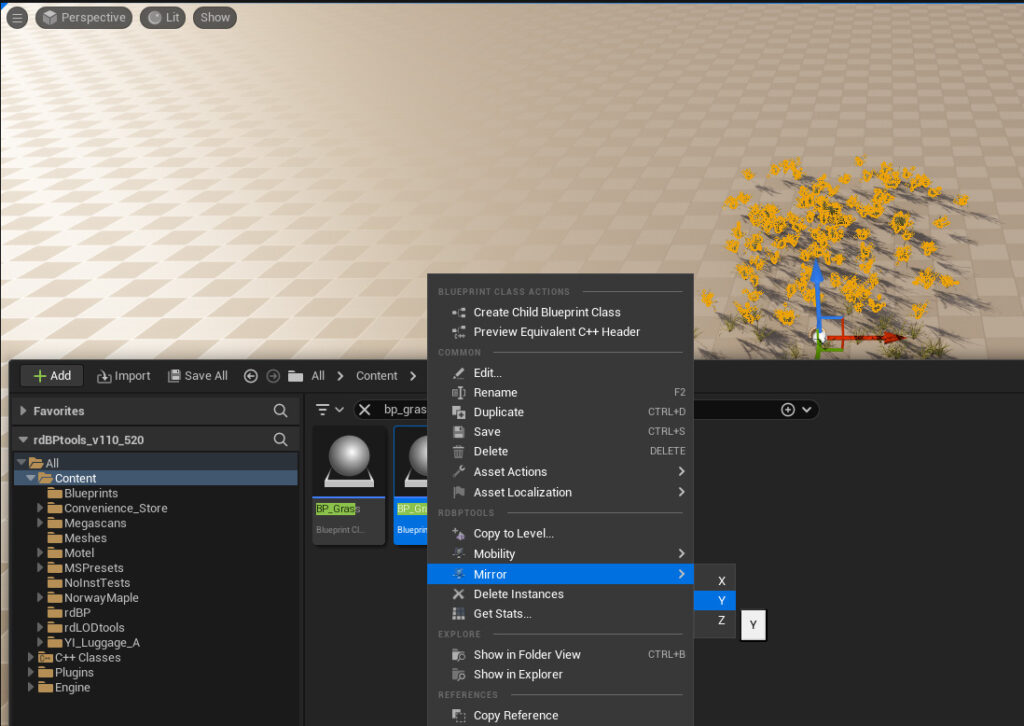
To solve this, we can simply mirror the locations of the foliage – then the two edges that get aligned also have the opposite edge of the foliage to itself.
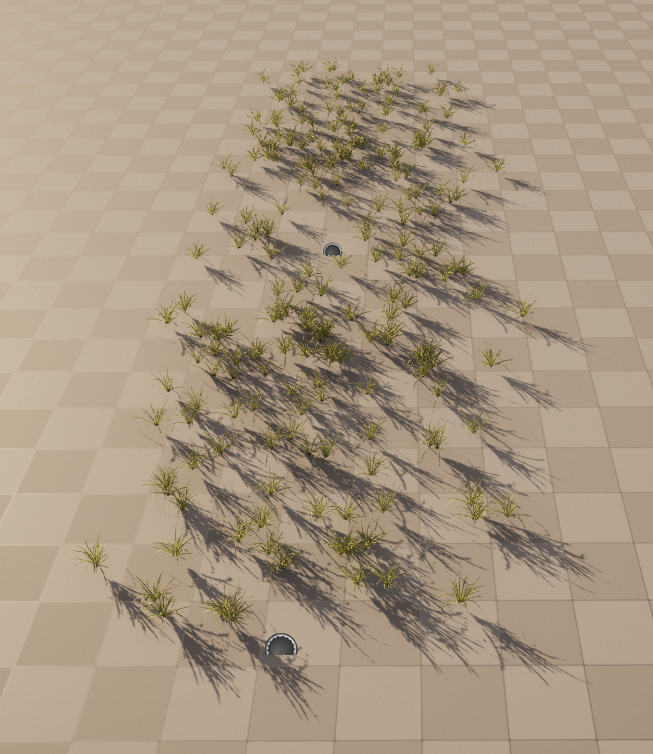
This produces the following, which tiles and pans nicely:
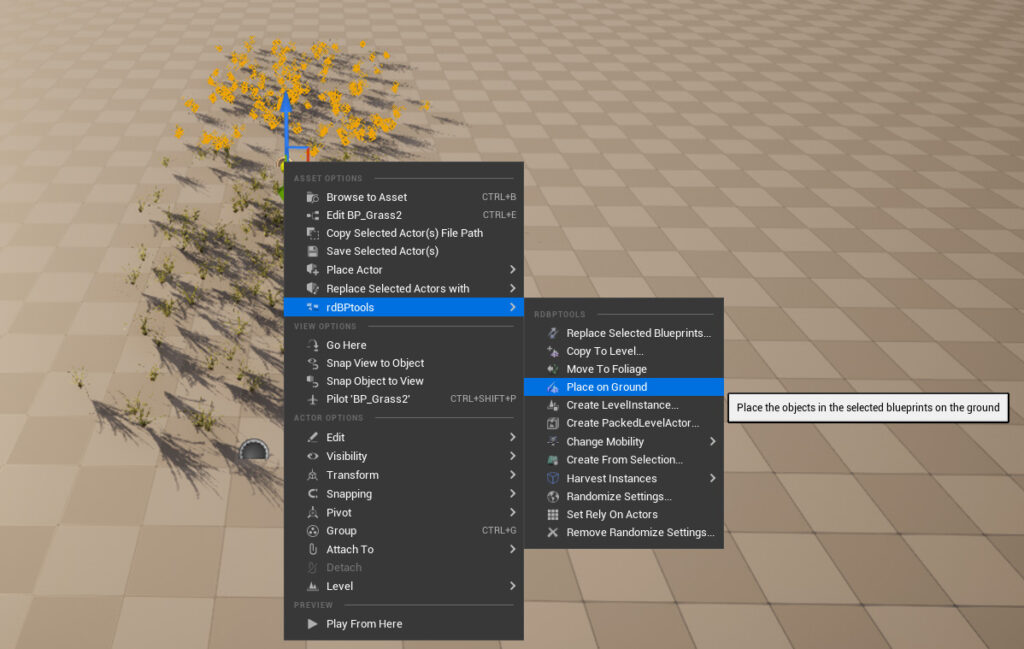
If your foliage is painted onto an uneven surface – when you mirror, the z positions will no longer reflect the surface (unless you’re mirroring that too). To fix this, you can select the newly Mirrored Blueprint (BP_Grass2 in this example) and run the “Position on Ground” tool on the actor in the level:
Step 4. Move back to the Foliage system
That’s pretty much it. You can leave the Blueprints and use them from there (can easily be moved etc) or move the instances back to the foliage system. It’s also possible to copy straight onto the level as actors (slow) – or bake it out into a single static mesh.
To move them back, select both Blueprints in the level, right-click and select “Move to Foliage” from the rdBPtools section of the menu.
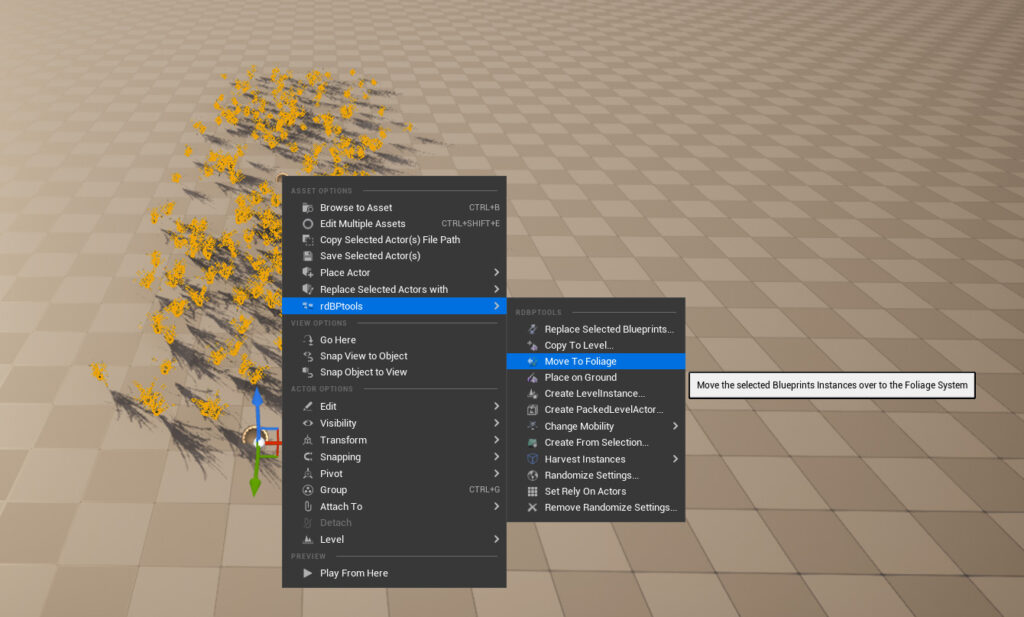
This adds the instances to the foliage system, then removes the blueprints.
Step 5. Done.
That’s it – your foliage tiles are finished.