rdBPtools Tutorial 21 – Converting your existing Blueprints to rdBPtools
Last Updated: 15th March 2024
Tutorial created using rdBPtools version 1.11
A common task you may want to do is convert your existing Blueprints to use rdBPtools containers.
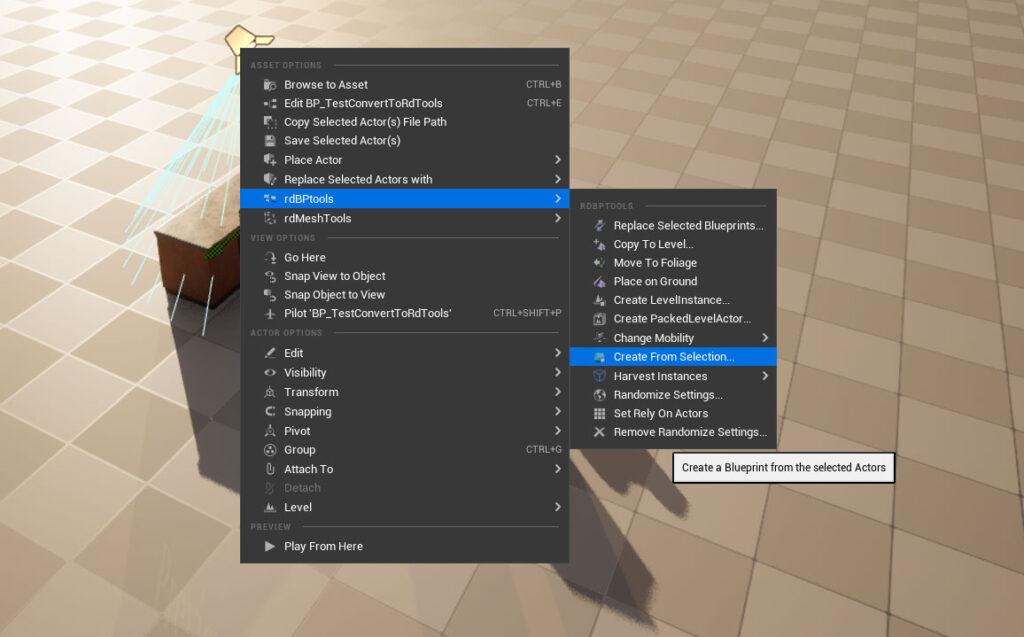
This is pretty straight forward. All you have to do is select the Blueprint Actor in your level, right-click and select “Create from Selection” in the rdBPtools section of the menu.
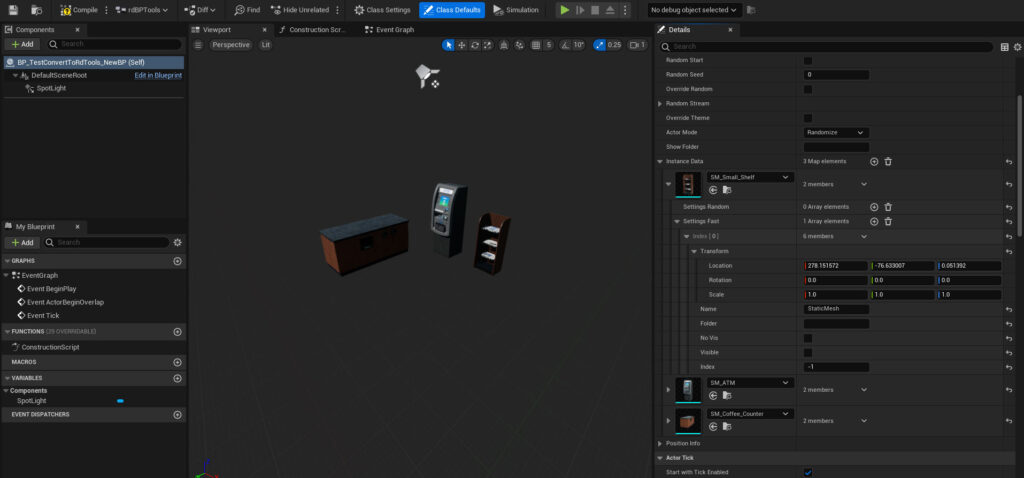
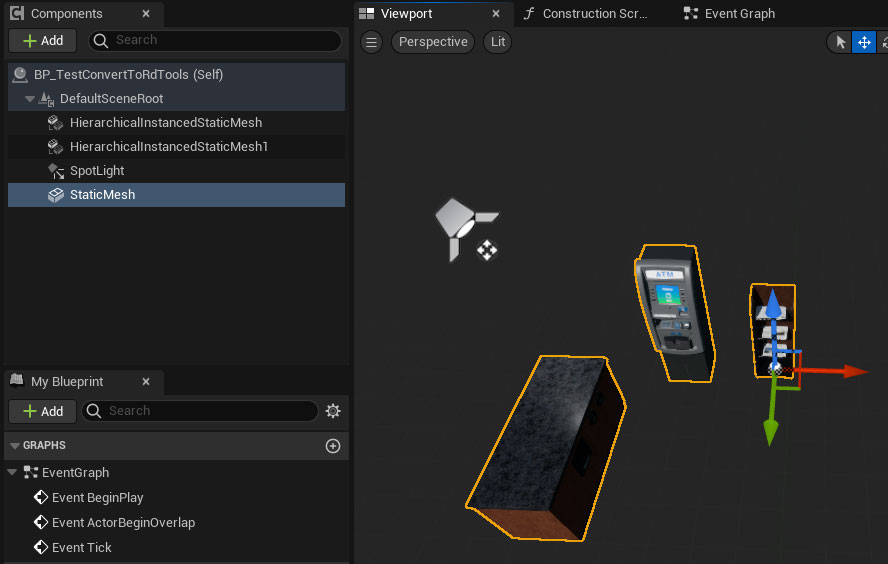
This converts StaticMesh Components, ISMCs and their instances and HISMCs and their instances into a unified Blueprint of all instances in a shared global Manager. Any other types of actors contained in your Blueprint are copied into the new one to retain things such as interactive objects and lights.
Step 1. Add your Blueprint to the level.
The first thing to do is drag your Blueprint Actor into the level.
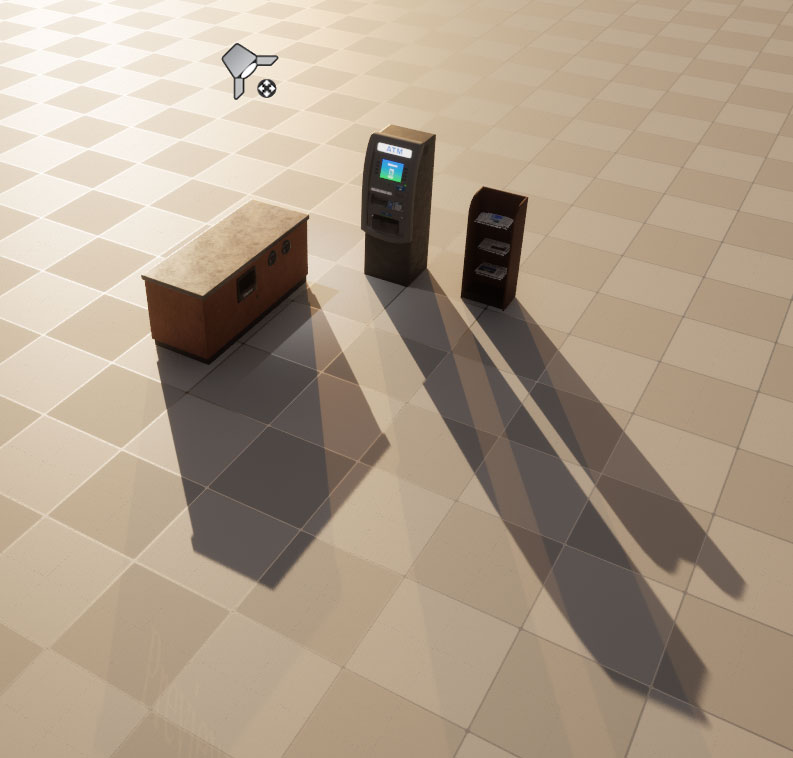
In this tutorial the Blueprint contains some HISMs from built-in HISMCs, a spotlight and a normal static mesh.
Step 2. Create from Selection.
Now just right-click on your actor in the level, and select the “Create from Selection” option in the rdBPtools menu section.
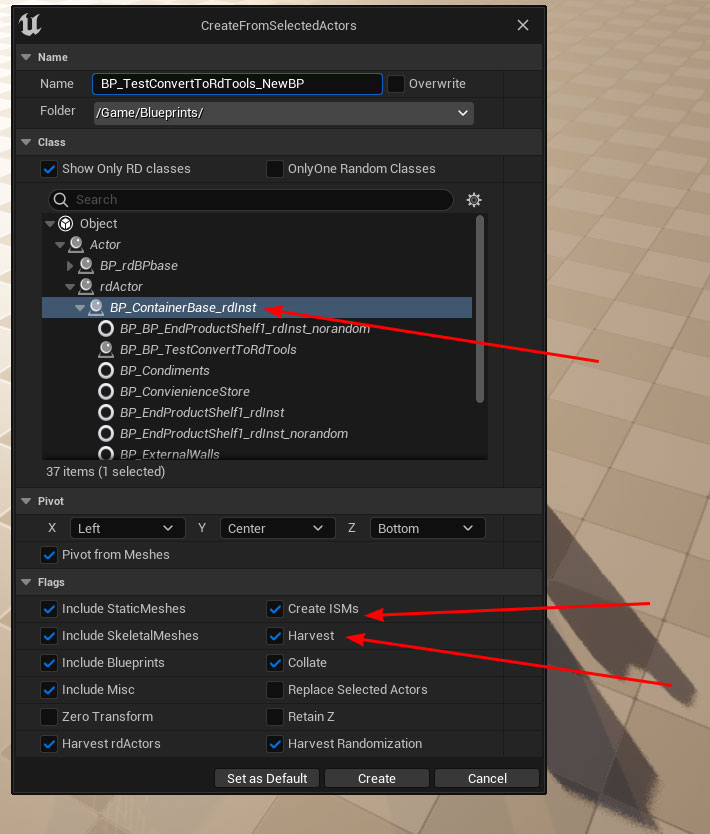
In the window that opens, select a name and folder for the new Blueprint at the top. If you have “rdInst” installed, use the “BP_ContainerBase_rdInst” class here, otherwise select the “BP_ContainerBase” class. Make sure the boxes pointed to in the image below are ticked too.
Step 3. Done.
That’s it – a new Blueprint is created containing the light and fast instanced meshes. You can go into the Blueprint and edit any part of it. To edit the Instances themselves, look in the “Instance Data” array in the details panel, there you can change the transform etc and give each object a name if you wish.