rdBPtools Tutorial 24 – Editing individual Instances
Last Updated: 1st April 2024
Tutorial created using rdBPtools version 1.20
Version 1.20 of rdBPtools introduces instance editing for both BP based prefabs and rdInst based prefabs.
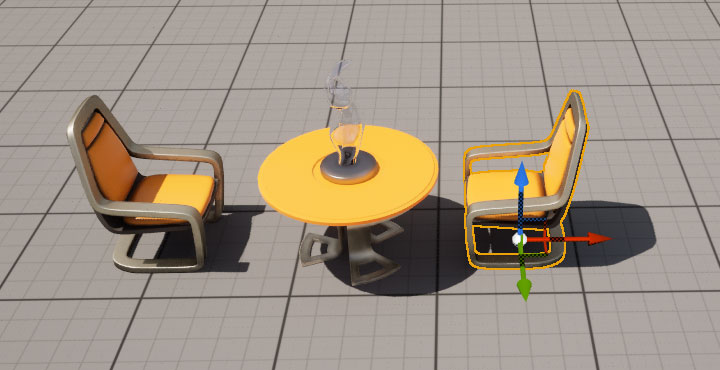
You can turn on Instance Edit Mode, select each instance and transform in any way you wish.
How you activate Instance Edit Mode depends on if you’re using rdInst based Prefabs or BP based Prefabs. This tutorial walks through both ways.
These edits are saved locally to the Actor being edited – there is also an option to copy your edits back to the main Prefab Blueprint.
This tutorial will show creating a simple prefab (in both BP and rdInst) and then edit the instances within.
It uses a basic project containing the starter content.
Step 1. Open a Level with a rdBPtools Prefab in it (BP_ContainerBase)
Just load a level that you have created a prefab that you wish to edit. In this tutorial the prefab is just some assets from the starter content.
Add some of the meshes to your level, then create a prefab with them if you’re starting with a blank project.
Step 2. Enable Instance Edit Mode
Now right-click on the prefab in the level or in the outliner, and select the “Set PerInstance Editing” option.
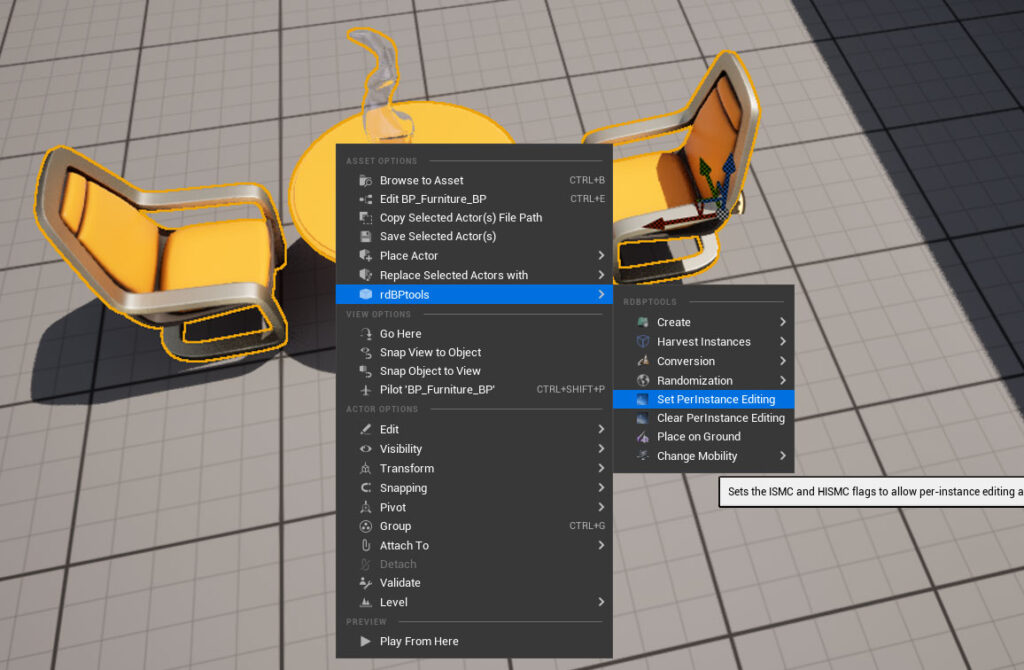
This then deselects the prefab ready for you to start selecting and transforming its instances.
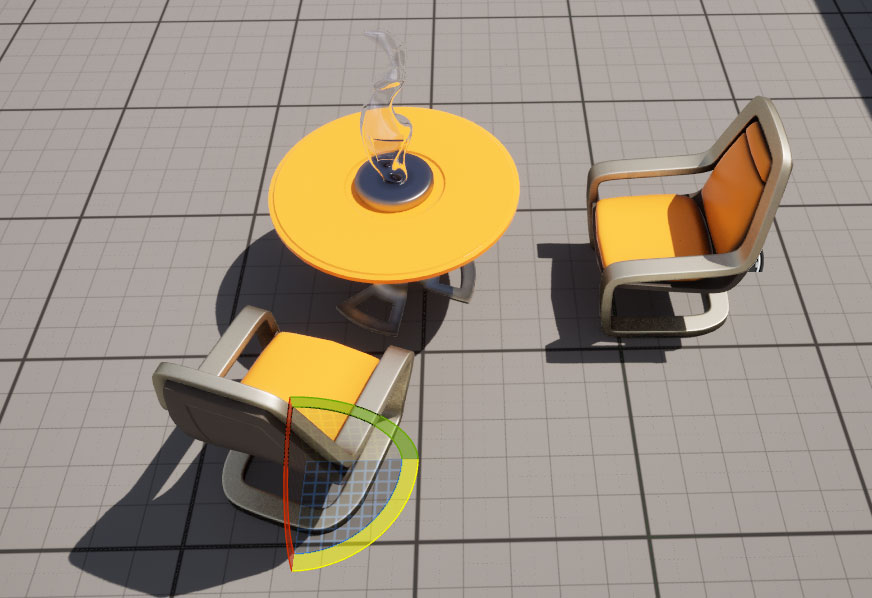
These edits are saved into that instance of the prefab – you can edit each instance in the level in it’s own unique way.
Once you’ve finished editing, you can select the “Clear PerInstance Editing” option from the menu to stop editing instances and return to the default actor selection/editing. This is easier to do from the outliner – it can be tricky to find the small BP icon amongst the meshes to select the whole prefab.
Step 3. Save the Edits Back into the actual Prefab Asset
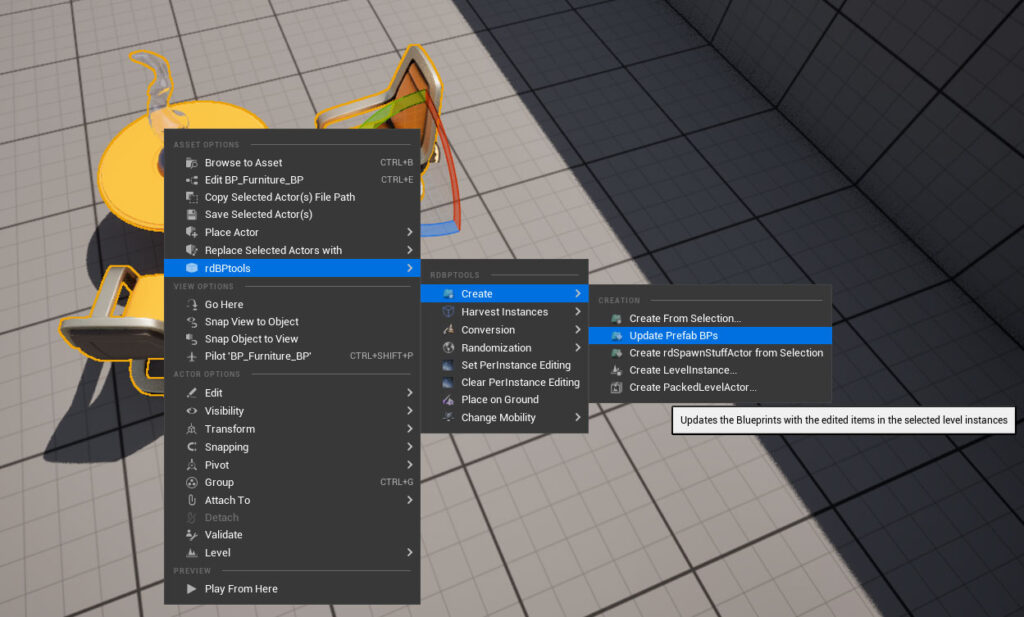
It’s also possible to save your instance edits back into the main prefab asset. All you need to do is right-click the prefab in normal edit mode and select the “Update Prefab BPs” option.
Step 4. Create or add to the level a rdInst based prefab
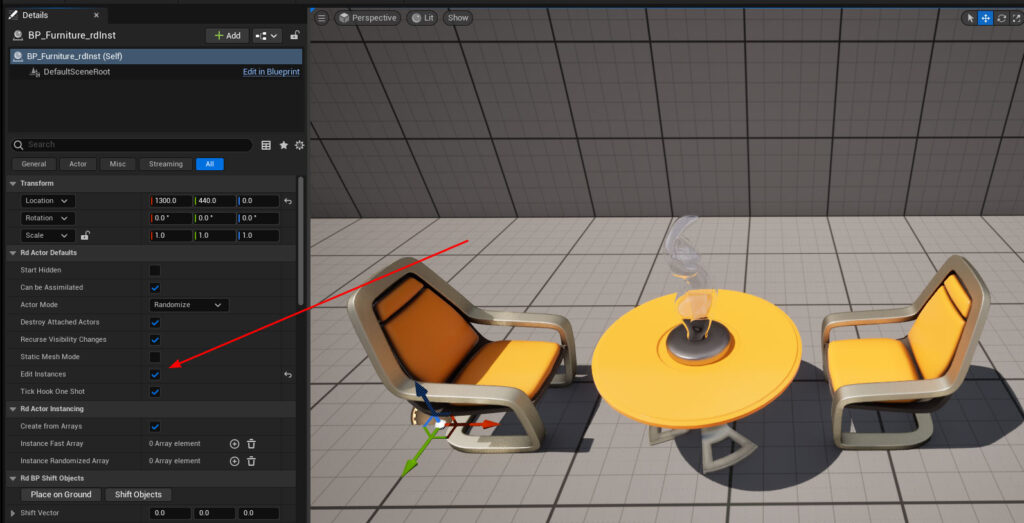
Now we’ll edit the instances of a rdInst prefab. These are easier to edit, there is no need to turn it on/off in the menu.
There is an option in the rdActor details called “Edit Instances” – just tick that when you want to edit, and untick after.
You can also update the main prefab asset in the same way as BP based ones (needs rdInst version 1.40).