rdInst Tutorial 19 – Pooling Projectile Actors with ProjectileComponent.
Last Updated: 20th August 2023
Tutorial created using rdInst version 1.22
This tutorial is very similar to the ActorPool tutorial (13) but instead of the projectile using tick to increment it’s location, we use a ProjectileMovementComponent and set that up.
Step 1. Create a new Projectile Blueprint
Start by create a new Blueprint for the Projectile. This is almost identical to Step 1. in tutorial 13, make sure tick is turned off, and add a “ProjectileMovementComponent” to the Blueprint, we also want a Collision Sphere, and a Cyclinder mesh which is the laser.
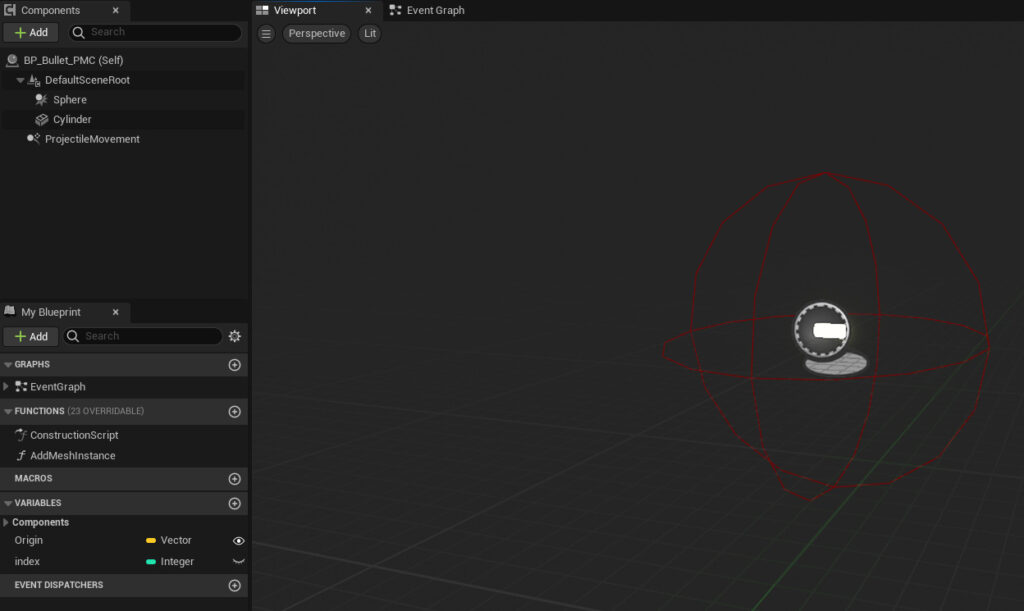
With the ProjectileMovementComponent selected, find the setting “AutoActivate” in the details panel, and un-tick it:

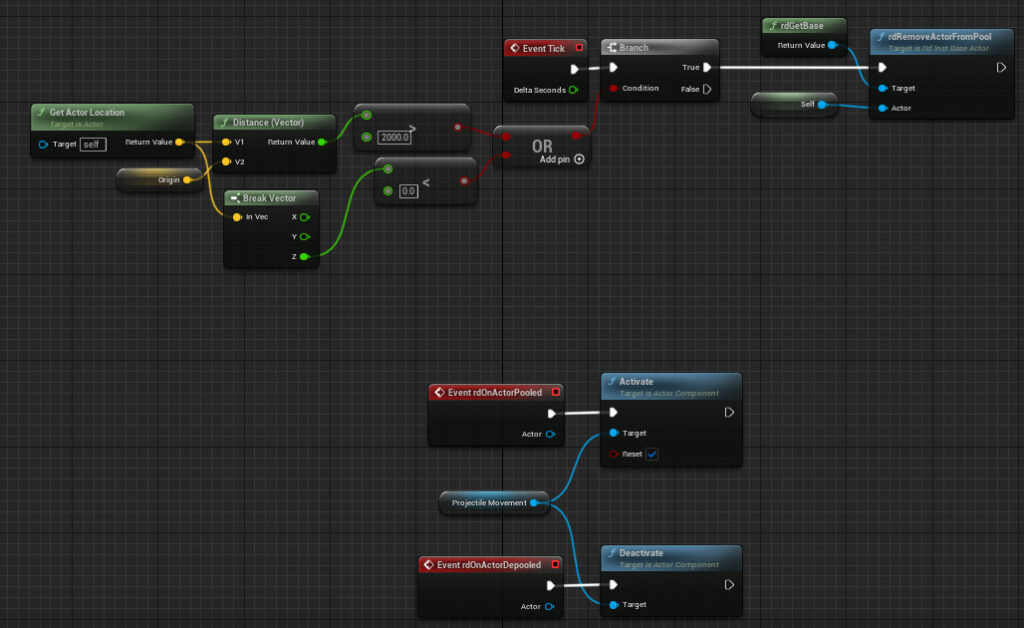
Make the blueprint Tick event and Pool events like (this way the component is silent and not taking cycles until it’s used).
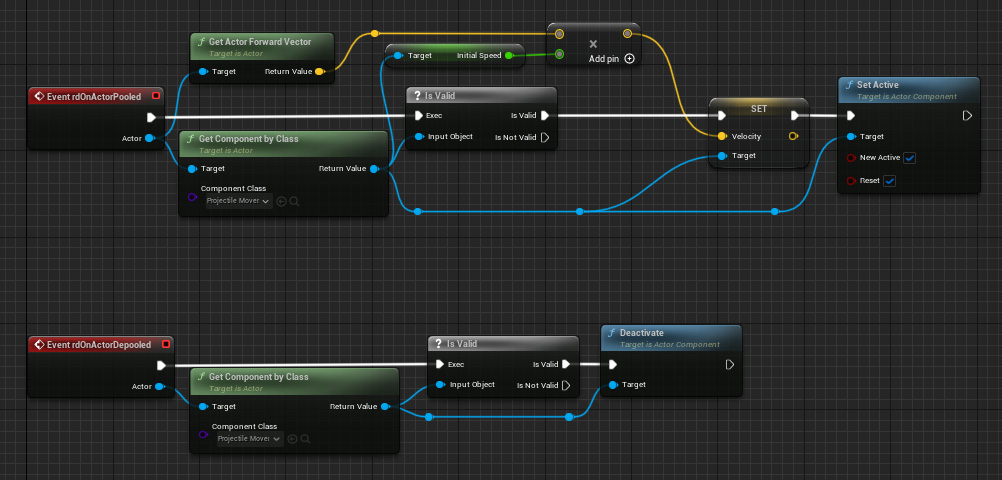
If you have problems with the projectile not heading in the correct direction, use the events below:
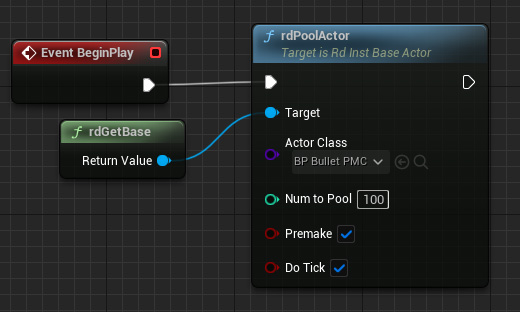
Step 2. Create the Base
This step is the same as step 2 in tutorial 13, the only difference is you pool this new actor instead of the original project bp used in that tutorial.

Step 3. Done.
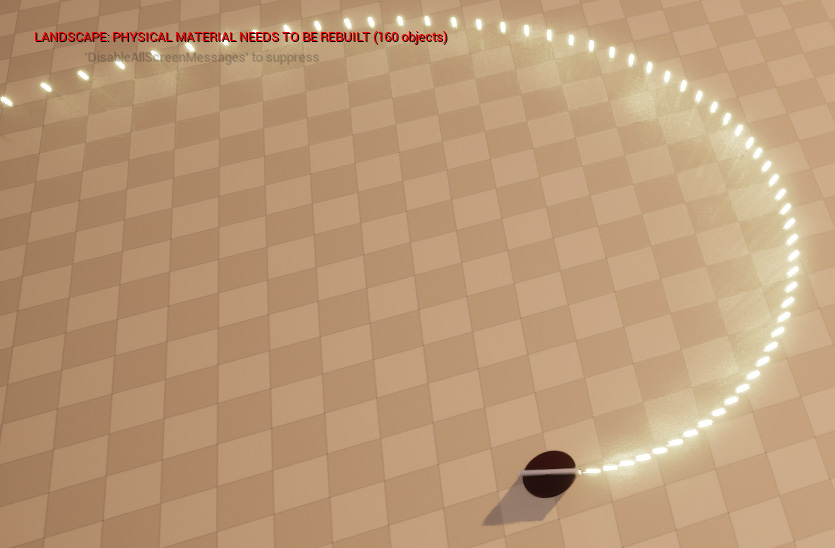
That’s it – when you play the level you should get something like this: