rdInst Tutorial 36 – Baking Proxy Scan data at run-time
Last Edited: 18th February 2024
Tutorial created using rdInst version 1.35
Tutorial using UE5.3 or above
Spawning Instanced Static Meshes is a lot faster when they have no collision, but most of the time you do want to be able to interact or collide with them when in proximity.
That’s where this routine comes in handy – you can spawn your ISMs in something like a PCG volume with no collision, and then instruct rdInst to swap add collision boxes to the closest ones – you choose the distance to scan.
You could convert the PCG volume to a rdSpawnStuffActor like in Tutorial 35 – that can spawn at any distance simply by setting the “distance” value to something non-zero – and it handles Proxies for you, but this time we want our PCG volume to spawn the trees randomly each time – the SpawnStuff Actor uses baked data so is the same each time.
The ISM data can be split into multiple rows and columns – if you’re spawning a large area – it can significantly reduce the amount of scan iterations to break them into smaller areas – all you need to do is specify an amount of rows and columns, rdInst does the rest.
In this tutorial we will spawn a PCG volume at run-time, pass it through the “rdBakeVolumeTransformsForProxies” routine and then attach a Proxy Actor with collision.
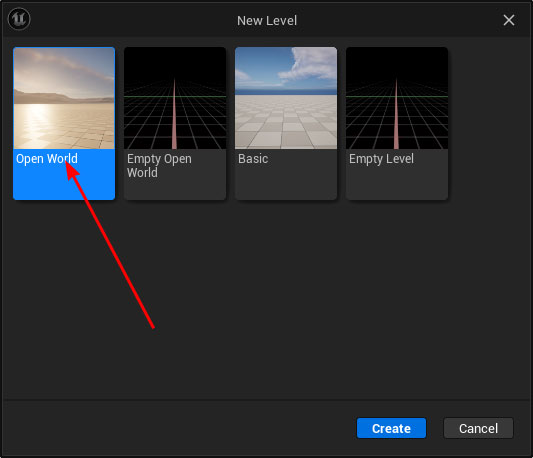
Step 1. Create a new level
Create a new level based on the Open World Template.
Step 2. Create a PCG Graph
Now we create a simple PCG Graph containing a few trees. This is the same as in Step 2 of Tutorial 35.

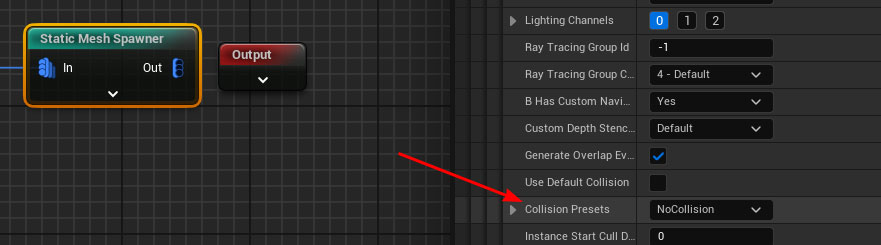
Make sure that the meshes have collision turned off in the StaticMeshSpawner Node.
And set the instance settings for rdInst to have no collision, you can do this via rdBPtools by right-clicking on the meshes and selecting “rdBPtools->Instance Settings” – turn off collision in the window that opens:
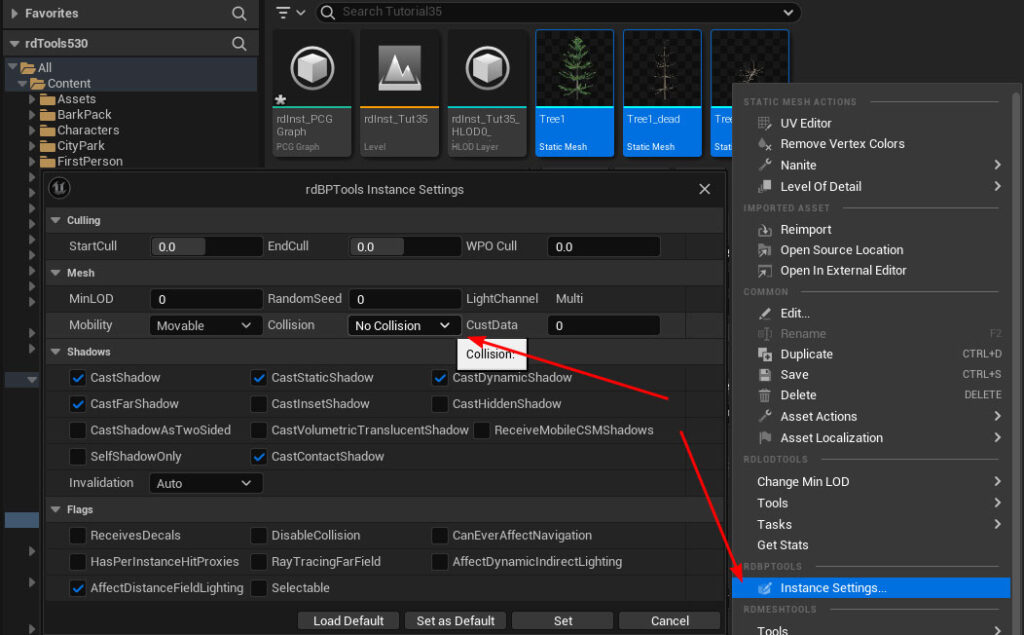
Alternatively you can set this by adding a rdInstAssetUserData class to the AssetUserData and change the settings in there, see Section 6 of the Reference Manual.
Drag one into the level, then find the “Generation Trigger” setting and change it to “Generate on Demand”.
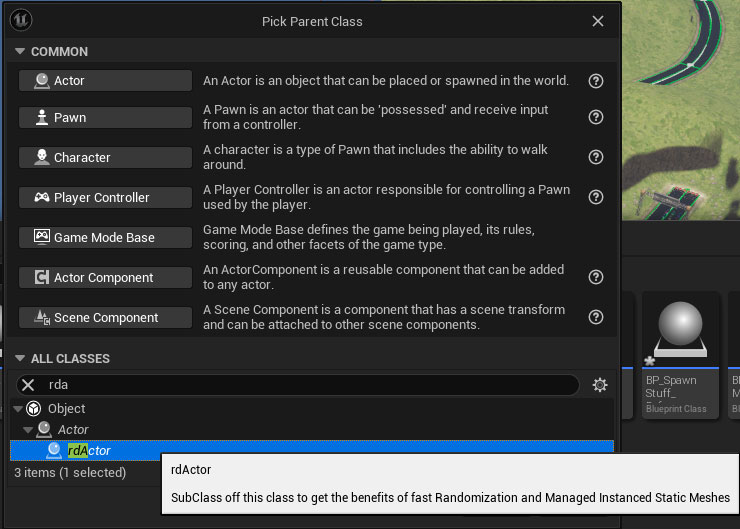
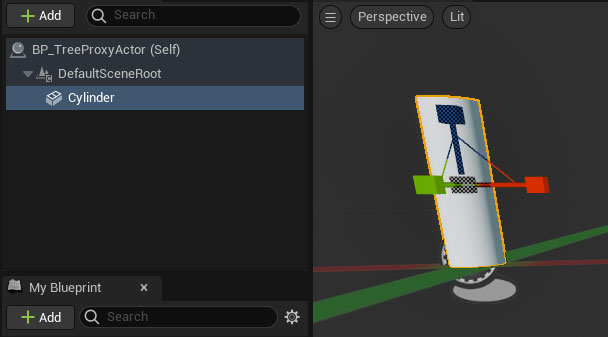
Step 3. Create a new Blueprint for the Tree Proxy Actor
Create a new Blueprint Subclassed from rdActor:
Call it “BP_TreeProxyActor”, Add a Cylinder and shape it like the Tree trunk, but slightly larger.
Step 4. Create a new Blueprint to Spawn the PCG Volume
Create a new Blueprint based on rdActor.
Call it BP_Trigger_PCG. Add a variable of type “PCGVolume”, mark it public:
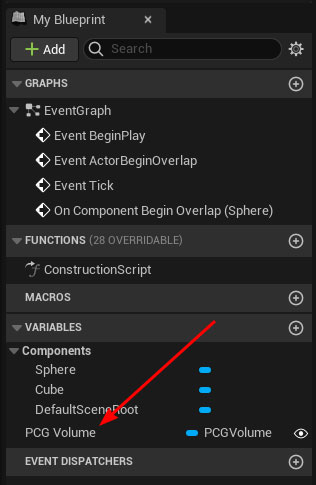
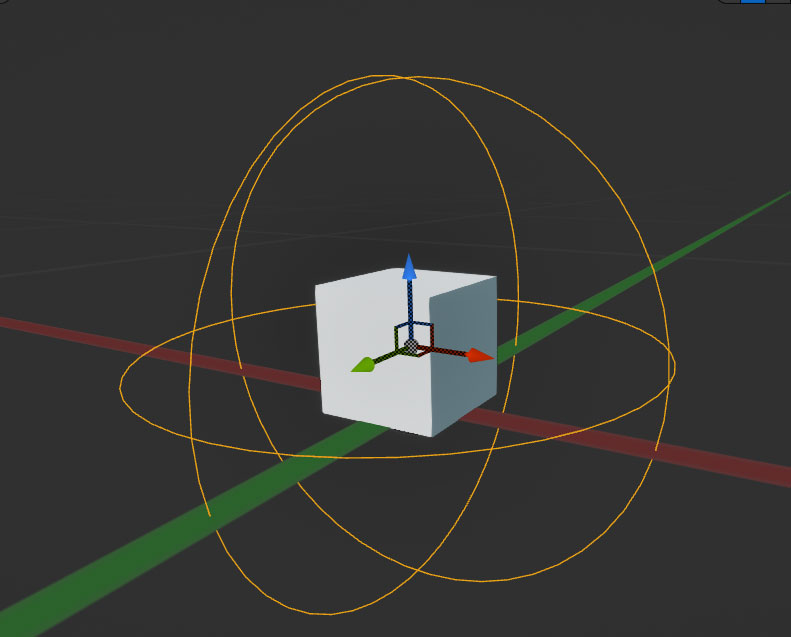
Add a Cube (so we can see where it is) and a collision sphere, make the radius for the sphere 200.
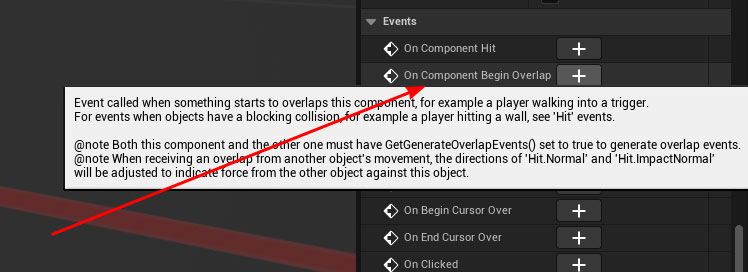
Now with the Collision Sphere still selected, scroll down to near the bottom in the details panel and add an Event Handler for the Begin Overlap Event.
Add the code below to spawn a PCG volume and add the Baked Proxy data, and of the Proxies. (The 2nd Proxy in the MakeArray is the same as the first)
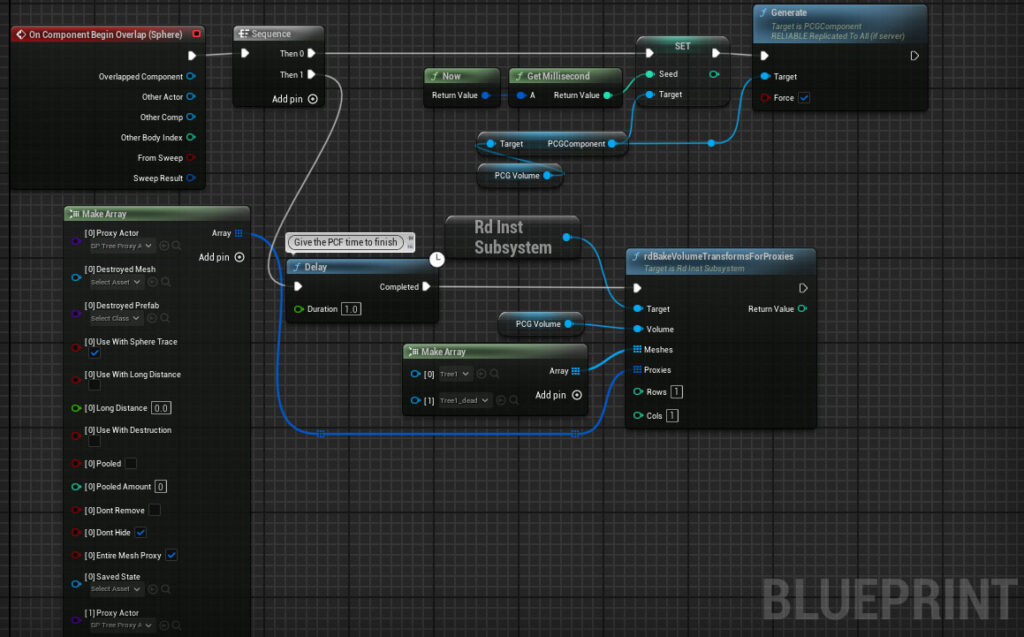
Drag the new Blueprint into your level, somewhere close to the PCG volume but not in it – set the “PCG Volume” variable in the Blueprint details panel to the PCG Volume Actor that’s in the level.
Step 5. Setup the Proxies.
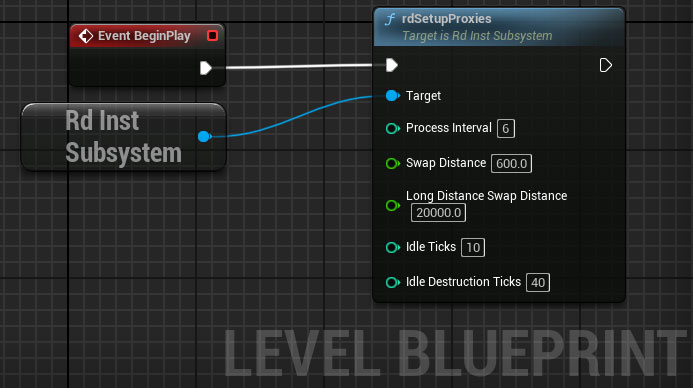
Lastly, open the level blueprint and drag off the BeginPlay event, adding this code:
Step 6. Done.
That’s it, now just play and move to the cube, then around the trees to watch them swap in the collision and cylinder.