rdInst Tutorial 25 – Multiplayer Pooling
Last Updated: 18th December 2025
Tutorial created using rdInst version 1.35
The rdInst Pooling system can be used to pool actors from both single player and multiplayer.
When Pooling actors with Multiplayer in mind, the pools are maintained by each client (and any non-dedicated server) and they can be grabbed from the pool via server events or local – supporting multicast.
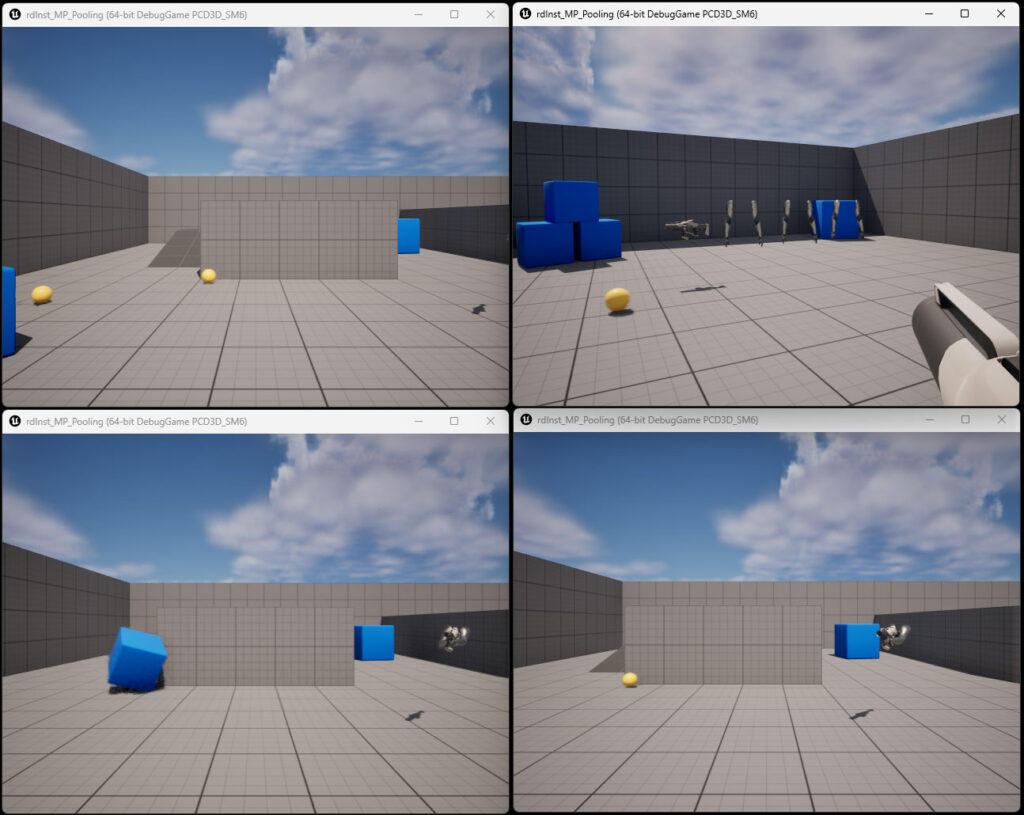
This tutorial covers creating a simple multiplayer, first person shooter with a listen server and clients. The projectiles are the default ones with some modifications to make them pooled on each client/server.
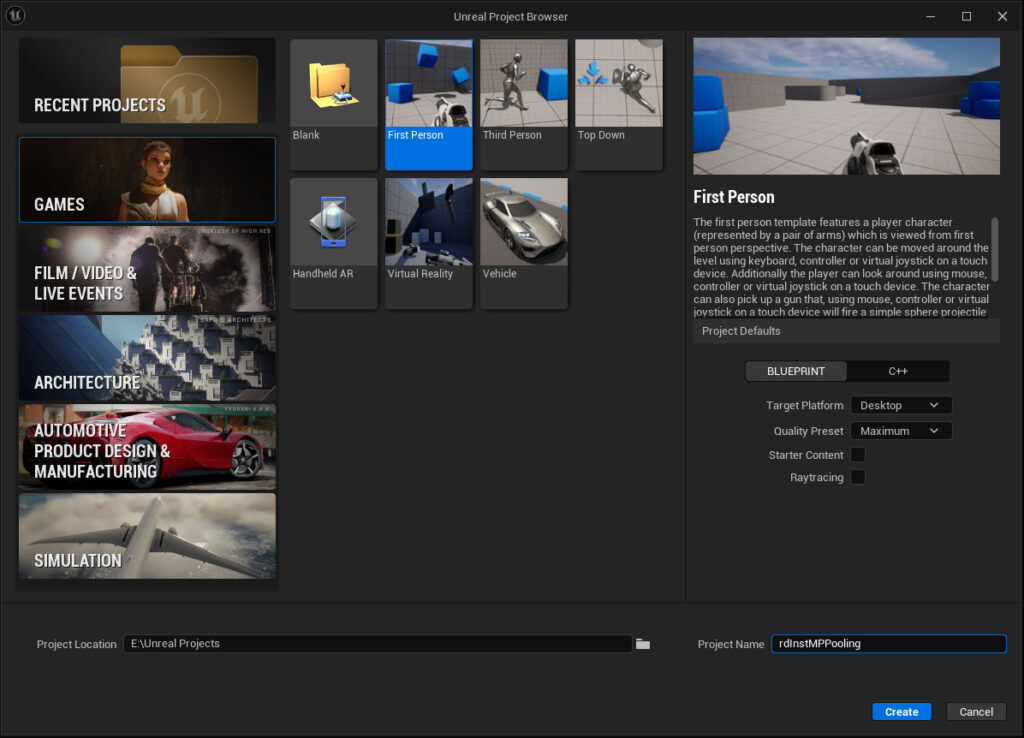
Step 1. Create a project from the default First Person Template
Create a new project based on the First Person template, it can be blueprint only or C++.
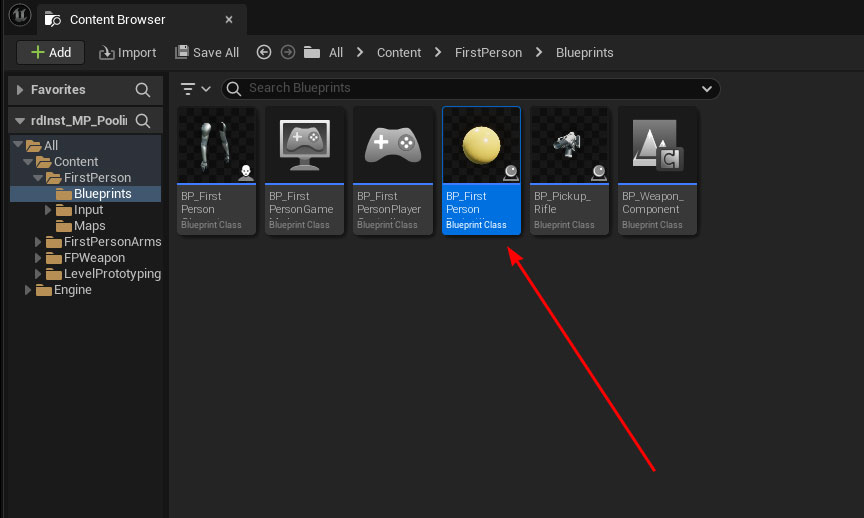
Step 2. Modify the First Person Projectile
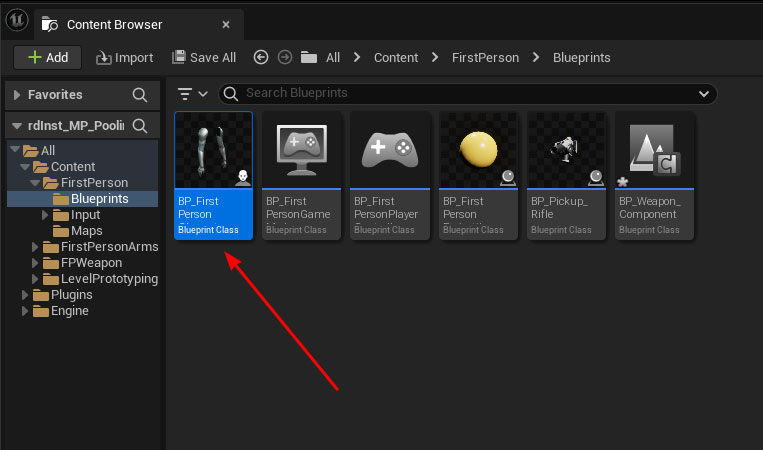
- Navigate to the “FirstPerson/Blueprints” folder and open the “BP_FirstPersonProjectile” in the Blueprint Editor.
2. The first thing to do is to ReParent it to rdActor – The option to do this is in the File Menu.
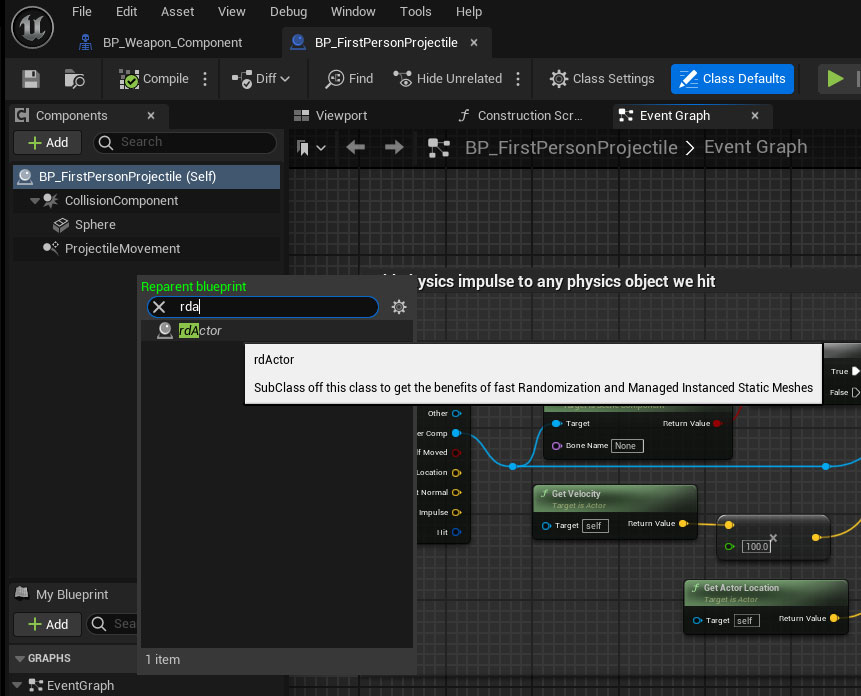
Changing the Parent to rdActor makes it easy to add nodes to activate/deactivate the ProjectileMovementComponent (PMC). It also adds support for returning the actor to the pool instead of destroying it if its lifespan is reached or it falls out of the world. If you don’t want to reparent the projectile, you’ll need to take care of those things, and add a Pool Listener to your level to handle activation of the PMC.
The PMC isn’t really designed to be pooled, more just spawned, so rdActor also does some behind-the-scenes work to reset the interpolation and reset the “UpdatedComponent” and “UpdatedPrimitives” which can get nulled at the end of it’s movement. It also resets the “bIsSliding” value which can sometimes be left as True.
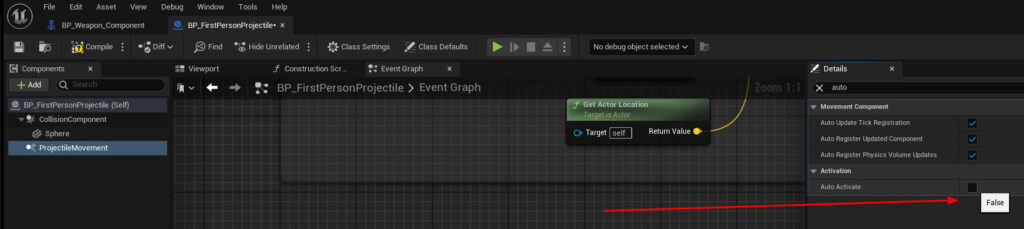
3. The next thing to do is turn off “Auto Activate” in the PMCs default settings. Select the PMC in the Blueprint Editor Outliner and then find the setting in the details panel, and un-tick it.
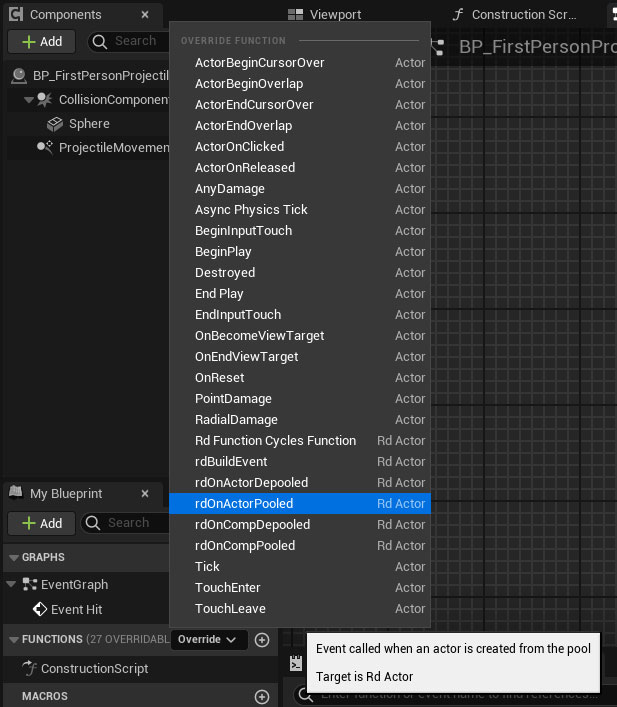
4. Now add events for the Pooling and Depooling, activating or deactivating the PMC.
In the “Functions” list, click the “Override” button, and select the “rdOnActorPooled” to create an event for it – do the same for “rdOnActorDePooled”.
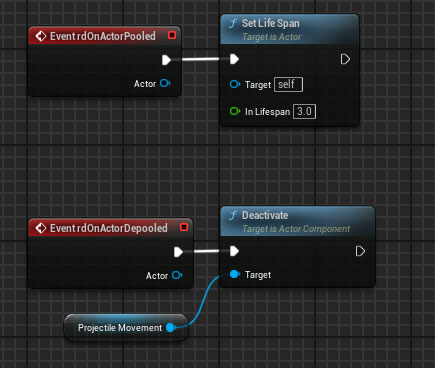
5. Now add the following Nodes to those events (just drag the ProjectileMovement from the Components list into your blueprint):
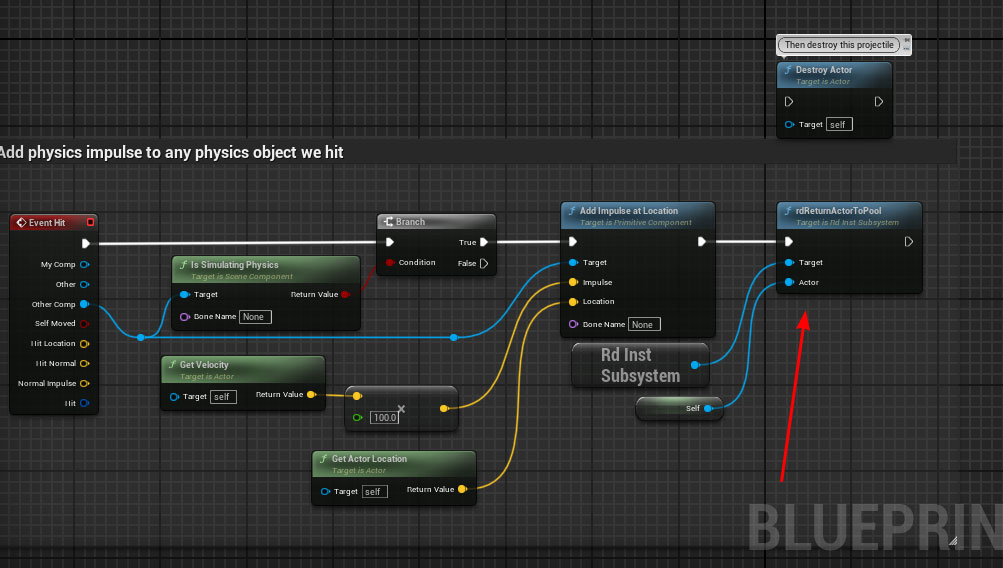
6. The last thing to do in the Projectile Blueprint is to remove the “Destroy” in the Hit Event, and replace with a rdReturnActorToPool node:
Step 3. Modify the BP_FirstPersonCharacter Blueprint
- Open the “BP_FirstPersonCharacter” Blueprint in the Blueprint Editor:
2. Create a new function called “FireBullet” and add an input parameter called “transform” (a Transform type), create the following code for the function:
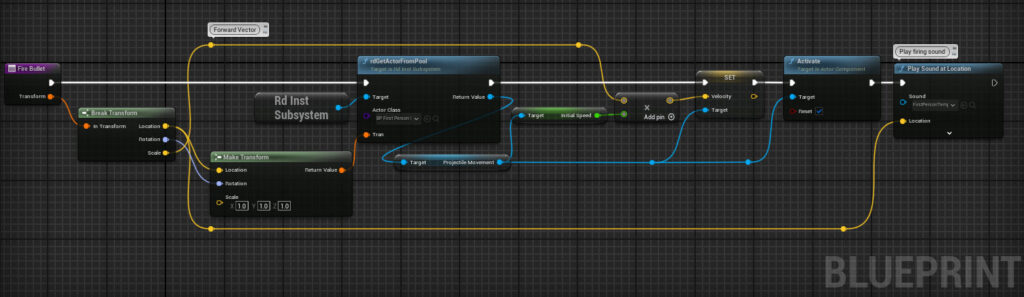
The Velocity Vector in the Projectile Movement Component needs to be set to the direction specified in the Scale of the Transform (The packed Forward Vector), so this gets set before it Activates the component.
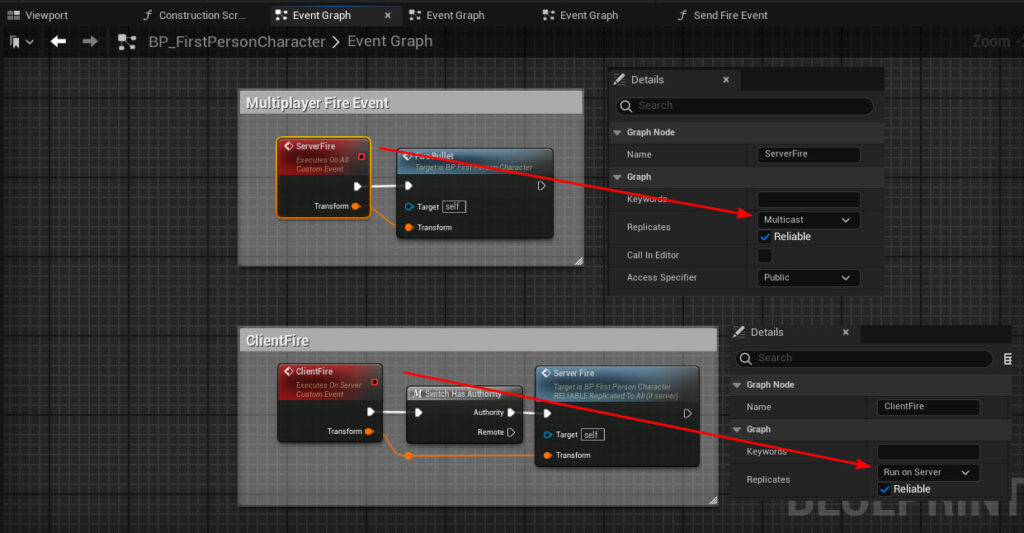
3. Now add 2 Custom events, note the first is Multicast, the second is RunOnServer – add the code as below:
4. Add a new function called SendFireEvent and add the code below:

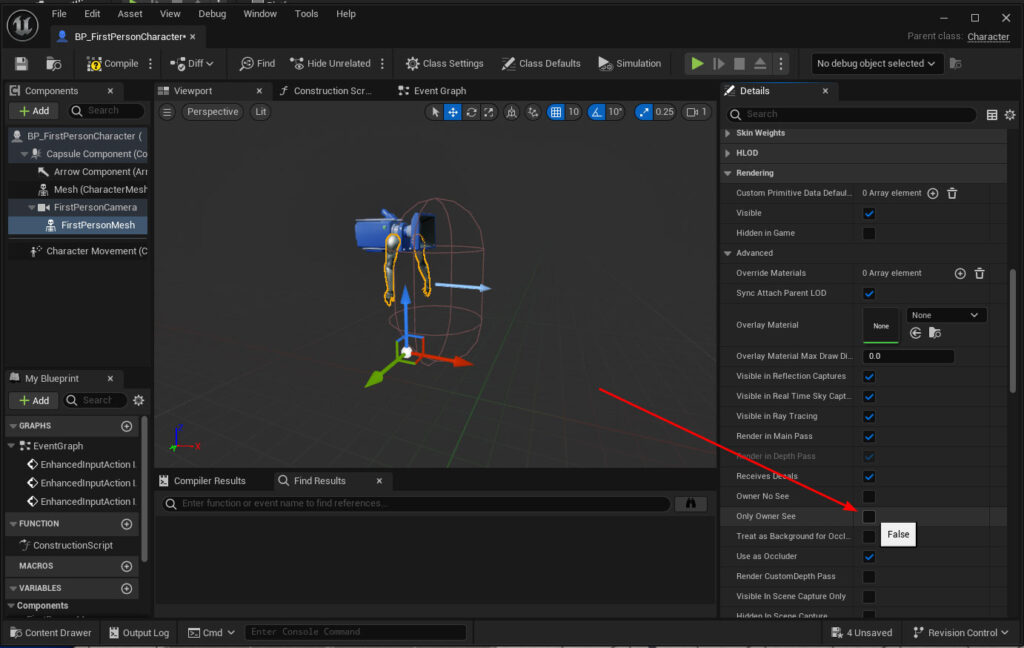
5. Finally – select the FirstPersonMesh (Arms) mesh from the Components list on the left, and untick the “Only Owner See” – just so all players can see the arms – nothing flash…
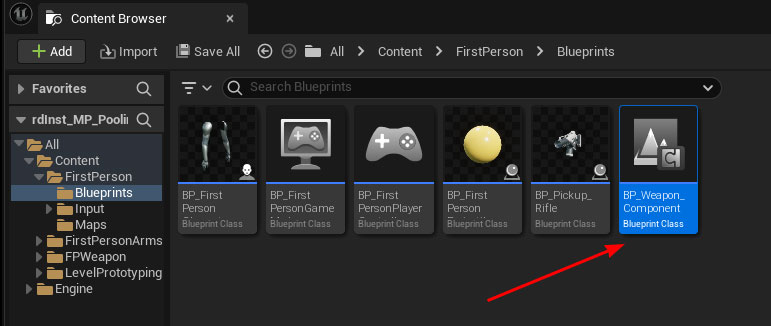
Step 4. Modify the BP_WeaponComponent Blueprint
- Now open up the “BP_WeaponComponent” in the Blueprint Editor:
2. Find the Fire Event in the Event Graph and remove all the code after the event node, replace with the code below:
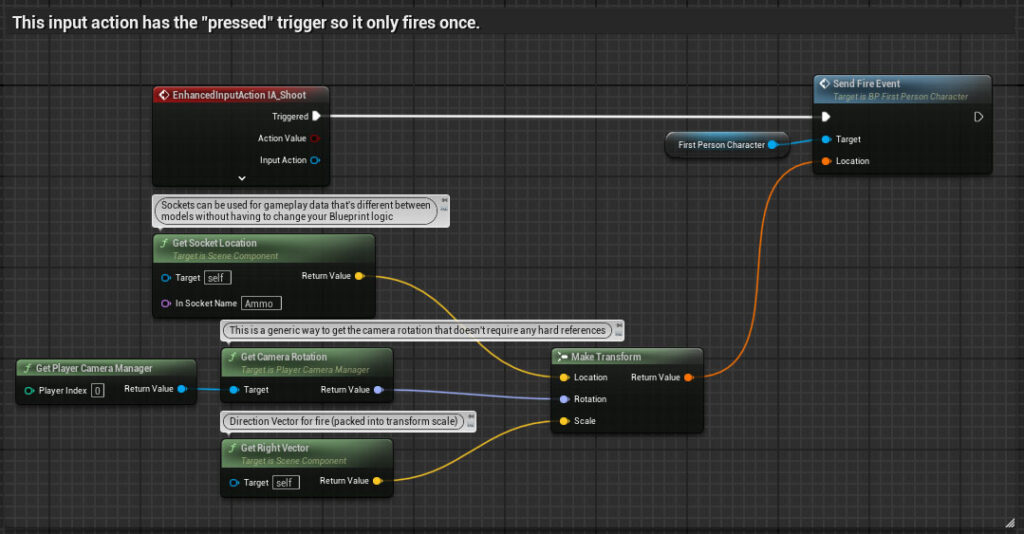
Note that the RightVector (actually the forward vector) is stored in the Scale vector of the transform – as the scale is always 1.0, it saves 12 bytes of multicasting bandwidth to store it there.
Step 5. Pool the Projectile Actors
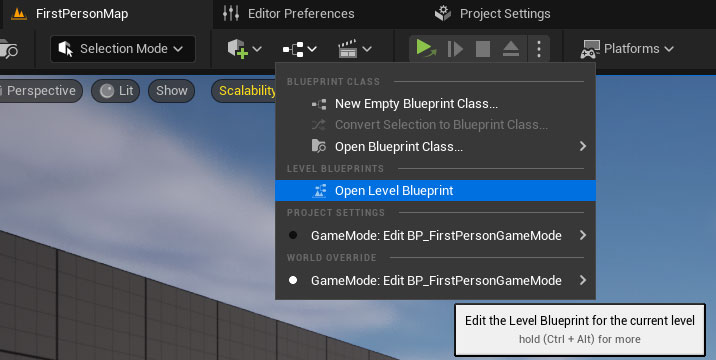
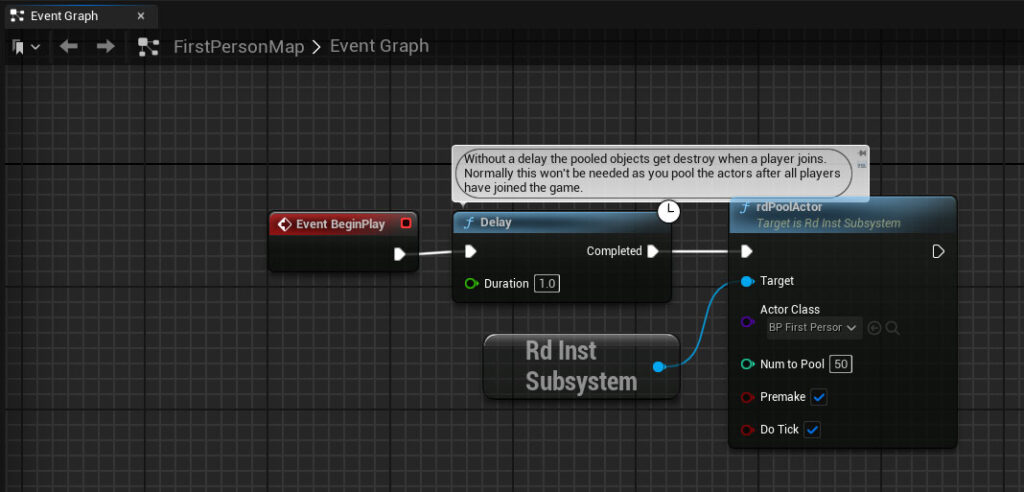
Now we just add a node to pool some of the Projectiles. Open up the Level Blueprint (just a simple place to add them for a quick example) and add the following code to the BeginPlay Event:
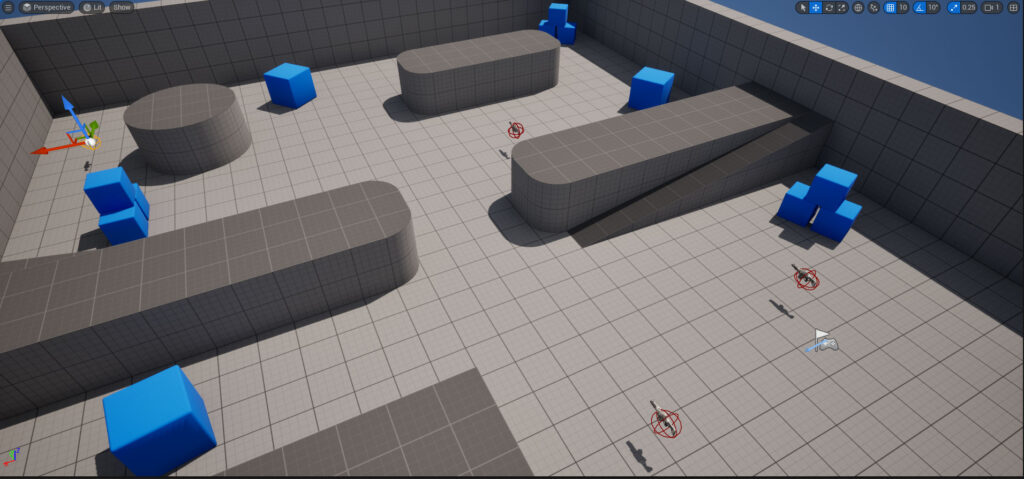
Step 6. Add some more rifle pickups to the level
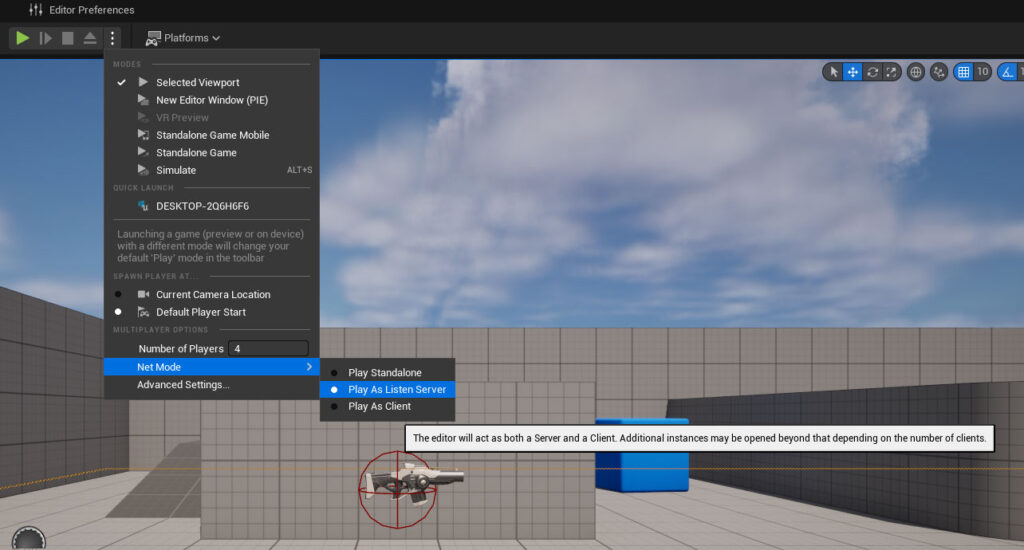
Step 7. Set the Number of Players and Listen Server
All that’s left to do now is to set the number of players to 4, and specify a listen server for the server (plays along):
Step 8. Done – play the game…