Population Tutorial 1 – populating a landscape
This first tutorial will create a level filled with a combination of trees and plants dispersed without any SplatMaps.
Step 1. Create a Blank Level and add a Landscape
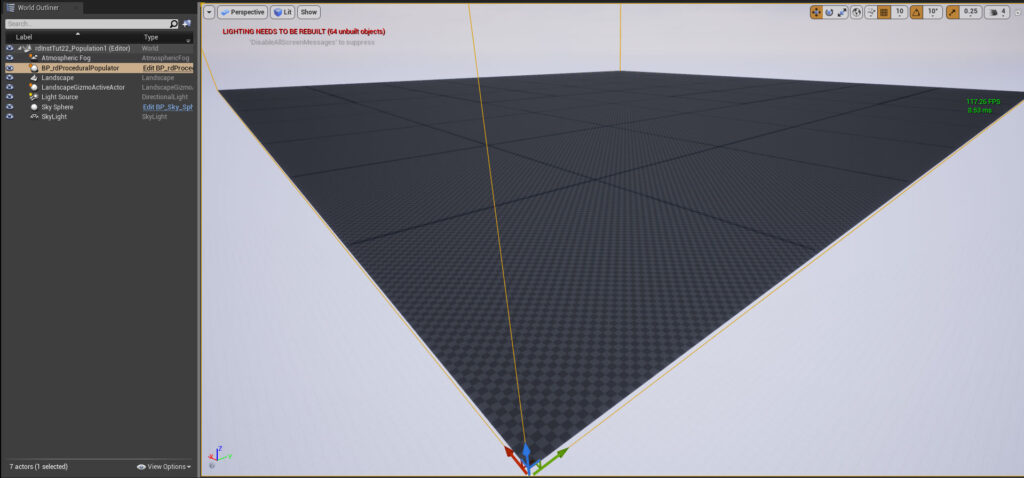
Create a new Blank level (the Base Template is good, just delete the ground cube) and add a landscape to it, or if you’ve downloaded the demo project, load the rdInstTut22_Population1 map.
Step 2. Add the BP_rdProceduralPopulator Blueprint
If you haven’t already, download the rdProceduralPopulator Blueprint and unzip into your projects Content folder. If you’re using the pre-made tutorial project, you don’t need to worry as it’s included.
Drag it into your level and with it selected add an item to the “Scale Settings” list from the Details Panel. Set the Grid Width and height to 200:
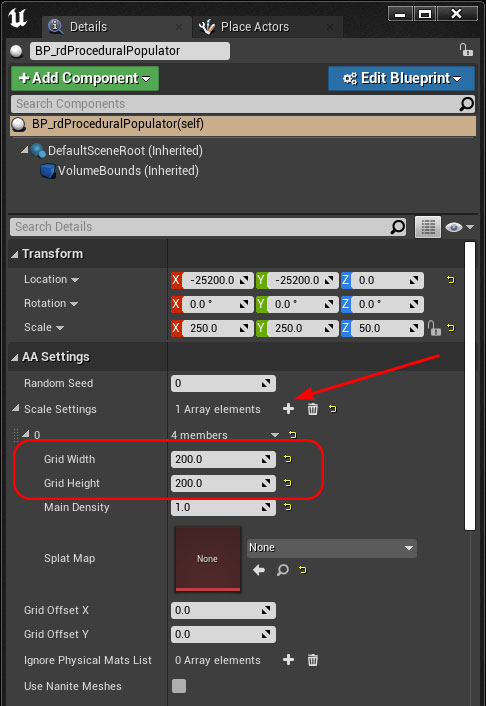
If you want to set different population amounts for the different scalability settings, add another 4 items, and set each one according to the level, 0 being Cinematic.
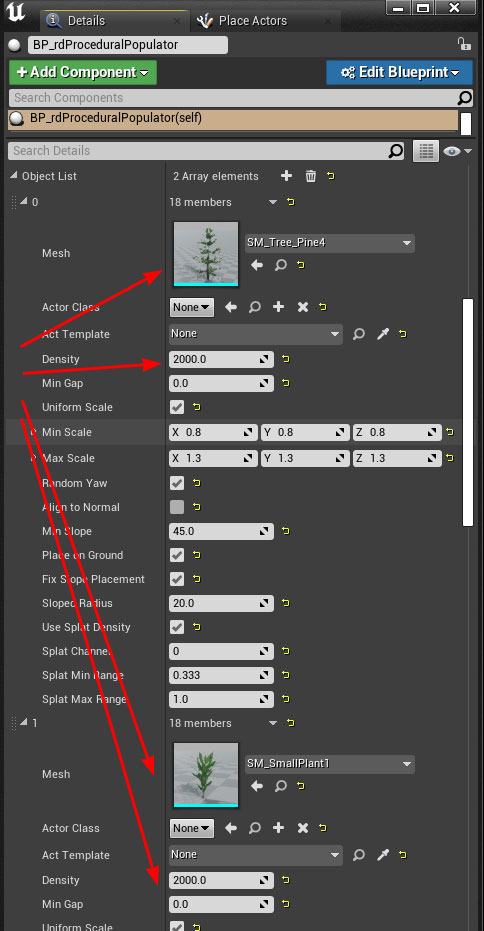
Now add two items to the “Object List”, just set the meshes to two foliage meshes and change the density of each to 2000.
Step 3. Populate
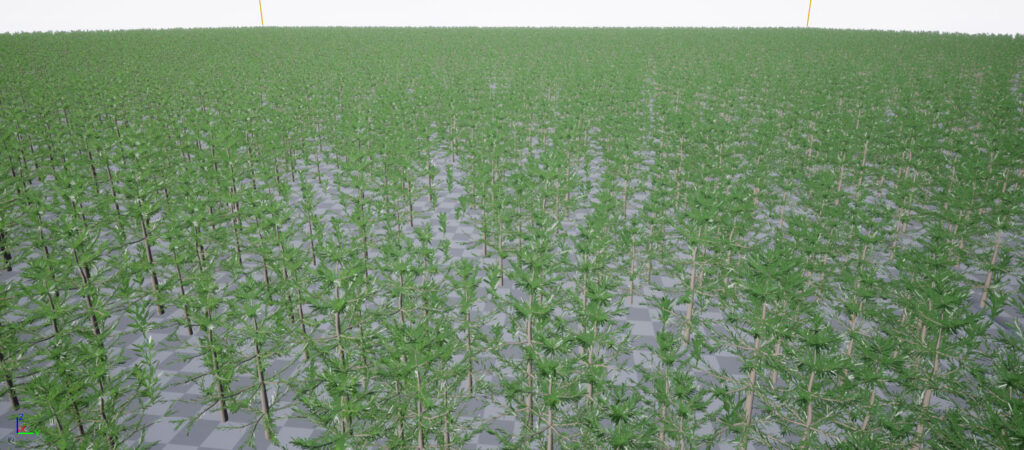
That’s all you need to do – now click the “Build Procedural” button in the blueprints details panel to see in the editor, or play the level to build at BeginPlay.